Archive for category: Arts & Crap

The Making of a Bear Costume

What do several yards of faux fur, margaritas and sewing machines all have in common?
They are all needed to make a bear costume.
I wasn’t surprised when Biceps had this unusual need for his band’s video. Nor was I surprised that my brother would be wearing tighty-whiteys and extracting a fish from the river with his teeth in said video.

This is all very normal in the Greiman household.
(I haven’t even delved into the numerous amount of sock puppets I made for their first video. Another day, my dears…another day.)
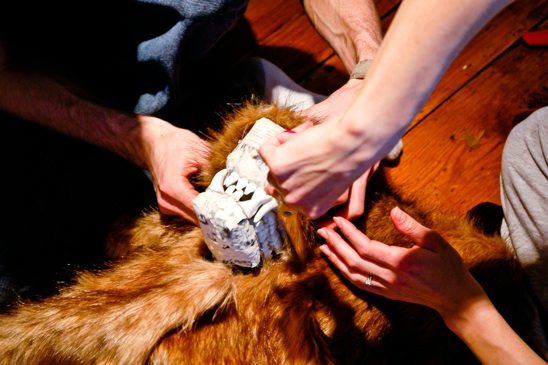

Baby brother made the head from chicken wire, plaster of paris and a hard hat. Yep, a hard hat.
We then covered it in a faux fur they found online. The fur really flew. Literally. It was all over my house.


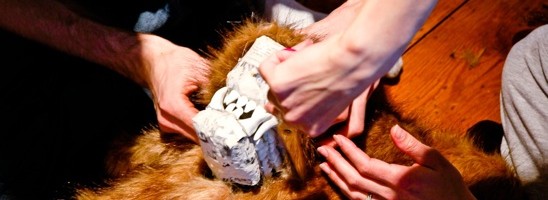
Baby brother also made the nose and teeth from modeling clay, baking them in the oven.
He hand painted the nose a glossy black and yellowed the teeth to make them as realistic as possible.
Cowboy did not like this bear head one bit.
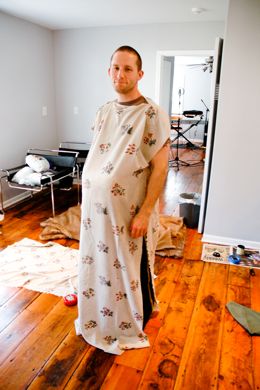

Sister-in-law and I cut up an old sheet to simulate the fur, padding Biceps’ body in the appropriate places to try and make him look more bear-like.
He was thrilled with this procedure, as you can tell. I think he was just trying to get into character.
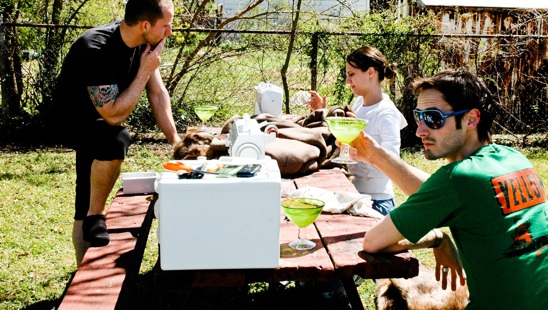

The boys made margaritas while Sis and I began sewing. Have you ever tried shoving 2” thick fur through a sewing machine?
It’s fun.
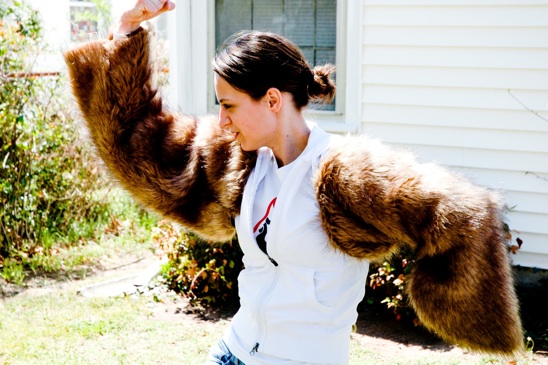

Sis got really into being a bear, modeling the arms for all of us with many bear-type dance moves such as this one.
I believe this dance is called, ‘Showing your bear biceps to the other bears.’
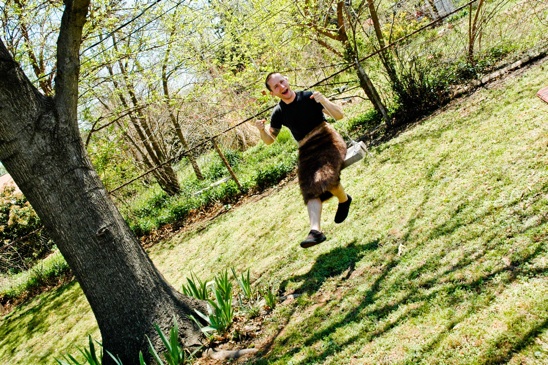

Biceps is wearing one of the bear legs as a skirt. Boy, am I going to be in big trouble for this.


We used an old man onesy (jumpsuit) underneath the costume to attach the stuffing to. Biceps is inside the costume, sweating profusely, wearing the jumpsuit covered in stuffing and underneath the 2” thick fur.
No wonder bears are grouchy.
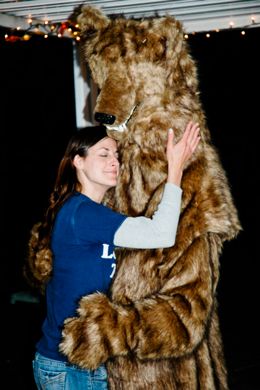

By the end of the night, no animals or humans were harmed in the making of this bear costume. We still needed to add eyes and claws…but we decided to end on a high note and go to bed.

If you would like to see the bear costume in action, here’s the final video:
Man Vs. Man Video, Bruder
Please don’t judge our weirdness….
Read more

Recycled Wood Art

A bag of hardwood flooring bits have been sitting in my shed.
For awhile.
The last time they fell from the shelf and hit me in the head, I decided it was time to show those bits who’s boss.

I love making ironic pieces. And I really love it when they cost me absolutely nothing.


Here’s what you’ll need to make your own variation of Recycled Mod Art:
Hardwood scraps-ask a flooring man to save a bag full for you
Plywood scrap (mine was about a 2’x3’)
Stain
Polyurethane
Foamy Brush
Sand Paper-forget the palm sander–not needed
Oops Paint & roller
Nail gun w/ appropriate nails or gorilla glue
Table Saw & Chop Saw
Level
Hammer
Sharpie


Paint your plywood scrap with a bold color. I chose red because we had it on hand. But I really would have preferred orange.
Oh well. That’s the way the paint chips crumble…


Set up your table saw and create a ‘push stick’ for yourself if you don’t already have one.
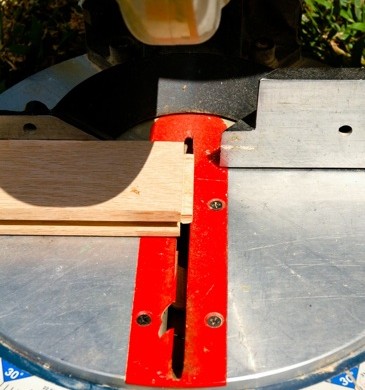
Cut the tongues off of your wood bits.
Sounds gruesome, I know.


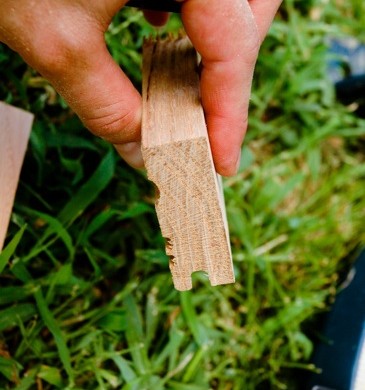
Using your chop saw, cut the lips off of your wood pieces.


Your little wood bits should look like this when you are finished hacking them to pieces.


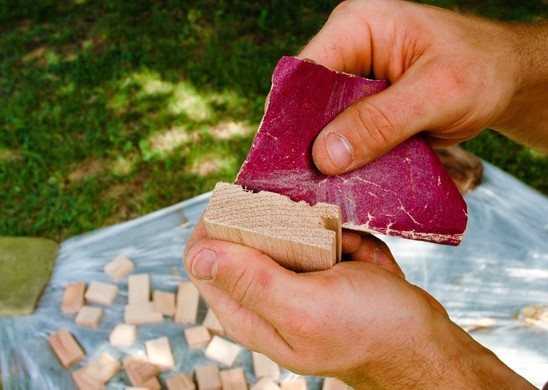
Hand sand any little burrs from your wood bits using a very masculine and furry hand model for the occasion.


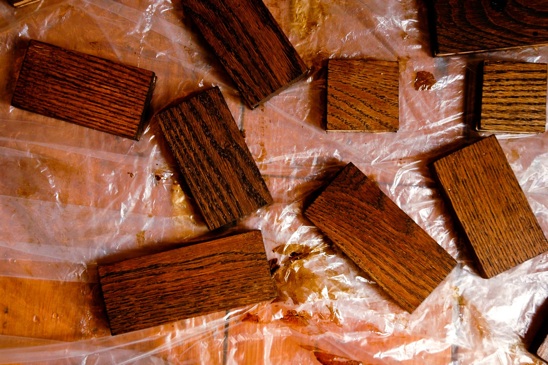
Stain your wood bits with your choice o’ color and let dry.
I would suggest wearing gloves, unless you like the street urchin look.


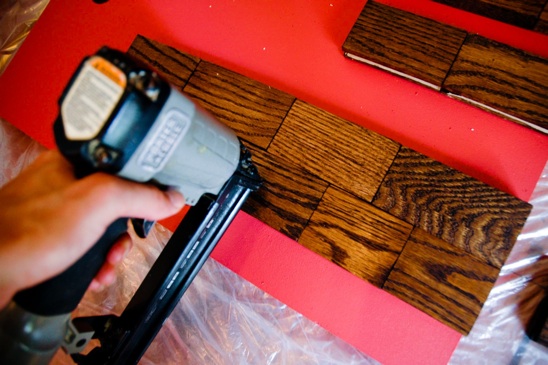
After deciding what pattern you like, you can either use your brad nailer to shoot your wood bits to your plywood scrap or attach them with gorilla glue.
I was tempted to go with a box that became smaller and smaller, or a random flowing line of wood bits…but ‘The City’ called to me and I wouldn’t deny it.


If you do opt for gorilla glue, I would recommend doing this ghetto method, or getting fancy and using real wood clamps to hold your bits into place overnight.


I drew my title for the piece freehand using a sharpie.


Use your foamy brush to apply a thin coat of polyurethane on the entire piece and let dry according to the manufacturers directions.
Or in my case, until it no longer sticks to your fingers.


Behold….


…your masterpiece beckons to be hung on the wall.

Read more

Cutesy & Cheap Mod Curtains

My bay windows gladly invite the 100 degree temperatures into my sweaty office.
Although Cowboy loves to bask in the suns UV glory, I do not.
Searching for curtains and fabrics left me empty handed.
Nothing suited my fancy and my office was getting
unbearable by the second.
Something must be done!

I decided it was time to take matters into my own hands and create a ‘Rebekah original’.


Here’s what you’ll need to make your very own curtains:
A couple different colors of spray paint-I used gold, black & white
Wax Paper
Blue Tape
Scissors
Sharpie
Either sew your own or buy some cheap plain curtains (If found my thermal light blocking curtains at Target for $12 a piece. You can’t beat that!)


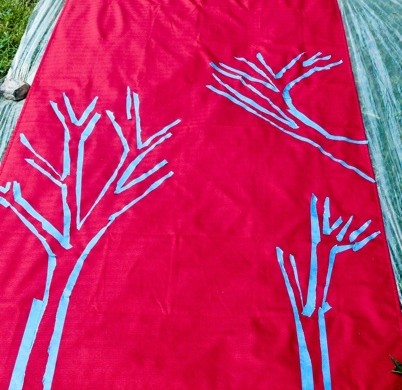
I decided to go with a tree theme for my curtains. Ripping my blue tape down the center, I began placing the tape on the fabric at my creative leisure. (Ripping the tape not only conserved the amount that I used, but also gave the trees a bark-like look.)
Only do one curtain at a time so that you can reuse your blue tape!


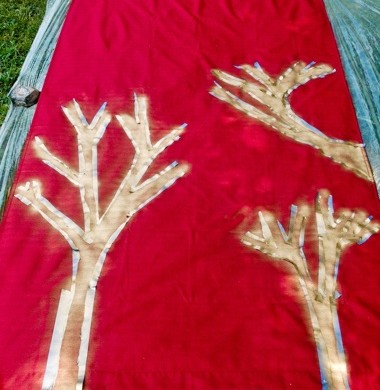
I wanted gold to be the dominate color on my curtains, so I sprayed the majority of the trees this color.
Let your spray paint dry.
Remove several pieces of your blue tape and create smaller trees next to and even on top of the original ones.


Spray your secondary colors on the smaller trees until you are satisfied with the look.
I used black and white to be my secondary colors.


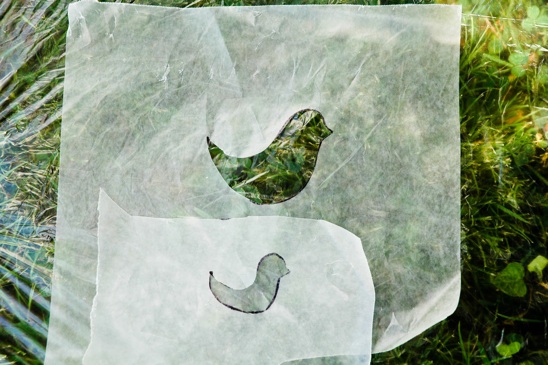
Let’s add a little pizzaz to the whole tree motif, shall we? Using your wax paper and your sharpie, create a design that suits your fancy.
I liked the simplicity of these little birds and made two different size ‘tweeters’ just to be crazy.


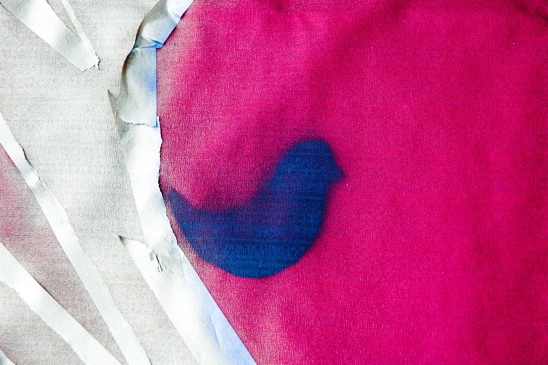
Tape your wax paper onto your fabric and spray paint whatever color you desire.
I used all three of my colors for these little birdies-gold, black and white.
There is no right or wrong way to do this. I did each of my three curtains completely different and loved them all the same.


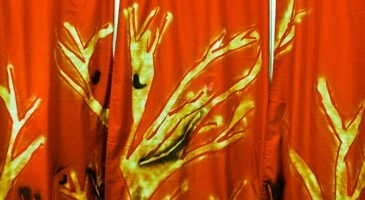
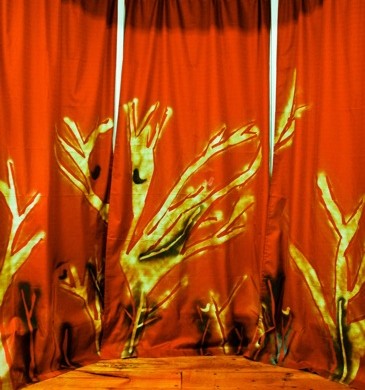
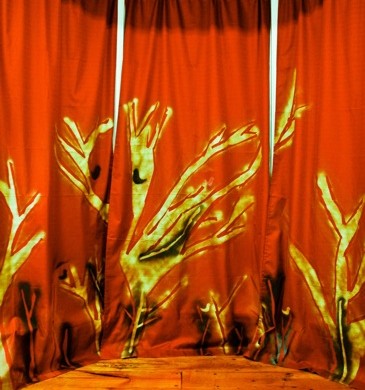
Here’s the final product after letting the curtains dry. Although, my office still faintly smells of spray paint…
Maybe that’s why I am so loopy.
Maybe.

Read more

Vintage Pillow Case Dress

I was minding my own business one day while shopping at a thrift store, when out of nowhere, a pillow case shouted at me from amidst the sheets. It ordered to be taken home and ‘re-purposed’ into something grand. It wanted a second chance on life. I noticed its lovely yellow hue, its vintage pattern, its affordable price and took the stranger home with me.

For 79 cents, the pillow case became mine forever to do with as I pleased…and it pleased me to make a dress out of it.


Here’s what you’ll need to make your very own Vintage Pillow Case Dress:
Extra Long Pillow Case
Scissors
Seam Ripper
Thread to match
Iron & Ironing Board
2” Ribbon-2 feet or more
Tape Measure
Sewing Machine
Straight Pins


First things first, cut the closed end (the bottom) of the pillow case off. This will be the bottom of your dress.


Fold the bottom of your pillow case up to your desired hem length. I chose to have my hem land at the top of my knee, taking it in 4 1/2”.
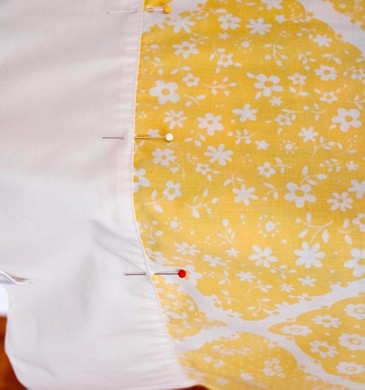
Iron and pin your hem.


Sew up your hem, using a blind hem stitch. I learned how to do a blind hem stitch by watching you tube videos.
What is this world coming to?


My pillow case had been apparently designed to house one gigantic pillow.
I had excess material and decided to give my dress a pleat down the front, rather than cutting out the excess and installing a zipper.
I measured out 3 1/2” from center on the left and the right, and pinned where I wanted each pleat to begin.


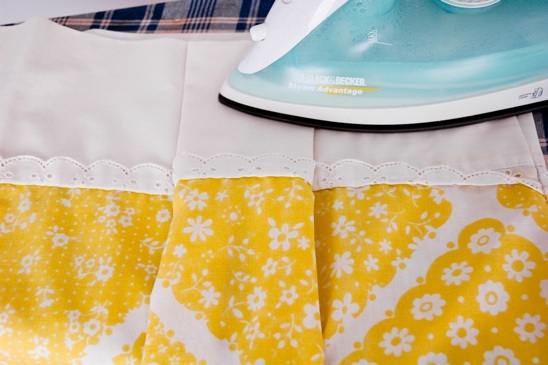
I folded the 3 1/2” of material under on each side and ironed the pleat flat.
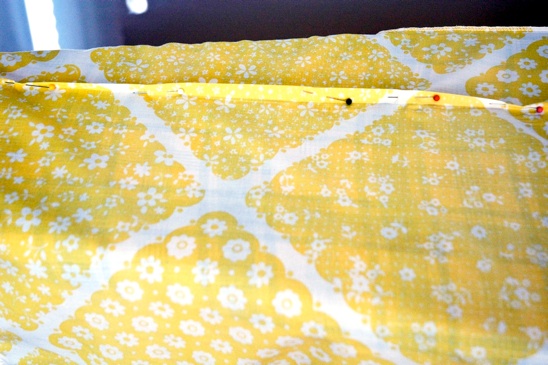
Sew your pleat into place.


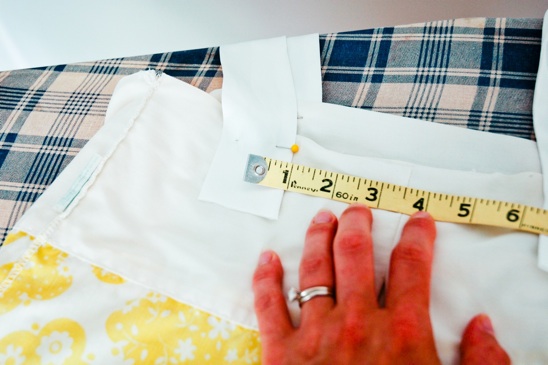
Using your 2” ribbon, measure an equal distant from the center of the dress on the front and the back and pin a strap on either side of center, approximately 3 1/2”.
I recommend trying your dress on and making sure the ribbon will cover your bra straps and double checking the length is enough to go over your shoulders comfortably. I used Biceps’ help for this one.
Sew your straps into place.


The backside of my dress looked boxy, so I decided to add pleats on the left and right side of my spine.
I measured the center of the back of the dress, and marked about 3 1/2” out on either side.


I started the pleat 4” down from the top of the dress. I began the pleat width at 1/8” and expanded it to be 1/2” at the small of my back, stopping just above my derriere.


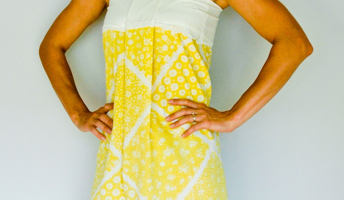
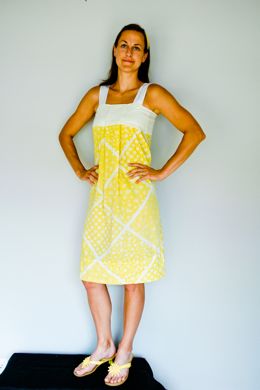
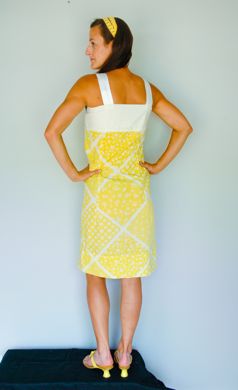
Here is the front of my cute little number. And below is the back.


I can’t believe this cost me 79 cents. A girl can’t even get fries for that.

Read more