Archive for category: Arts & Crap

Simple Textured Raven

Remodeling offers odd benefits.
Not only are you equipped with hard callouses that are quite attractive on a lady’s hand, but you get to keep the spoils of your remodeling leftovers.
You can make this modern silhouette quickly and for pennies on the dollar. I like that.
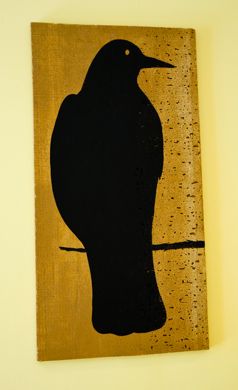
My ‘Raven’ was made from a piece of duroc (some call it hardi-backer: this is the material they line shower walls with).
Duroc has a great texture to it and is oftentimes filled with holes and riddled with crazy patterns. It resembles a piece of rough concrete.


Here’s what you’ll need for you very simple duroc art:
Piece of leftover duroc or hardi-backer
Skilsaw with a masonry blade
Wood Stain-very small amount
Plastic cup, lintless rag, and gloves to apply stain
Marker
Oops paint & foamy brush


Begin by measuring the space on your wall you would like to fill with your purty art. Cut your duroc to fit the space using a masonry blade.
My purty piece measures about 1.5’ by 2.5’.


Fill a plastic cup about halfway with water and dilute your stain, adding about a tablespoon at a time until you are happy with the color.
You need to dilute the stain so that it will flow easily over the duroc.


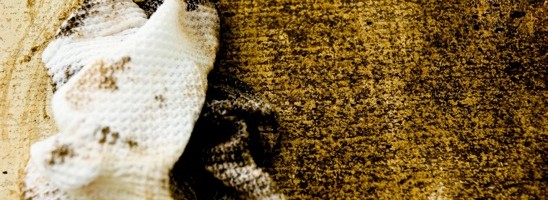
Use a lintless rag to apply the stain onto your duroc.
I would recommend wearing gloves…or if you are like me, live with the disgusting dirty nail consequences.
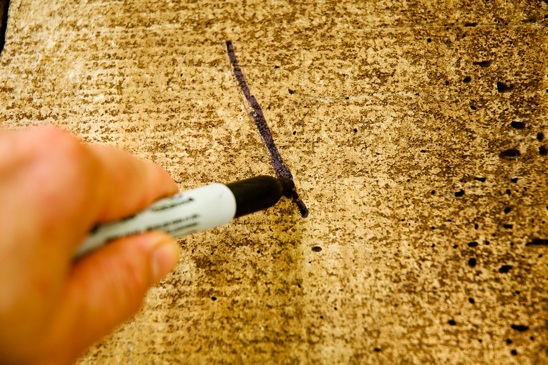

Once your stain is dry, use a marker to outline your preferred silhouette.
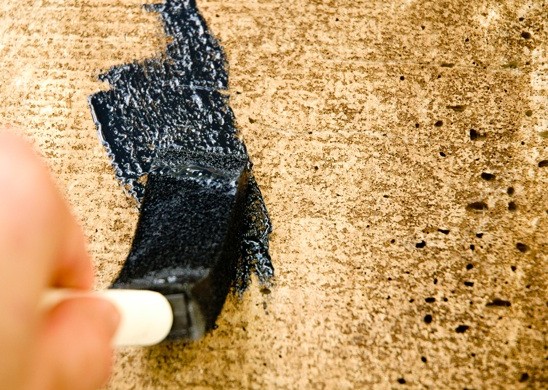

Paint your creation onto your duroc using oops paint and a foamy brush.
Let your piece of art dry while enjoying a cold beverage.


We hung ‘Raven’ by screwing drywall screws directly through the piece and into the wall. I touched up the screw heads with more black paint, which are now incognito. I am very, very sneaky.
I am also very pleased with my one-of-a-kind ‘Raven’ that cost me less than a latte from you-know-where.
Make your silhouette of anything you fancy; a flower, an owl, a child’s face, your own face…
And use any color of paint your little heart desires to paint your silhouetter; orange, yellow, blue, fuschia…
Get bold. Get crazy. Get creative!
Read more

Vintage Embroidered Pillow Case Shirt

This pretty little pillowcase has been lingering in my linen closet for years; very much neglected.
I liked it so much that I didn’t want to risk
ruining it…by using it.
Once I realized how crazy that logic was, I decided to put it to good use.
I mean, what’s next? Covering my couch in plastic?

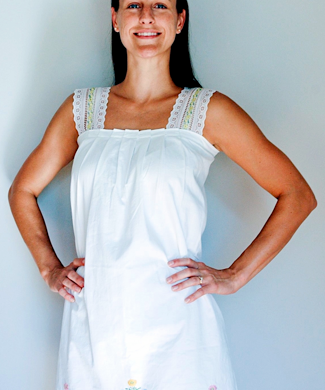
I wear jeans with this cutesy little shirt because it hits me about mid-thigh.
It’s almost long enough to be a dress, but being an ORU graduate…I have been trained that ‘modest is hottest’.

HAH HAH HAHAHAHAHAHH!
Phew…had to get that out of my system….


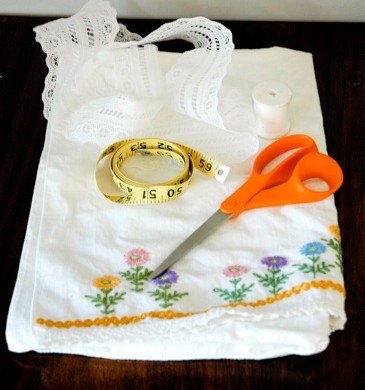
Here’s what you’ll need for your own pillowcase shirt:
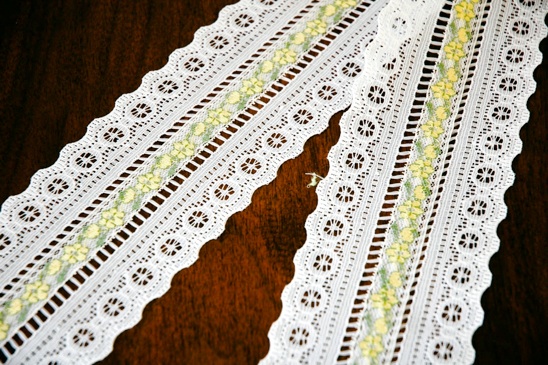
2 feet of 2”+ stiff lace-I added a decorative 1/4” lace on top of the 2” lace
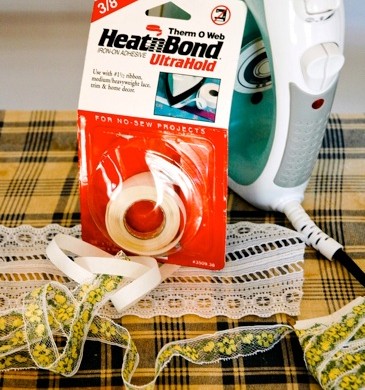
Iron on hem tape-only if you add decorative lace as I did
Thread to match
Scissors
Tape measure
Pillowcase


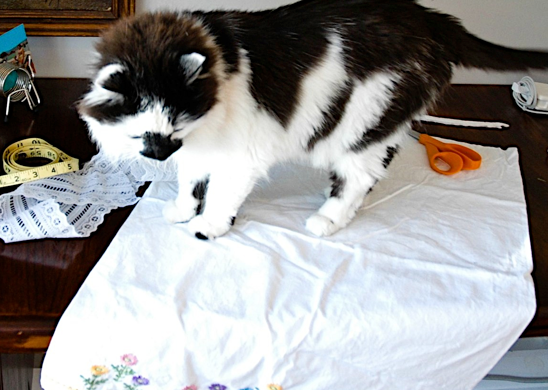
First step: make sure your cat approves of the pillowcase. You can test this by allowing him to make a nest on the material.


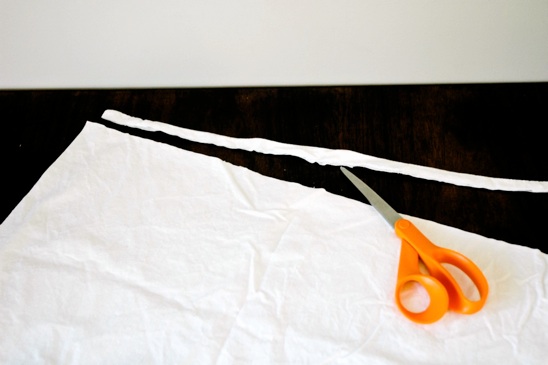
Cut the seam from the end of the pillowcase.


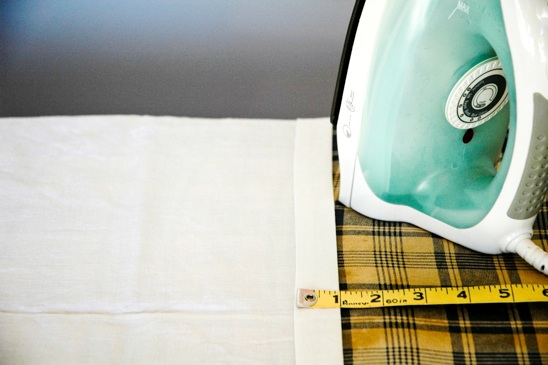
Fold under and iron 1/4” on the cut end of the pillowcase.


Fold the 1/4” over 1” more and iron. This will be the top hem of your shirt. Sew that sucker in place, stitching as close to the bottom and to the top of the 1” of material-creating two seams.


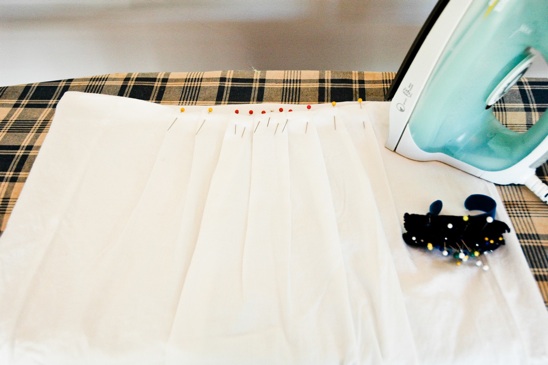
I slipped the pillow case over my head and found that I had 9” of excess material around my chest. Starting from the front and center of my shirt, I divided the 9” of excess material into 7 equal pleats-one center pleat and three pleats on either side of center.
I pinned all of the pleats into place and ironed them flat.


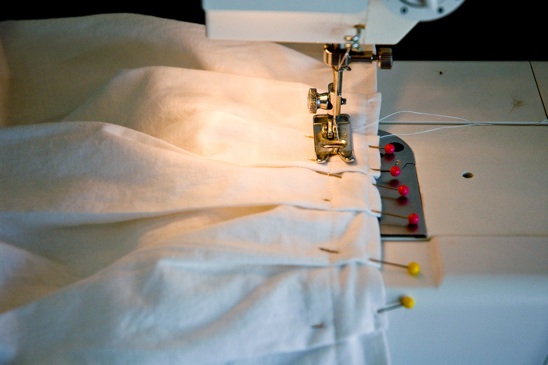
I sewed on top of my old seams, making the pleats permanent.


Using an iron-on hem tape, I added a 1/4” decorative lace on top of my 2” lace, just for kicks and giggles.
Make sure your ironing board cover is absolutely disgusting like mine is.


These pretty little things will be the straps to my shirt.


Find center of your shirt, measuring out 4” on either side.
Find center of your straps and pin them at the 4” mark.
Do the same for the back of the shirt.


Following your old two seam lines, stitch your straps into place on the front and back of your shirt.


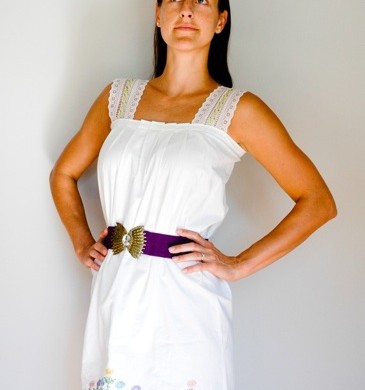
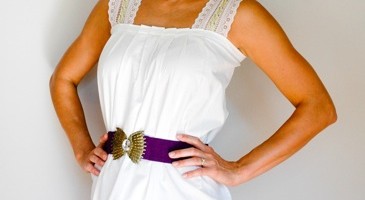
Sometimes, when I am really sassy, I’ll throw a belt around my shirt.
See what I mean about it almost being long enough to be a dress?
It’s just a little more thigh than I am comfortable with in public.
And sorry you had to see so much thigh.


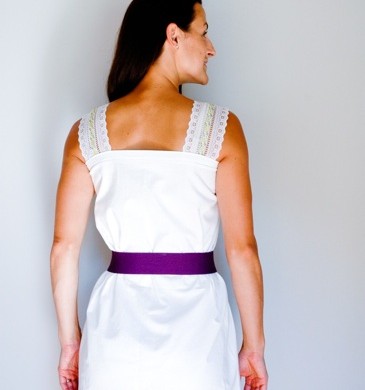
Here’s the back of my cute shirt.
I have worn it mostly without a belt because I like the free and flowy feeling.
Also without a belt, I am able to gorge myself on chips and salsa. Or be pregnant with no one the wiser about my ‘condition’. Or smuggle in snacks to a dollar movie. Not that I I would do any of that.
But, it’s nice to know I have options.
Hope you like it!

Read more

Gold Clay Deer Antlers

I have no desire to stand out in the freezing cold, toting a rifle and not talking for hours in order to ‘hunt’ deer.
But, I really wanted a pair of deer antlers for my office.
I don’t know why. I don’t wear plaid or own a gun rack. (But, to be fair, I did make a coat rack from deer hooves…)
If you aren’t into the whole ‘antler’ thing, you can use this same tutorial and make what you do fancy such as a cute bird, a turtle, or you child’s hand impression.
Get crazy. Get creative.

Circumventing the whole ‘fun’ hunting experience, I decided to make my own deer antlers from clay that you can bake in the oven.
I believe Bambi is happy with my decision, which makes me happy.


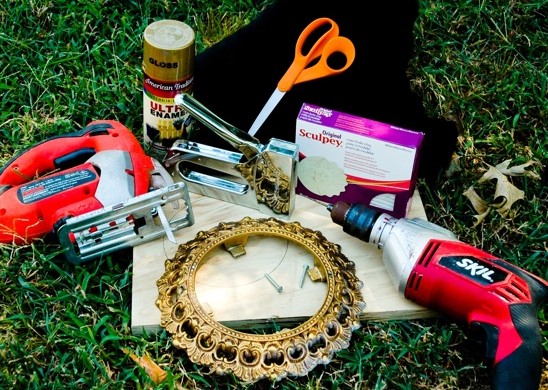
What you’ll need to make your own set of antlers, or anything else you fancy:
Oven Bake Clay
Picture Frame
Gold (or your preference) spray paint
Scissors & ruler
Fabric (I used faux black fur with a short nap)
Scrap Plywood
Hot Glue Gun
Staple gun & staples
(2)Screws
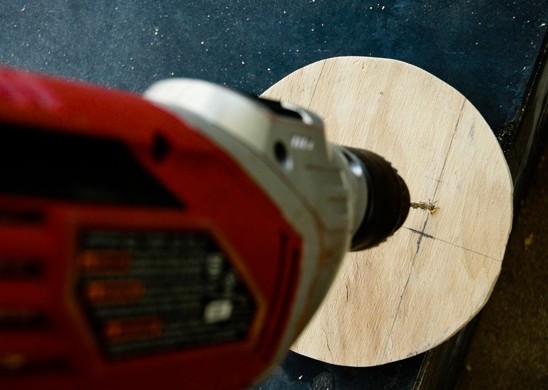
Drill with a drill bit the same size as your screws
Jig Saw


Trace the inside of your frame onto your scrap plywood.
My fancy ‘frame’ is actually a light cover that I picked up at Habitat for Humanity for $1. Boo yeah.


Using your jig saw with a wood blade, cut out your traced image.
Before covering your piece of plywood with your fabric, make sure that it fits into your frame first. Cut or sand off any necessary edges.


Find the center of your piece of plywood and measure an equal distance from the center to the right and left if you are doing antlers.
If not, you are on your own to decide where you would like your creation to screw into the plywood.


Pre-drill holes into your plywood that will receive your screws.


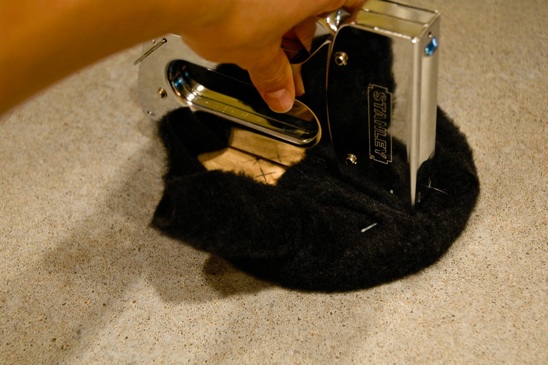
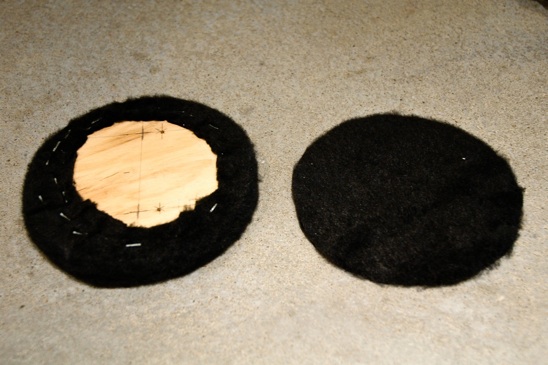
Cut out enough fabric that will wrap around the edges of your plywood. Use your staple gun to attach the fabric to your plywood.
Hammer those staples down if they get ornery and try to stick up.


Cut away the excess material from your piece of plywood. Cut out a second piece of fabric that will cover the back of the plywood, attaching it with a hot glue gun.
I recommend before you cover your plywood completely with fabric, flip over your plywood to the front and stick a couple of nails through the fabric, into the pre-drilled holes.


Time to make your fun creation from the oven bake clay!
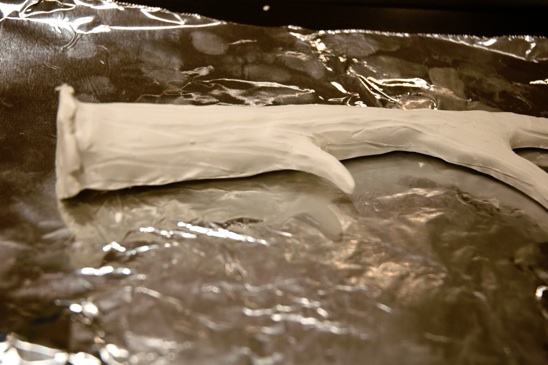
I used a knife, a chopstick and my little mittens to shape out some cute antlers.
Again, get crazy and get creative. It’s my mantra today.


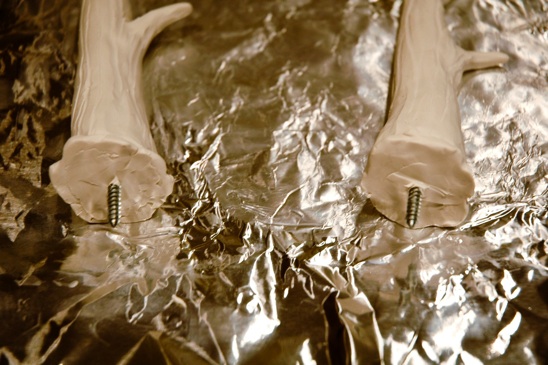
Stick your screws into the bottom or the backside of you creation. Make sure the clay is completely surrounding the screw and there is no play.
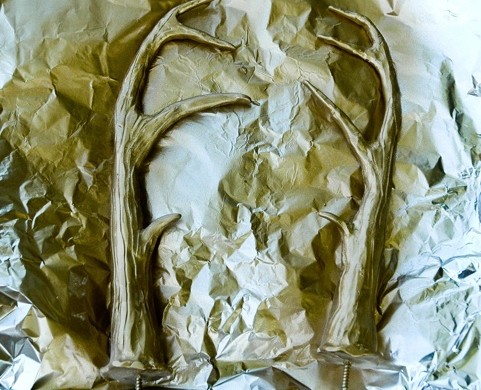
Bake your creation according to the manufacturer’s instructions.


Spray your creation with your choice of spray paint with several light coats to avoid drips.


Gently hand tighten your creation into the plywood. I got a little crazy and broke the screws free from my antlers as I was tightening them in.
But, I fixed it with super glue. It held the screws in much better and it didn’t bat an eye at my apparently enormous muscles….


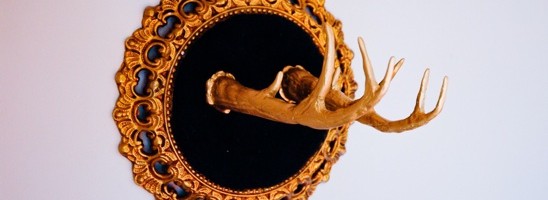
I love the antlers, but I could also see a cute, gold bird in the center of this frame too. Or an apple. Or a butterfly.
And I do have some leftover clay and a glass of red wine…hm….

Read more

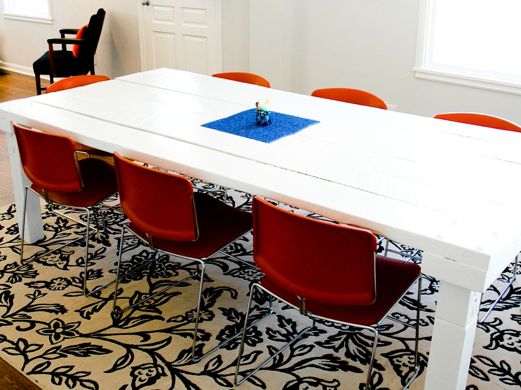
Barn Wood Dining Table

I love to fill up a person’s belly until they are beyond full…and then heap a dessert on top.
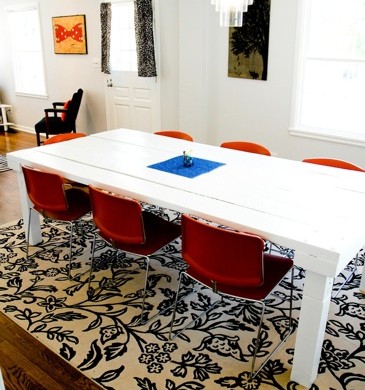
A large dining room table, with the ability to sit twelve, was a dream of mine.
And Biceps and I made it a reality-a beautiful, unique and inexpensive reality.

Using recycled barn wood from Bicep’s century farm, we made the indestructible table for about $50.
If you don’t have access to barn wood, don’t worry. I’ll tell you how to make this with dimensional lumber you can buy from Lowe’s.


What you’ll need to make your own dining room table:
Circular Saw
Drill with a 1/2” wood drill bit and a phillips drill bi
(16) 5” carriage bolts, 1/2” thick with matching nuts
A box of 4” wood screws
Belt Sander with 80 & 40 grit sand paper
Tape Measure
Speed Square
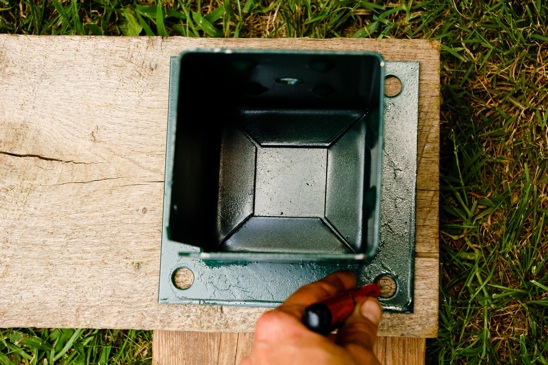
(4)Mailbox Post Holders (found at Lowe’s)
Socket Set & Hammer
Primer & High Gloss White Paint
Paint Rollers, brush


No barn wood? No problem!
Here’s what you’ll need:
(6) vertical table top pieces:1 1/2” thick, 8’ long, 8” wide.
(2) horizontal bottom pieces: 2 1/2” thick, 8” wide and 4 feet
in length.
(4) 4”x 4”Mailbox Posts (for the legs)


Using your speed square, measure your vertical table top pieces to be 8’ in length. Measure your horizontal bottom pieces to be 4’ in length.


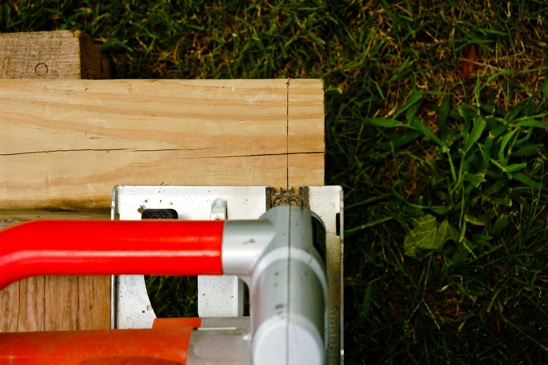
Use your circular saw to cut your wood.


Line up your horizontal 8’ top pieces on your 4’ bottom piece.
Watch your fingers as you do this, unless you like that blood blister look. I know I do.


With the top side of your table facing up, trace the holes that will attach your mailbox post holder (legs) to your table top on each corner of the table.
(Note, you will be attaching the mailbox post holder underneath the wood you are seeing presently.)


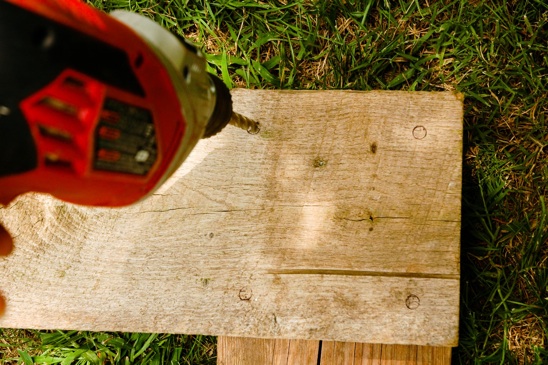
Attach your 1/2” drill bit to your drill and get to work, drilling through both the top piece and the bottom piece.


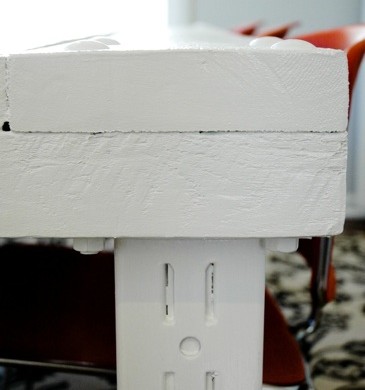
A standard table top height is 30”. The thickness of my vertical table top pieces plus the horizontal bottom pieces was 4 1/2” thick. I cut my four posts to 25 1/2’ tall to make the table at the normal 30” height.


Pound your mailbox posts into the holder like you just don’t care.


Now, pound your 5” bolts into your drilled holes like you just don’t care about that, either.


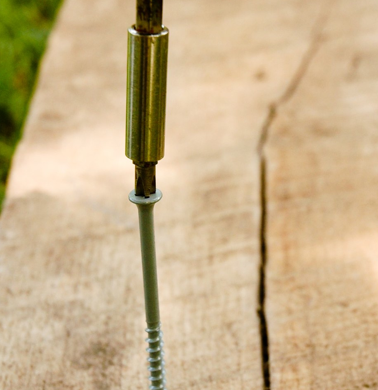
Screw in the rest of your vertical table top pieces to your bottom horizontal pieces with your 4” wood screws. I used about (6) wood screws per piece on each end.
Once all of your top pieces are attached to the bottom pieces, grab a friend, offer them a cold beverage and then con them into helping you flip the table over.


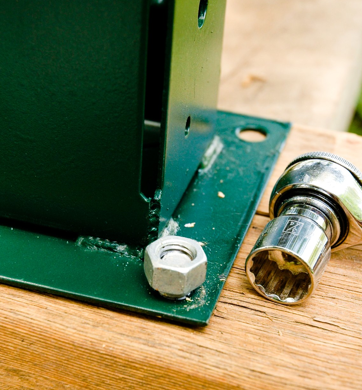
Use your socket set to attach the carriage bolt to the mailbox holder, tightening the nut as far down as you can.
Or in my case, as far as you can and then ask Biceps to finish it off for you.


Using a 40 grit sandpaper and your belt sander, sand the puddin’ out of your table.
Upgrade to an 80 grit for a nice smooth finish if you like. I wanted my table to be pretty rustic, so I stopped after the 40 grit.


Next step: paint-ville! Prime and paint your table and let it dry.

You’ll need to bribe approximately 4 strong men to move your table indoors. I bribed them with cake during my brother’s birthday party.
I am very, very sneaky….


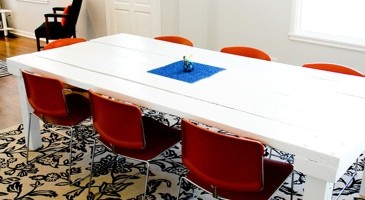
But trust me, the backache is worth it. You can sit twelve people around this table, have your entire meal in the middle of it and still have room to dance on top.
Not that this scenario has ever happened before. But if it did, the table wouldn’t mind.
It’s just that awesome.

Read more