Archive for category: Arts & Crap

Sassy ‘Dress Shirt’

Typically the vintage dresses I come across have been ripped, stained or eaten by evil moths. Instead of parting with the abused garment, I hide the problem areas with a little creativity and turn it into a sassy
one-of-a-kind shirt.

This is what my finished product looked like, but each ‘Sassy Dress Shirt’ will be unique! Read on to learn how to make your very own ‘Sassy Dress Shirt’.
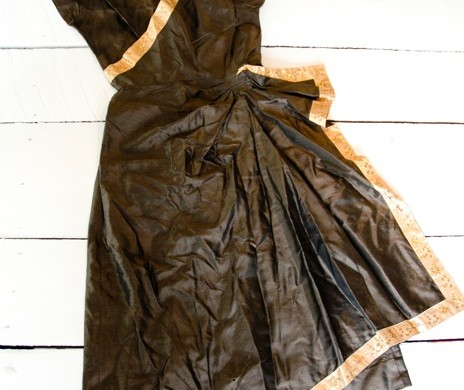

What you will need:
An old dress
Seam Ripper
Iron & Ironing Board
Straight Pins
Sewing Machine
Ribbon to match the dress (if desired to cover holes, etc)
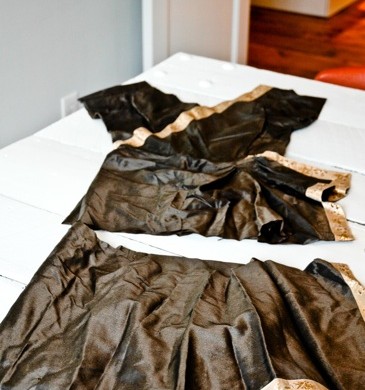

Assess how long you would like your ‘shirt’ to be and cut the excess off, leaving about two inches for hemming. I don’t subscribe to the midriff look from the late 90‘s, so I hem my ‘shirt’ to fall a couple inches below my hip bone.


Turn your ‘shirt’ inside out and measure your hem all the way around, pressing and pinning it as you go. Sew your new hem with a blind hem stitch or whatever you normally fancy when you hem something up.
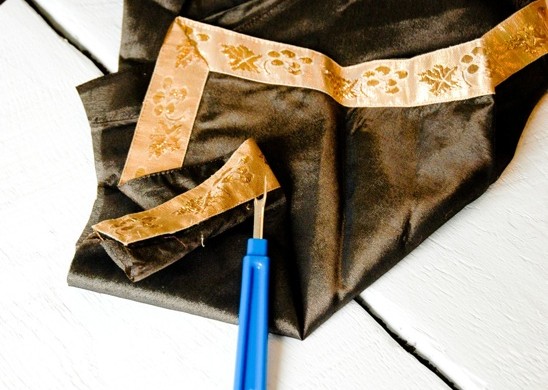

If you have ribbon or embellishments that match your new ‘shirt’, now is the time to hide those stains or moth holes. No one will be the wiser! In the past, I’ve made little fabric flowers out of the left over material to cover the problem areas.


For this shirt, I removed the ribbon that was once around the bottom hem of my dress to cover over a stain on the front, following the neckline.
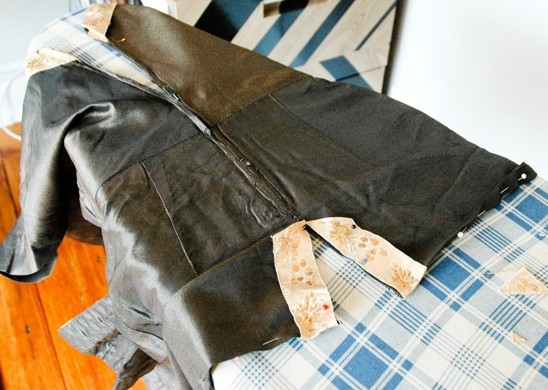

I opened the seam where the zipper stopped on the backside and followed that opening with more ribbon. This allowed me a little more booty shakin’ room.
Sew all of your ribbon and your embellishments in place.
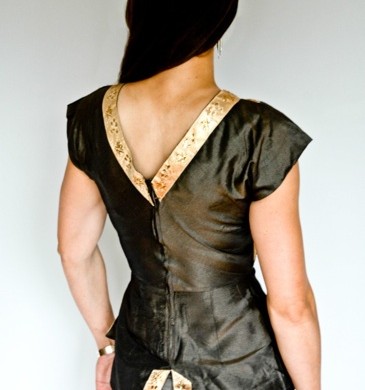

Here’s my backside… of the shirt. What were you thinking I meant? Scroll down to see the front again.


Ta-Dah! I love wearing this cute little number out on the town. Let me know if you try making your own Sassy Dress Shirt. I would love to see how yours turns out!

Read more

Funky Gold Medina

I can’t pass up tacky gold objects. I have an addiction,
and I’m alright with that. My lengthy affair with silver seems to be coming to a close.
After browsing one afternoon at Habitat for Humanity, I found two gold light fixture medallions for $1 a piece. And I made this. Want to know how? Read on, sister!

A medallion is the part of the light fixture between the glass that houses the lightbulbs and the ceiling. It covers over the ugly hole in your ceiling cut by your contractor or a housewife that tries to replace a ceiling fixture while her hubby is away.
Not that that’s ever happened.


What you’ll need for this swanky wall hanging:
Light fixture medallion
Oops Paint (2 colors)
Paintbrush
Rubber Cement or White Glue
Textured Wallpaper or textured craft paper
Card Stock or cardboard
Scissors


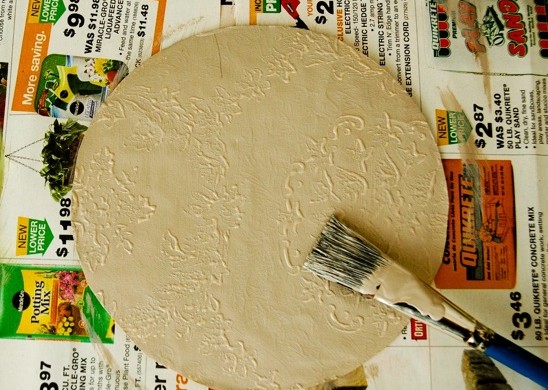
Trace the inside opening of your medallion onto your card stock and as Uncle Joey used to say, ‘Cut it out!’. Cut a square of textured wallpaper or craft paper out that is slightly bigger than your piece of card stock.


Cover the card stock with a sufficient amount of glue and adhere it to the back side of your wallpaper.
I set a large book on top of the wallpaper to stick the two together.
Sit and wait. I chose to listen to Getz and Gilberto while I was waiting. It was most enjoyable.
Actually, I did a load of laundry and made dinner and returned some phone calls. But a girl can dream, can’t she?


Once your glue has dried, cut away the excess of wallpaper from the card stock circle.


Paint your circle with some of your favorite ‘oops’ or leftover paint you have lying around.
Pay no attention to how messy my brush is in this picture. It was for dramatic emphasis for the reader.


I found a silhouette of a feather that I liked online by, are you ready for this?-googling the words ‘feather silhouette’.
I am a genius.
After tracing the silhouette on your circle, grab your second color of paint and go to town.


Here’s my silhouette taking shape.


After the feather was dry, I mounted the circle into the medallion using double sided foamy squares (the kind used for spacers in scrapbooking and card making).
Then, I hung the finished piece on a tree I have outside. My neighbor just looked at me and asked me what I was doing.
I told her I was decorating the tree.
‘Uh, huh’, she said.
I hung it up in my office eventually, but I just liked messing with my neighbor. She can take it.

Read more

Vintage Stereo Cabinet Redux

Biceps and I enjoy working out.
What I don’t enjoy are the ugly weights and yoga mats lying around my house. We don’t have a workout room where I can tuck all this away and shut the door.

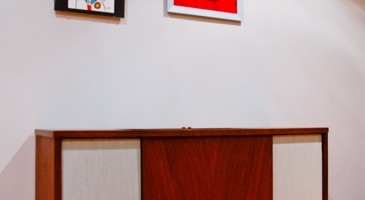
I needed a solution for this debacle. I found said solution at Habitat for Humanity for $10 bucks. But, it needed a lot of work.($10 has seemed to be the magic number for me lately-that’s what my sewing cabinet cost, too!)


Picture in your cute little mind these being a pumpkin orange and the wood covered in gunk, spider eggs and stickers. I didn’t take a before picture, darn it, because I was too gung ho to get the project started and forgot to pull out the camera.
Forgive me, dear one. Forgive me.


The sides of the cabinet housed the speakers. We gutted the entire thing, removing the side walls that separated the speakers from where the record player sat, the speakers, the electrical components…the whole she-bang. This is also when I found the spider eggs. I almost had a panic attack


After gutting it, we installed 3/4” plywood to beef up the bottom and close up the backside.


Check that backside out. You like it, don’t you? I thought so.


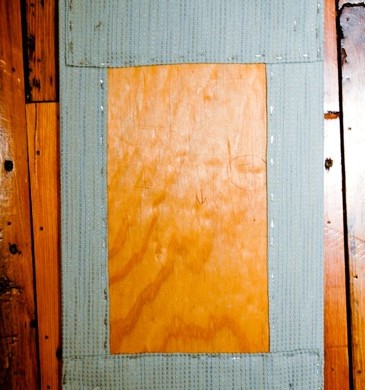
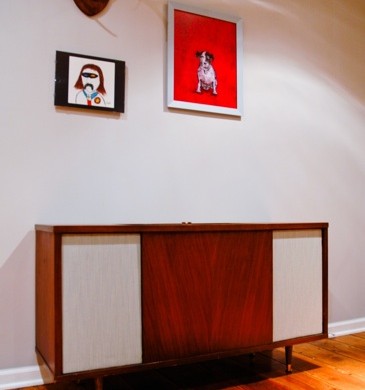
We cut out plywood to fit where the stereo speaker covers used to be (goodbye pumpkin color) and covered them with some very cool vintage blue fabric. We also installed a clasp to connect this plywood piece into the main body of the stereo cabinet.


Here’s the receiver for the piece of plywood that is now covered in blue fabric. This allows you to remove the blue panels and have access to the sides of the stereo cabinet.


I found these legs at Lowe’s for $3 a piece and stained them to match the cabinet. I added a little sticky felt to the bottom so they wouldn’t scratch my sweet floors.


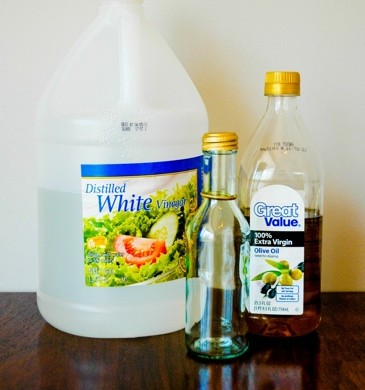
Lastly, I cleaned the entire thing using my special cleaning/furniture polish (3C olive oil to 1C white vinegar-mix in jar, use soft cloth to apply to furniture). It has brought life to the dullest piece of wood, is super cheap and ‘green’.


And now, all of this….


Fits secretly in here. My solution cost me a total of $22. I think that’s pretty freakin’ cool, don’t you?

Read more

Scrappy Plywood Art

I am not a professional painter, by any means. However, what I do have is plenty of time on my hands, leftover remodeling bits and a little creative inspiration. A small budget and the need to have some crap on my walls is my creative inspiration.
Today, we are going to make a piece of art from cheap plywood. And, it’s gonna be awesome.
What you will need:
Oops paint (this is paint that has been mis-tinted and is usually $5 a gallon at most hardware stores), or leftover paint you no longer have feelings for.
A paintbrush, sanding block or sand paper, a tape measure, a skill saw with a wood blade, polyurethane (I use the fast drying kind) and a scrappy piece of plywood.


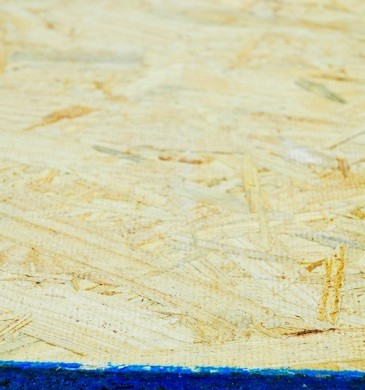
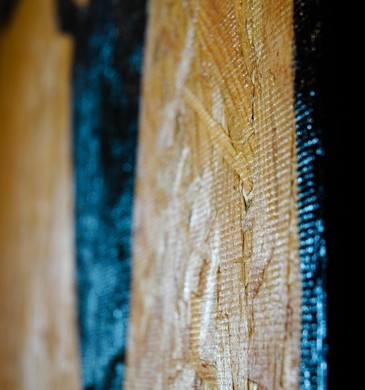
I spare EVERY expense when it comes to art that I might burn later on if I hate the outcome. Get the cheap ‘chipboard’. It has a blue edge. A 4×8 sheet of this stuff costs around $10, or go by a salvage store and buy some scrap.


You will need an electric drill and 2” drywall screws (that is, if you want to hang your art directly onto the wall like I do.) Otherwise, you can mount picture hanging devices on the back and hang it the old fashioned way.


Custom measure how big you want your artwork to be. Draw a line with a level and cut that sucker.
I wanted a large piece over our bed, so I went with a 4’x3’ piece of scrap plywood.


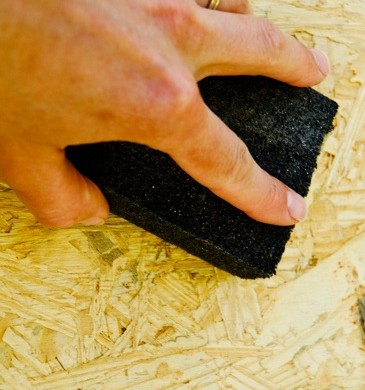
Sand the edges and any burrs that are sticking up on the face of your plywood lightly.


Next, draw a silhouette-type design on it. I decided to go for a deer head with antlers.
I know, don’t freak out. If you think you can’t draw, google ‘silhouette’ and find a design you like. Print it off and outline your design like you are in kindergarten. Don’t worry, it doesn’t have to be perfect.
Check out my line work below and it will make you feel better.


Use your oops paint to fill in the silhouette. Again, it does not have to be perfect. This is a rough piece of plywood and the paint will not go on in a straight line all of the time. That’s what makes this cool…and easy.


Paint the edges of the plywood and wrap it around to the front of your painting about a half of an inch. This will make a nice border to showcase your awesome talent.


After your paint has dried, break out the polyurethane. I usually buy one of those disposable foamy brushes, but I didn’t have any on hand. If are applying polyurethane with a paintbrush, make sure that it is an ‘oil’ paintbrush. You will also need mineral spirits to clean it out. Yuck.
Thus the reason why I usually buy a foamy brush. Let the poly dry. You can apply a second coat of poly if your wood is really thirsty or you want it doubly shiny.


Now is the glorious moment.
I hung this piece by drilling straight through with 2” drywall screws on the black sections of the silhouette. I then touched up the screw heads with more black paint.
You can also use picture hanging devices that attach to the back side of the plywood and hang it as most normal people do.

But you know I have never enjoyed being normal…

Read more