Author Archive for:Rebekah

Mod Filing Cabinet

I was tired of the clunky metal object mocking me from the rest of my very ‘cool’ office.
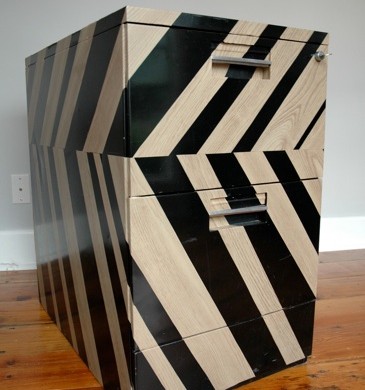
I was inspired by something similar in a Ready Made magazine (now defunct) and just had to try it on my own, of course putting my own little spin on it.
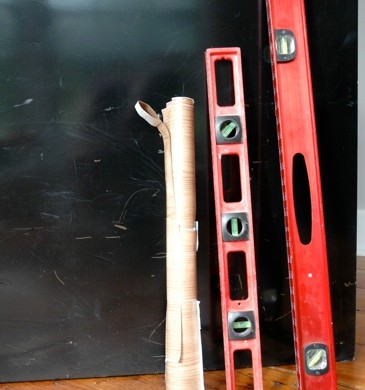


What you will need:
Filing Cabinet-I picked mine up from craigslist for $15
Contact Paper-I chose a wood grain birch (found at Lowe’s)
2’ or 4’ level
Exacto Knife/Scissors
Pencil


Using your level, draw a straight line across the middle of your filing cabinet. This will be the end point for your contact paper. I chose to put the line about a third of the way down of the filing cabinet, instead of a predictable half-way mark, just to make things interesting. I don’t like to be predictable…


Using your level, draw lines at 3”, 2” and 1” of thickness onto the contact paper to make the stripes. The angle you choose to have your contact paper at on the filing cabinet and the depth of your cabinet will dictate how long your strips need to be. Cut your differing width of stripes from the contact paper, overcompensating for the length.


I temporarily taped all of my stripes to the side of the filing cabinet, and adjusted them until I liked the look of them, before permanently adhering them to the cabinet. I have learned to do this the hard way. Let’s just say it is very difficult to remove contact paper from anything. Next, I drew little ‘tick’ marks onto the filing cabinet, notating where each stripe went, so I would remember in what order to adhere them to the cabinet.


Using a level, draw a line across the bottom of your taped contact paper stripes that coincides with the line you had originally drawn on the actual filing cabinet. This will make the bottom angle on your stripes. Remove your stripes and cut the tips off with your exacto knife or a pair of scissors.


Peel off the backing from your strips and began to place the stripes onto the filing cabinet, following your earlier notations. Smooth out the bubbles as you go.


Use your exacto knife to cut the top of your stripe off, leaving about an 1/8” to wrap around to the other side.


Repeat this process around the entire filing cabinet. If you have recessed pulls like I did, cut your stripes extra long in order to tuck the contact paper up and around your pulls. When placing the stripes on the drawers, cut them extra long in order to wrap around the edges of each drawer.
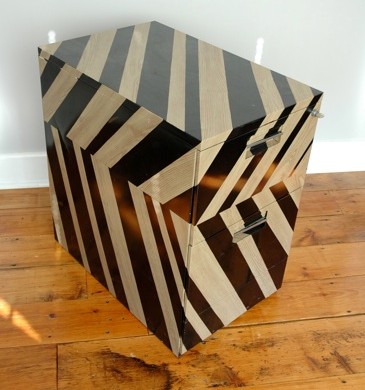
 

Now you have a ‘very cool’ filing cabinet! No more mocking us, Mr. Clunky Filing Cabinet!
Read more

This Land Press Launch Party!

I have a secret that I have been keeping from all of you.
When I began reading This Land online, I had no idea who the Mastermind was behind it.

I soon found out that this talented writer, Michael P. Mason, who has been in my life for years, was the Mastermind behind This Land.
This is a quote from the ‘ol Mastermind about this venture:
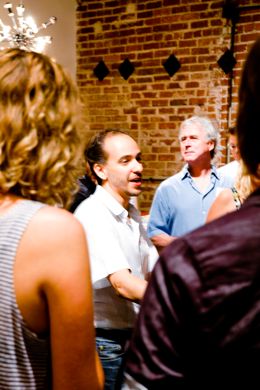
‘As a collaboration of Oklahoma’s best writers, thinkers, and artists, the aim of This Land is to deliver engaging content that’s relevant to Oklahomans, and to encourage a richer sense of community through our various projects.’-Michael P. Mason

Well said, Mike. Well said. Pay no attention to the robot behind you.


This is Mastermind’s cute little wife putting up with the his inappropriateness. I think he had one too many cups from the French Press, personally.
I know I will be in big trouble for this…but it’s worth it.


But, I digress. (Isn’t that what smarty pants writers are supposed to say when covering over their rabbit trails?)
I started reading this online/now in print paper, and fell in love with it. I timidly began leaving comments on Van Eden’s articles at first, then started stalking Michael Cooper’s photography, and then left a few comments on Michael Mason’s articles, praying I didn’t misspell a word or have a run-in with a dangling participle.
I was intimidated. The writing is good. Not just ‘local’ good, but GOOD.
And the photography? Um, hands down just plain stinkin’ awesome.


One thing led to another, and Michael approached me with a request. He wanted ME to contribute.
I think I threw up on the spot due to my anxiety issues.


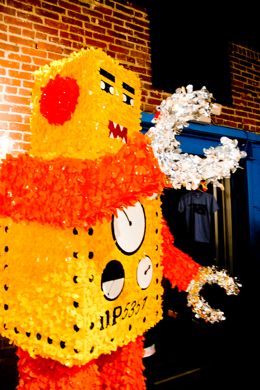
And then, I walked around like this for a couple of days. Yes, I was a gigantic robot with flashy silver horseshoes for hands. Not really, but I just loved this robot at Dwelling Spaces and wanted to squeeze it in somehow.


And, guess who squeaked in with her half-butt talent?
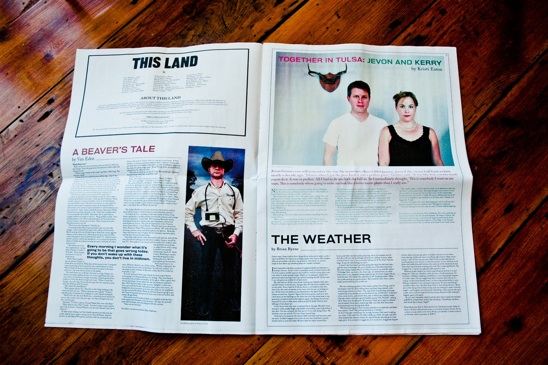
Me. That’s my picture in the upper right hand corner, page 2.
Because of this, I was invited to the launch party for ‘This Land Press’.
I actually put on makeup for this event. I can’t believe that anyone would invite me to a social get-together such as this. I tend to sweat a lot and spill wine and say inane things when conversation lags.
Example:
“Rebekah, who did your hair?”, Classy Lady asks.
“I did.” I respond.
Awkward silence. So, I jump in with both feet.
“Isn’t this party great? I mean, this is such a cool paper (yes, I used the word ‘cool’) and everyone is so nice. And boy, do you look great. I love your dress. Where did you get it? Isn’t Mike nice?…..” And so my stupidity carried on for what seemed like hours, until she raised her eyebrows and walked away.


But, I digress, again.
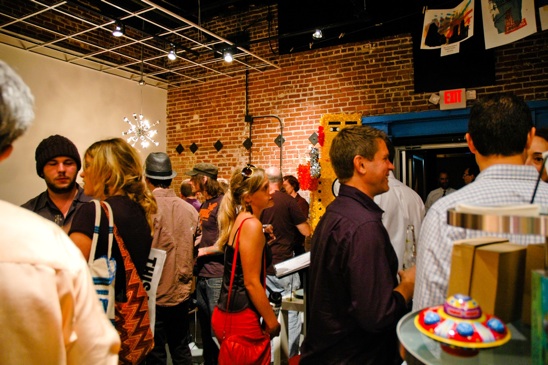
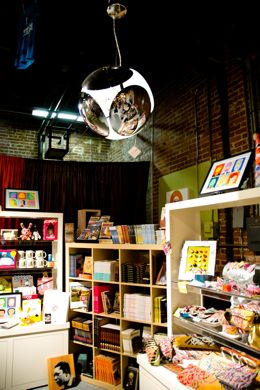
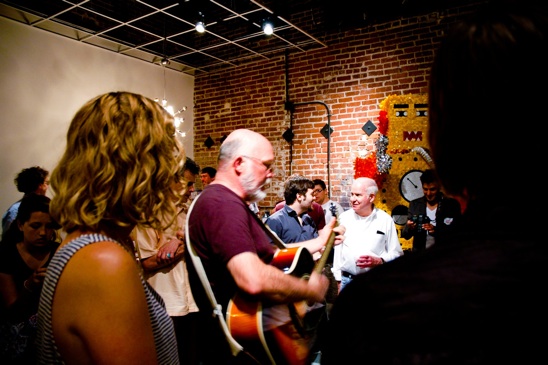
This great little store, Dwelling Spaces was packed for the Launch Party. The stock in the store is unreal.


Hand made clutches decked out with embroidery, cute n’ sassy rings made from buttons, and brightly colored toys kept me entertained for hours. Literally.
Note: I want this hanging lamp very bad.


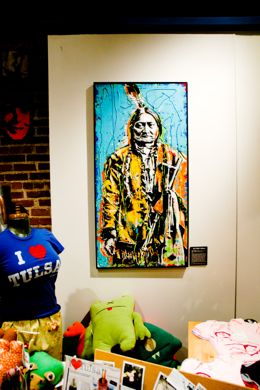
Second Note: I also want this painting in my house. A local artist, Sara Bowersock, did this and a ton of other paintings that I drool over. She even has an etsy store: Point Blank Design.


The Launch Party was a complete departure from my usual nights of pouring concrete steps, caulking showers in rent houses or the general application of Arnica Gel on my aching joints.
The night included food, wine, beer, coffee (mmmm….), music, past boyfriends….which of course is the exact formula needed in order for me to spill something, have junk in my teeth, spit while talking, sweat profusely and just generally embarrass myself.
It was a fantastic night.

Read more

The Final Farm Days

I heart Iowa.
I heart the black dirt. I heart the farms.
I heart the people.
But, my heart is breaking. I just experienced an end of an era in Iowa.
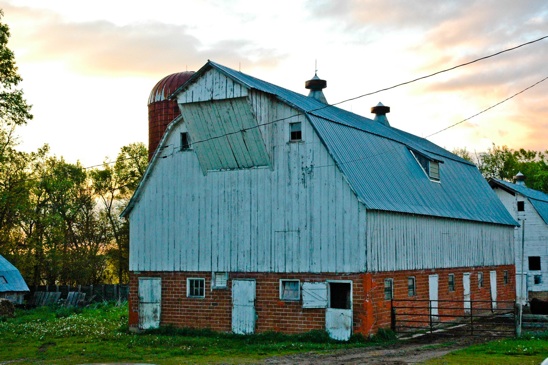
Grandma is moving to town, and the family farm is now a rental. A rental?!
The farm has been in the Greiman farm forever. I mean it, FOREVER.
The family converged last weekend to throw on the rubber gloves and get down to the nitty gritty-cleaning out cobwebs and paper-rock-scissoring each other over things Grandma no longer wants.
We accidentally came home with a 6 x 12 trailer full of stuff that is now piled in my living room.
Yikes. It stinks to be so good at paper-rock-scissors.


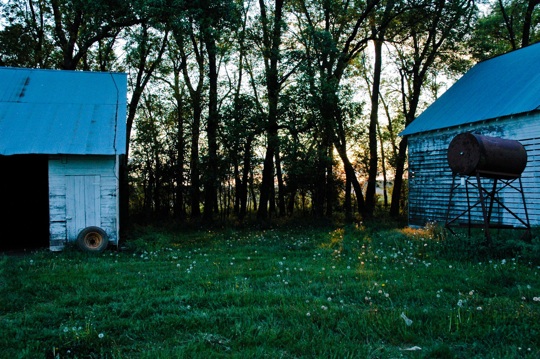
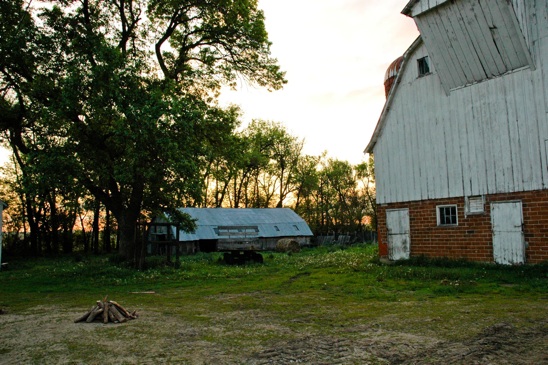
The scene above is one I have witness many times over the years. The large pile of ‘whatever’ burning next to the old grain bin.
I heart burning things in the field.


Grandma’s house is wonderfully simple. It has a huge attic, an enormous basement, 3 beds and 1 bath. Hubby’s parents just installed a dishwasher and a shower upstairs-for her future tenants.
She hasn’t had either of these things for 94 years and she’s never complained about it.


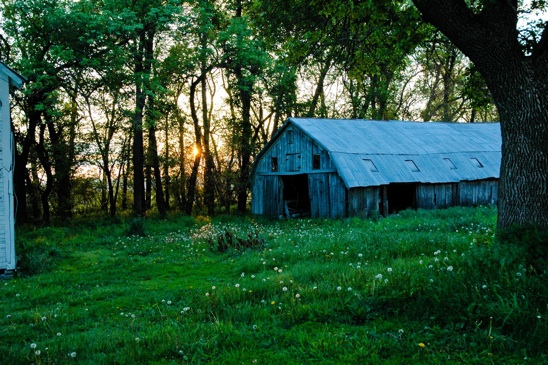
I heart the sunsets here.


The life on Grandma’s farm is simpler, quieter, and less full of quality coffee shops. You win some, you loose some.


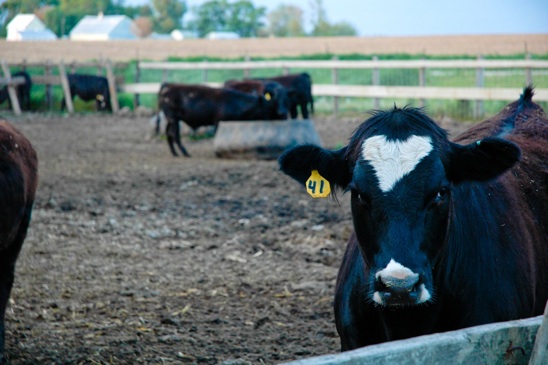
I heart Iowa cows, too.


I will miss the farm, but most of all, Grandpa. We just lost him last fall.
I never thought I couldn’t go back to the farm. But, life moves on.
I am so thankful that I have the memories and the bits of their life safe back home with me. I will show you some of my treasures soon.
Did you know that I heart Iowa?

Read more

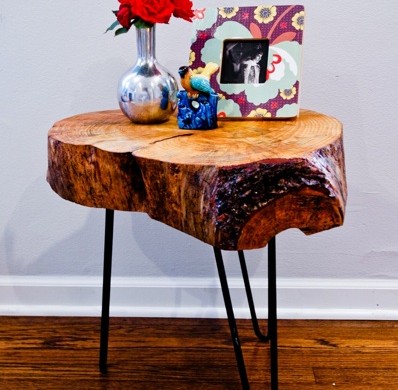
Mod Log Table

I have been dreaming of an outdoor end table for quite some time. When my neighbor decided to chop down his very dead pine tree, the opportunity afforded itself.
I love neighbors with chainsaws.
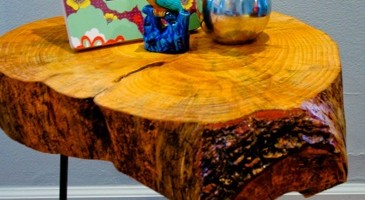
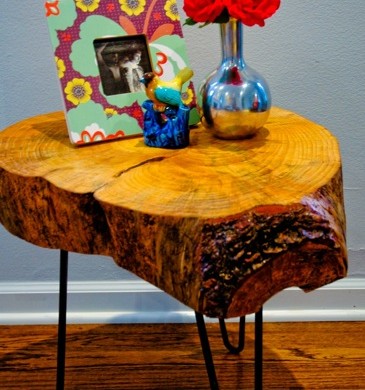
Here’s a view of the finished Mod Log Table. Yes, it’s inside my house. No, it hasn’t spent a day outside yet. I think it’s kind’ve pretty inside…


In order to make your own Mod Log Table, you’ll need a dead tree-preferably very dead. I hopped the fence into my neighbors yard and picked out my victim from amongst the carnage laying before me.


I let my Little Mini chainsaw rest while I borrowed the neighbor’s beefier chainsaw. I tried to make the cut as even as possible, knowing I would have to sand down any high points on the wood later on.


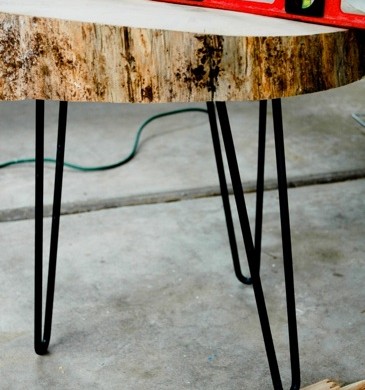
I had some vintage legs laying around, but you can use pre-made legs that you can buy at Lowe’s. You’ll also want lag screws to fasten your legs to the log, polyurethane, a foamy brush, and gloves. You’ll want some steel wool & a microfiber cloth for in between your poly layers.


You’ll need a drill with a drill bit slightly smaller than your lag screw and a belt sander with 40 & 80 grit sandpaper, a socket set and a level(not pictured-sorry!).


Sand the top and bottom of your log until it’s smooth, starting with the 40 grit. Use the 80 grit for your fine sand.
That’s fine, baby, that’s fine….


Once your log is smooth, use small set screws to temporarily attach the legs to the underside of the log. Outline the table legs (so when you remove them later on, you’ll know where they go) and flip your table over to check for it being level.


Using your level as shown, ‘shim’ up your table leg until the table sits level. Measure the amount you will either need to router out of the underside of your table, or shim up with scrap plywood.
Or you can choose to sand it even more until your shoulder falls off.
Flip your table back over and remove the legs.


I cut out pieces of plywood with a jigsaw to make up the difference I had measured earlier in order for the table to be level. I chose to shim up my legs, mainly because I do not own a router. This doesn’t look quite as finished, but for an outside table, I was ok with it.


Drill pilot holes for your lag screws or for your pre-made table legs using a drill bit that is slightly smaller than the screw you’ll be using.


Use a socket set to insert your lag screws, if you have legs like mine (tee hee). If you have pre-made legs with the screw already sticking out of the end, just screw them into where you drilled your pilot holes.


Wipe the table down with a microfiber cloth-get all the nooks and crannies. Now it’s time to make it pretty! Enough of the functional stuff. WOO-HOO!


Apply your first layer of polyurethane and let dry according to the manufacturer’s instructions. It’ll be so purty when you’re done with the first layer!


Use your steel wool to get any of the bubbles out by ‘sanding’ it lightly.


Use your steel wool to get any of the bubbles out by ‘sanding’ it lightly.
Wipe the entire thing down again with your microfiber cloth. Apply another coat of poly and let dry.


You now have such a cute table, you may not be able to bring yourself to put it outside. Mine hasn’t made it outside yet. I keep telling myself to let go…but I’m worried it will be lonely outside…

Read more