Organize My Weirdness, Mr. Bookshelf
Hubby and I enjoy garage sales. In fact, I rubberneck quite often when I see the notoriously illegible sign indicating a sale is happening somewhere in the general area. I think I enjoy seeing other peoples’ craziness on display more than anything.
It makes me feel normal for owning a Metamucil coffee mug.

I made this beauty you see here for only $10. And that’s because I didn’t haggle. The garage sale was benefitting the Boy Scouts. Which I call ‘Boy’s Scouts’. But I also call the big box bookstore ‘Barnes & Nobles’….

Anywho, my $10 bookshelf looked like this but had been used vertically instead of horizontally. So, take your computer and tilt it 90 degrees. Ok, return your computer to its full and upright position. Thank you for flying with Rebekah.
What you’ll need for this project:
One ugly bookshelf
You’ll also need:
Scrap Plywood for new shelving (if needed)
A 2’ level
Painter’s Caulk and Caulk Gun
Skill Saw
Drill with Phillips drill bit & a drill bit smaller than your wooden
shelving pegs
2” drywall screws
Wooden Pegs to hold in your new shelves
Palm Sander and 80 grit sandpaper (unless your wood is in bad
shape, then you’ll want to start with a 40 grit and work your way
up)
Tape Measure
Speed Square (if you have one)
Hammer & 2” brad nails
Primer, Leftover Oops paint-sassy color preferably…(I had a deep red on hand. Hello, sass!) and a Paintbrush
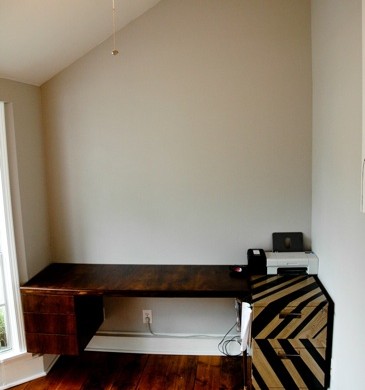
I hoped to fit my shelving right above my desk. I wanted it to basically go wall to wall in my barren office. My new $10 bookshelf was a little too long, so I broke out the skill saw.
Using my tape measure and speed square, I determined the amount I needed to cut off of one side to fit on my wall. I then used my skill saw to cut that sucker down to size. Don’t mess with me, Mr. Bookshelf.
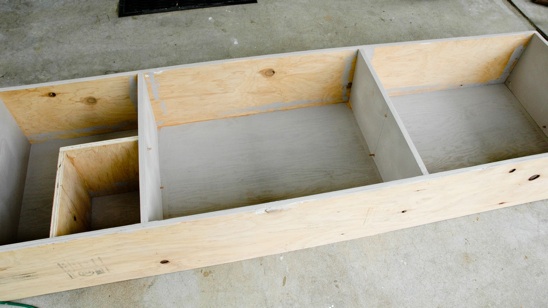
Using my tape measure and speed square, I determined the amount I needed to cut off of one side to fit on my wall. I then used my skill saw to cut that sucker down to size. Don’t mess with me, Mr. Bookshelf.
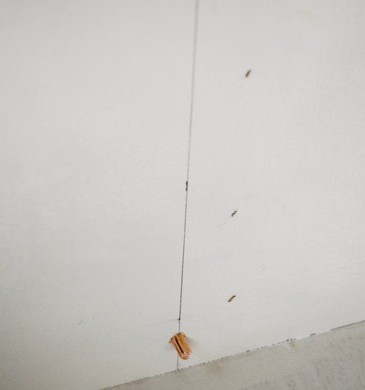
I decided that I only needed one shelf each for the other two cavities. I determined where I wanted the shelves to sit, and drilled out two holes on each side and then inserted my wooden pegs into the hole, lightly tapping them with a hammer. These pegs will hold up the shelf.
I then took this opportunity to sand down any burrs or rough edges on the shelf.

I caulked up all of the seams within the shelf to make it have that ‘built-in’ look.
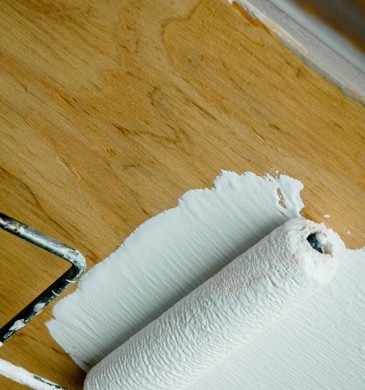
Next came priming and painting. Which was fun considering it was at least 95 degrees at this point.
I love sweating into my paint.

I used my level and my Hubby to hang the new shelf at an appropriate height. We screwed it straight into the wall with drywall screws, hitting the studs. I touched up the screw heads with my Oops red paint.
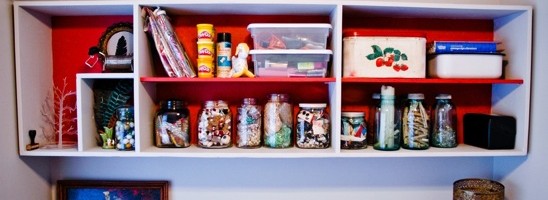
After all was dry, I pulled my aptly named ‘Craft Bin’ from the closet and begin organizing things into jars, bins and tins. Feathers, glitter, glue sticks and beads were flying everywhere.
It was one of the most entertaining nights that Cowboy and I have had in awhile.
PS-Do you think I should add doors to my bookshelf? I can’t decide.


Leave a Reply
Want to join the discussion?Feel free to contribute!