Homemade Paper & Stationary Sets
I love writing thank you notes-real notes in my handwriting using a pen and a piece of paper.
Not an email, a texts or a tweets. A note that comes in an envelope with a stamp on it.
There’s only one thing better than a handwritten thank you note.
A handmade and handwritten thank you note.
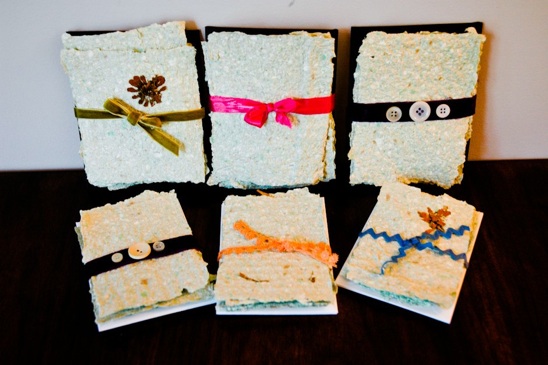
This process takes less than an hour to do, plus dry time, and provides an impressive finished product. Let’s get started on making some fancy stationary, shall we?
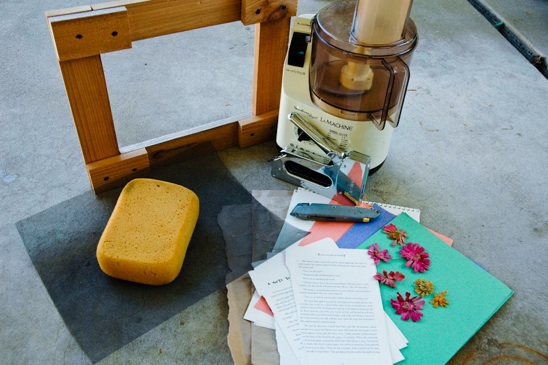
Here’s what you’ll need to make your very own stationary:
A picture frame (I made mine from scrap lumber)
Blender
Sponge
Window Screen as large as the frame
Recycled paper, construction paper, newspaper, etc
Dried Flowers (If desired)
Paper Towels and Hand towels
Envelopes
Staple Gun
Utility Knife
A plastic bin larger than the frame (I used my sink, instead)
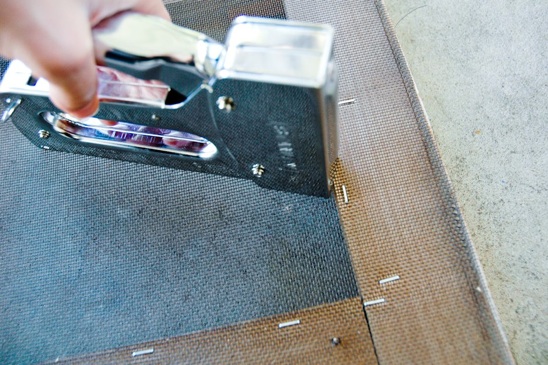
Begin by stapling the screen to the backside of your picture frame. Make sure the screen is securely attached. Over-do it, I give you permission.
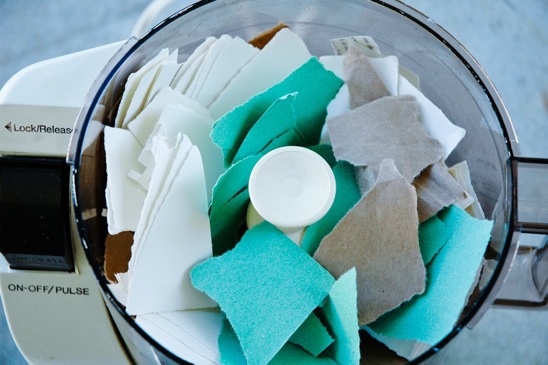
Tear the paper into pieces about 2″ or smaller. Fill your blender with the paper, but don’t compress the paper. Add water until the blender is about 2/3 full.
Press the ‘pulse’ button several times to get the mixture going. Then, switch to ‘puree’, until the mixture has almost a smoothie consistency. I did this process several times to create enough of the mixture for the amount of paper I wanted to make.
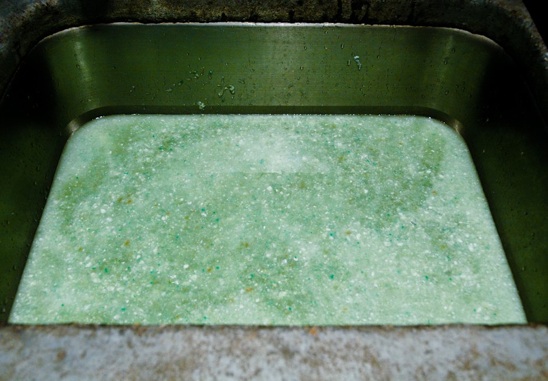
Fill your plastic bin or in my case, my sink, with the mixture, adding water until it is about 4″ deep. I added enough water to my sink until the consistency resembled more of a soup like texture.
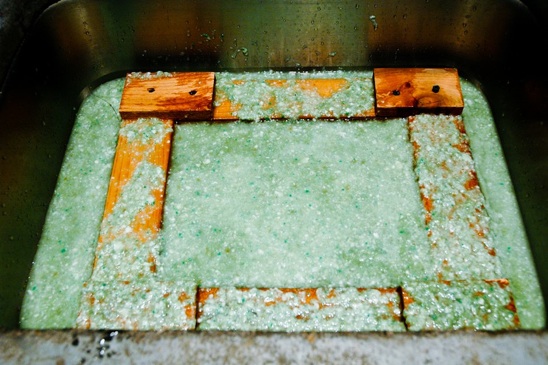
Dip your frame into the mixture, with the top of the frame facing up. Pull the frame out of the water slowly, allowing it to drain. You can even rest the frame on your bin to allow it to drain longer.
Add your dried flowers to the topside of the paper at this point.
Lay out hand towels and place several paper towels on top of them.
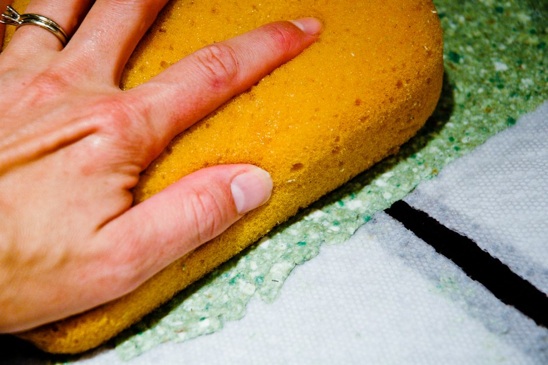
Flip your frame over on top of the paper towels. Allow the paper to release itself from the screen slowly. Use a sponge to gently remove as much excess water that you can from the paper. Allow the paper to dry for several hours.
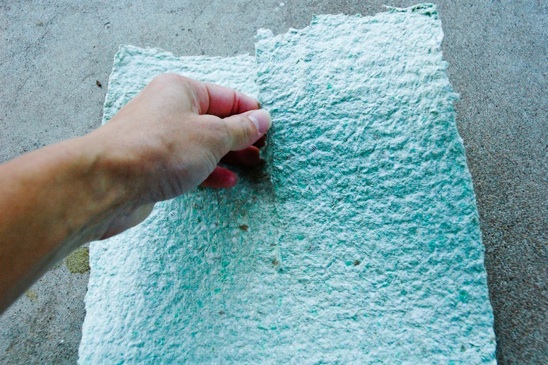
Once the paper is dry, tear it by hand to fit the size of envelopes that you have. Save any scraps to be used as name tags for the final product.
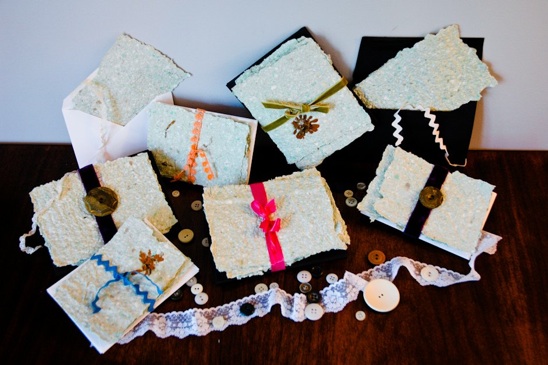
I made a stationary ‘set’ out of four pieces of the homemade paper with four envelopes. I then decorated the sets with scrap ribbon and ric-rac that I had on hand, adding buttons on a couple for a little extra ‘wow’ factor.
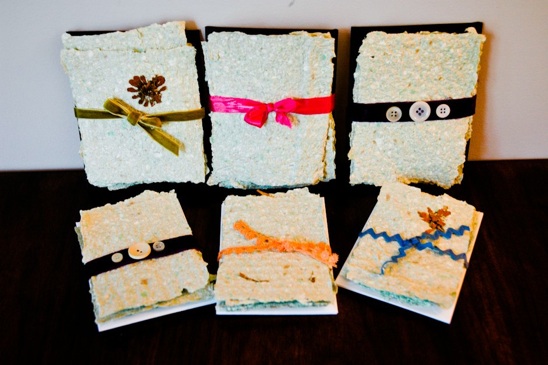
I used the scrap pieces of my homemade paper as name tags to accompany the sets.
My homemade stationary sets were a big hit with the family-or so they told me. I choose to believe them.


omg your paper is amazing i love it but i dont have all of the stuff to make its like the screen or the blender mine got broken (today sadly) but do you know any ways a 13 year old could make it?