Tag Archive for: DIY

Easy Baked Tortilla Chips

Biceps has a definite “sweet tooth”-he caves at the sight of brownies, chocolate chips, and ice cream. I, on the other hand, have a “salty tooth”-put a bag of chips in front of me and watch my will power crumble.


I (and my waistline) needed to find a replacement for store bought chips. I’ve often seen recipes that require frying tortillas in oil-which ups the calorie count considerably. I decided to experiment and bake my own chips.


Here is the calorie breakdown:

One Guerrero tortillas equals 55 calories and makes about 4 chips. There are even lower calorie tortillas-this was just what I had on hand. (Whole Food’s brand are a little less at 46 calories per tortilla).


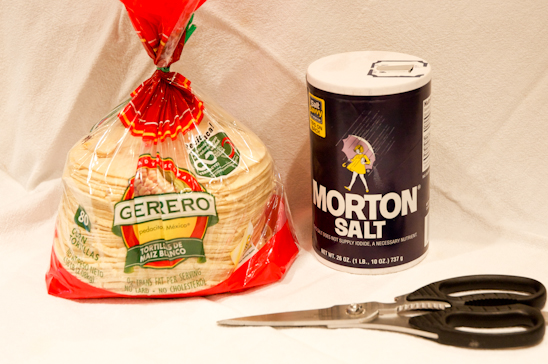
Here is what you will need to make your very own Easy Baked Tortilla Chips:

Tortillas of your choosing-I used corn tortillas
Table Salt
Kitchen Sheers


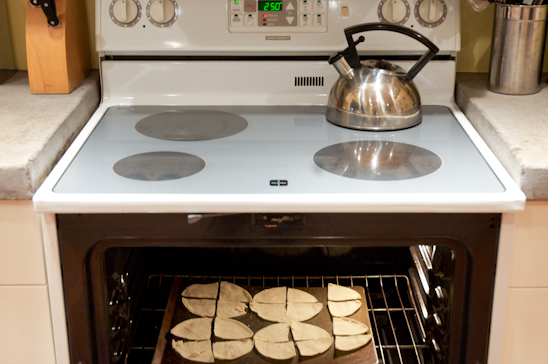
Preheat your oven to 250 degrees. Stack 2-3 tortillas on top of each other and cut into fourths.


Lay the cut tortillas on an ungreased cookie sheet.


Dip your fingers into water and sprinkle the top of the tortillas.


With a dry hand, sprinkle salt onto the tortillas. (I failed to dry my hand off and the salt stuck to my fingers. Please forgive me and learn from my mistakes….).


Bake at 350 degrees for 5-7 minutes or until crispy, turning once.


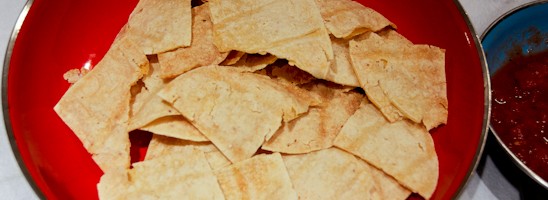
Eat the chips while they are still warm, paired with your favorite salsa. Feel awesome knowing you did something a little better for your body.

Ole!!


Linking up here, along with other parties:
Today's Creative Blog

http://www.thethriftyhome.com
Photobucket

Read more

How to make Easy Sushi (No Raw Fish)

Biceps and I LOVE Sushi. We don’t however, love the price tag on restaurant sushi, or the empty stomach an hour later because tried to get by on two rolls a piece.
Making sushi at home can sound overwhelming-and I am by no means an expert. I am a sushi hack.

Sushi is super cheap to make at home, very low calorie and makes Biceps one happy man. Win-win-win.

created at: 01/19/2012
It’s rather easy once you know what you are doing. Steering clear of raw fish in my sushi, I opt for either raw vegetables or cooked crab.

(ps-I shared this over at Curbly in January)


created at: 01/19/2012

Here’s what you’ll need to make your own sushi:

Raw Vegies-1 cucumber, 1 avacado, 2 carrots
1 Package of Cooked crab sticks (if desired)
1/4 Cup Sweetened Rice Wine Vinegar
5 Cups Sushi Rice (I use Nori brand)
10-15 Seaweed papers
Rice Cooker


created at: 01/19/2012

Measure out the amount of rice and water according to your rice cooker directions. (I use 5 Cups of rice with 6 Cups of water). Turn on the rice cooker and let it do it’s thing.


created at: 01/19/2012

While the rice is cooking, thinly slice up the crab meat (if desired).


created at: 01/19/2012

Peel the skin off of the cucumber.


created at: 01/19/2012

Next, slice the cucumber in half.


created at: 01/19/2012

Using a small spoon, scrape out the seeds from the center of the cucumber.


created at: 01/19/2012

Cut the cucumber to length in reference to the size of the seaweed paper. Thinly slice the cucumber lengthways.


created at: 01/19/2012

Once the rice is finished, transfer it to a non-metallic bowl.


created at: 01/19/2012

Add about 1/4 C of Sweetened Rice Wine Vinegar per 5 Cups of rice. (if you can’t find sweetened, add a two packets of Splenda or 2 TBS of sugar).


created at: 01/19/2012

After coating the rice with the vinegar, spread a thin amount of rice evenly on the seaweed paper.


created at: 01/19/2012

Add the cucumber, crab, avacado, etc 1/3 of the way down on the seaweed paper.


created at: 01/19/2012

Begin rolling the seaweed paper away from you, starting from the end closest to the contents.


created at: 01/19/2012

Once the seaweed paper is completely rolled up, it should look like this-but prettier. I left some rice hanging out of the end so that you could see where the end of the paper was.


created at: 01/19/2012

Using a bread knife, cut the sushi roll into 1″ slices. Occasionally, run the knife under cold water to keep it from sticking to the sushi roll.


created at: 01/19/2012

Line the sushi up like a little army on your plate. I recommend soy sauce and wasabi to further enhance the roll’s flavor. Enjoy!

Linking up here, along with other parties:
Today's Creative Blog

http://www.thethriftyhome.com


Read more

Simple, Organic Lip Balm

My month long challenge of slowly ridding our house of nasty chemicals began more than a month ago. I got on this kick and can’t stop!

I’ve posted a Recipe for Facial MoisturizerDIY Organic Dishwasher DetergentCheap, Organic Face WashDIY Household Green Cleaner and last week was my DIY Organic Eye Makeup Remover.

I am concocting my own household replacements with little more than what I have on hand or what I can find at the organic market.

But the replacements must meet or exceed three important expectations for this frugal gal:
1. It must be easy to replace-no beakers or science lab experiments. Thank you.
2. It must be just as good or better than the current product I’m using and,
3. It must cost the same or less than the current product I’m using.


photo source unknown

If the product I create passes the final test-me using it for over two plus weeks to make sure it does its job-then I’ll be sharing it with you. I will break down the cost for you, provide you the recipe and give you my honest opinion of the final product.

Today, I’ll be sharing a tested and loved recipe for  Simple, Organic Lip Balm. (ps-I shared this over at Curbly in January)
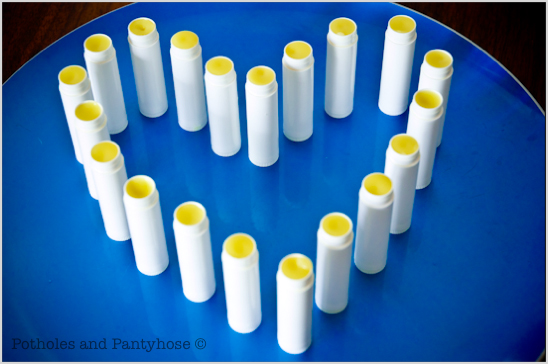


My hubby and I go through inordinate amount of lip balm. And at $3 a tube, it was beginning to add up. I wanted to find a way that I could circumvent the cost, the unnecessary added chemicals and the need for store-bought lip balm.
For approximately $.25 a tube, I had my very own lip balm without the chemicals.
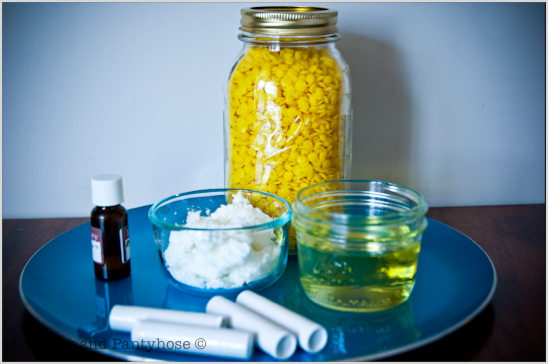


Here’s what you’ll need to make your very own Simple, Organic Lip Balm:

2 TBS Beeswax Pearls
2 TBS Pure White Refined Shea Butter (you can use unrefined shea butter, it just has a bit of an odor)
4 TBS Sweet Almond Oil
1/4 tsp “Essential” Peppermint Oil (or use Lavender, Cherry, Lime, Eucalyptus, oil)

Double Boiler (or a heat safe bowl set over a pot of simmering water)
Plastic Measuring Cup with a spout
Paper Towels/Rags
(15-20) .15 oz new or recycled tubes or containers (I bought mine from bulkapothecary.com for $0.14 each)
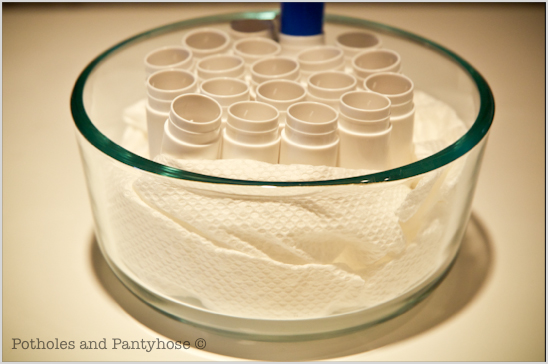


Prepare the lip balm containers by placing in a bowl or pan, without the lids. Help tubes stay upright by wedging paper towels around them.
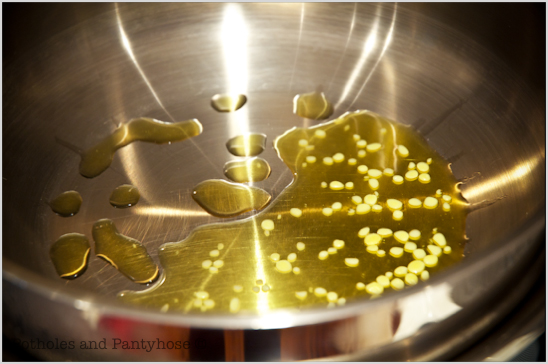


If using a Double Boiler, fill the bottom pan with water and bring to a slow boil. Place the second pan on top, and melt the beeswax.

If using a heat safe bowl, set the bowl over a pot of simmering water.

Stir continuously with a wire whisk while the next ingredients are added.
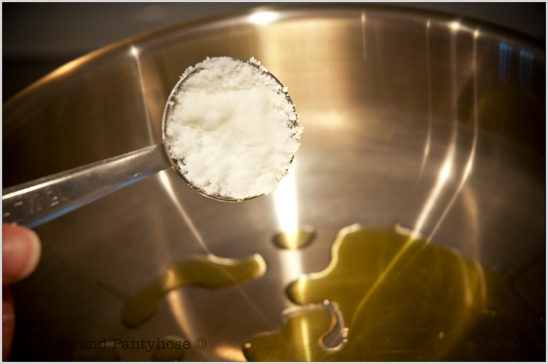


Add the 2 TBS of Shea Butter.
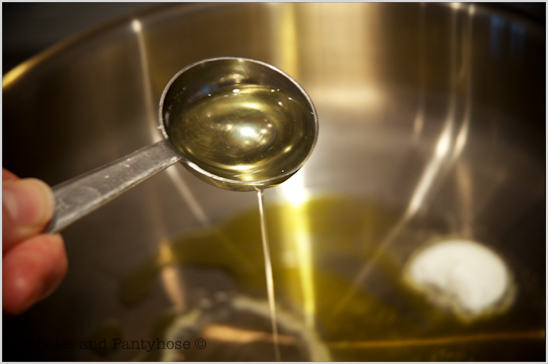


Add the 4 TBS of Sweet Almond Oil.
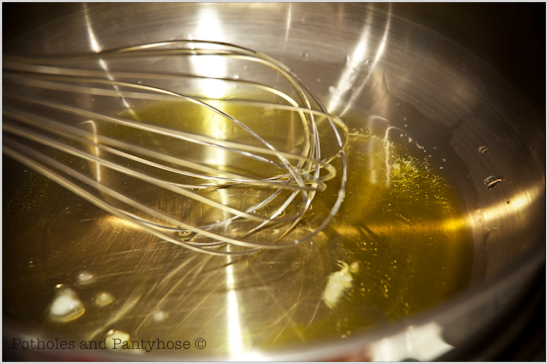


Once liquified, remove the top pan from the heat while continuing to stir.
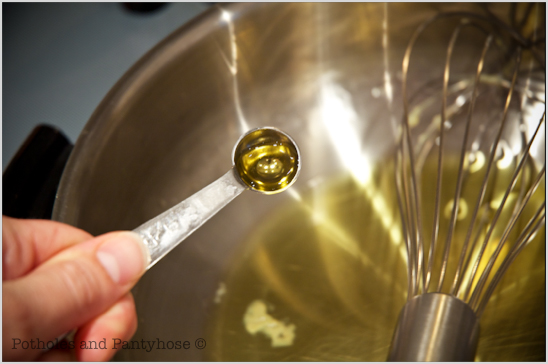


Whisk in a 1/4 tsp of essential oil. (I used peppermint in my lip balm).
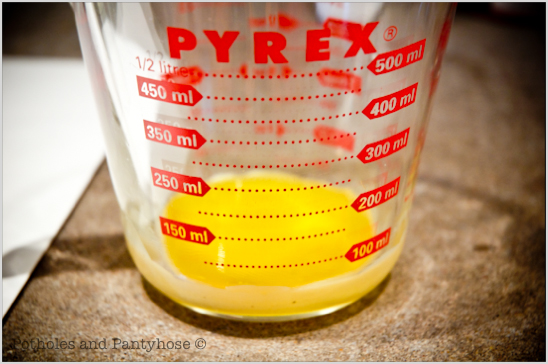


Working quickly, transfer the hot liquid to a room temperature plastic measuring cup with a spout.
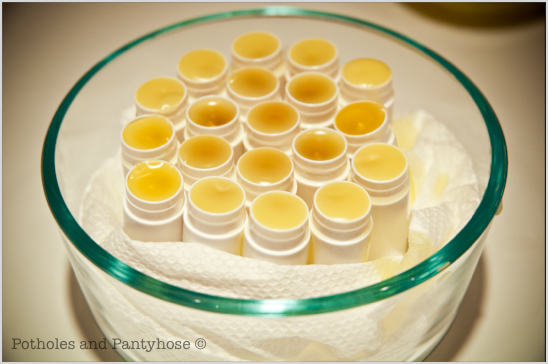


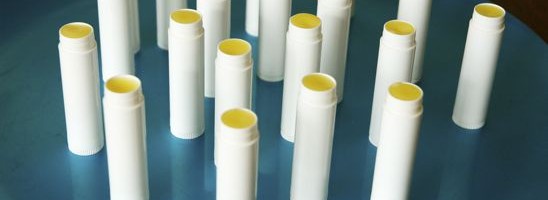
Pour the hot liquid into the lip balm containers.
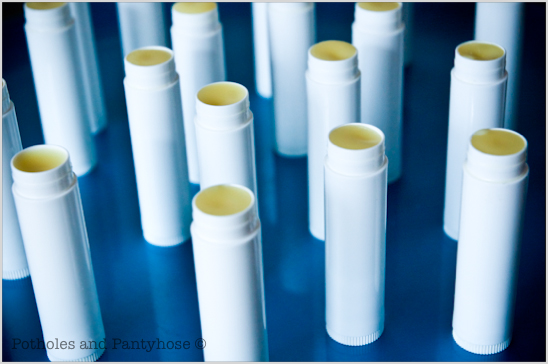


Let cool for 15-20 minutes. Place the lid on the cooled container and enjoy.


I recommend wiping out all pans, measuring cups and spoons with a rag or with paper towels before attempting to wash them. Trust me, I learned the hard way….

Each tube cost me approximately $.25 or less-I had a bit leftover which I use on my cuticles-it’s great for that tough little skin. Hope you enjoy!

Linking up to this and other parties:
The Thrifty Home


Tip Junkie handmade projectsToday's Creative Blog

Read more

DIY Organic Eye Makeup Remover

I’ve been having a blast this past month finding replacements for every day things I buy and use at home. My month long challenge of slowly ridding our house of nasty chemicals began several weeks ago.

My first item to replace was my face lotion. I created a Recipe for Facial Moisturizer. I moved on to replacing my dishwasher detergent-DIY Organic Dishwasher Detergent, face washCheap, Organic Face Wash  and finally last week I shared several DIY Household Green Cleaner recipes.

I am concocting my own household replacements with little more than what I have on hand or what I can find at the organic market.

But the replacements must meet or exceed three important expectations for this frugal gal:
1. It must be easy to replace-no beakers or science lab experiments. Thank you.
2. It must be just as good or better than the current product I’m using and,
3. It must cost the same or less than the current product I’m using.


photo source unknown

If the product I create passes the final test-me using it for over two plus weeks to make sure it does its job-then I’ll be sharing it with you. I will break down the cost for you, provide you the recipe and give you my honest opinion of the final product.

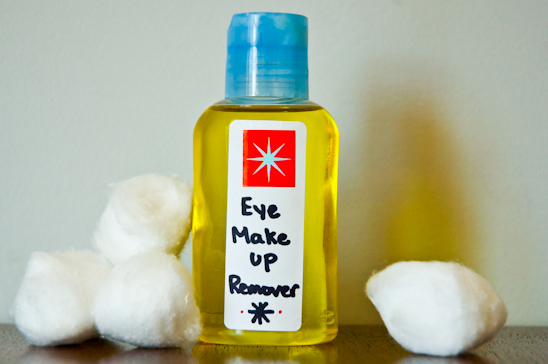
Today, I’ll be sharing a tested and loved recipe for Eye Makeup Remover.


This recipe only requires two ingredients. And, it ends up costing $1.13 for 3.5 oz.


I have very delicate skin, and my eyes irritate pretty easily. I was skeptical making my own remover, but was pleased with the simple results.


Here’s all that you’ll need to make your very own Eye Makeup Remover:

(This recipe will make 3.5 oz of remover)
4 TBS Organic Extra Virgin Olive Oil
3 TBS Organic Sweet Almond Oil
Container


Use a funnel if needed and measure the 4 TBS of Organic Extra Virgin Olive Oil.


Next, add the 3 TBS of Sweet Almond Oil. Cap tightly and shake.


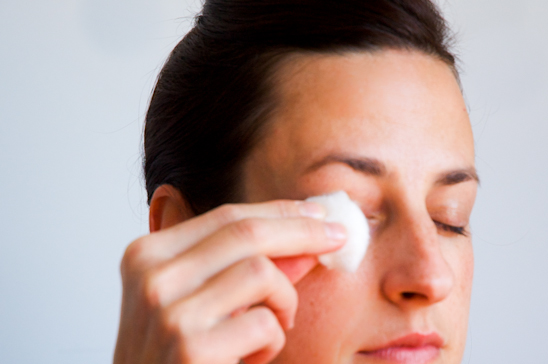
Squeeze out a little onto a pure cotton ball and gently wipe across your eyes to remove makeup.


I always wash my face first with my Cheap, Organic Face Wash before removing my eye makeup. This softens up the eyeliner and mascara, which will remove easier and it helps to avoid tugging at the delicate skin around my eyes.

It only takes a little of the Eye Makeup remover to go a long ways.


This recipe was very simple to make and super cheap. There’s no going back for this gal.

Here’s the financial breakdown of this Eye Makeup Remover Recipe (know that 1 oz = 2 TBS):

Organic Extra Virgin Olive Oil is $5 for 16 oz (or $.31 per oz). For this recipe, we needed 2 oz (or 4 TBS)=$.61.
The Sweet Almond Oil is $5.75 for 16 oz (or $.35/oz). For this recipe, we needed 1.5 oz (or 3 TBS)=$.52.

To make 3.5 oz of Eye Makeup Remover the total cost was=$1.13

(This recipe is replacing my 2 oz Physician’s Formula eye makeup remover which is $5.50.)


Linking up to this and other parties:
The Thrifty Home


Tip Junkie handmade projectsToday's Creative Blog

Read more