Tag Archive for: christmas

Sparkly, Silver, Vintage Christmas Decor

From the music to the decorating…our Christmas is pretty vintagy. Anything sparkly and old typically catches my eye. And anything cheap typically catches Biceps’ eye. This year, I pumped up the sparkly, adding vintage accents here and there.

We found our snazzy aluminum tree for dirt cheap years ago-and it came with blue and silver ornaments to boot.
Our living room has become a sparkly, shimmery wonderland. Rebekah likey.


We’ve collected vintage ornaments over the years-with a hard and fast rule of never paying more than a dollar for each one. I don’t know why we have this rule-probably because we are cheap.


This lucite tree was a gift from Grandma’s stash ‘o Christmas goodies last year. I Christmas-fy the tree with dainty green ornaments during the holidays. And yes, ‘Christmas-fy’ is a word.


This centerpiece on my dining room table spreads its cutesy flair during dinner.


I created this four foot silver twiggy tree for our breakfast nook. I just can’t seem to get enough of the twigs, lately.


Trust me, there’s more to share-but I don’t want to overwhelm you with too much sparkly.
I heard too much exposure to ‘sparkly’ can be bad for the brain…Check back soon to see what else I have up my sparkly sleeve.

Read more

Silver Twig Christmas Wreath

Due to my crazy house that sports two front doors, I needed two different wreaths for Christmas this year.
I wanted the wreaths to be complimentary, but not matchy-matchy. I don’t do ‘matchy-matchy’.
(Go here to see my other wreath: Whimsical Christmas Wreath)

I made my one-of-a-kind ‘Silver Twig Wreath’ in less than an hour. And that’s even with the time it took me to smash my thumb and say a PG word when trying to hang it up on my second front door.


Here’s what you’ll need to make your very own Silver Twig Wreath:
Metallic Silver Spray Paint
1’ to 2’ sections of Tree Limbs
Needle Nosed Pliers
Wire Snips
20 Gauge Galvanized Wire
Plastic or Paper drop cloth


For fun decor on the wreath: scavenge the house for sequins, tiny little birds, metallic circles, feathers, old ornaments, etc. I used a hot glue gun to apply the fun decor. (Hot glue gun not pictured due to my brain fart).


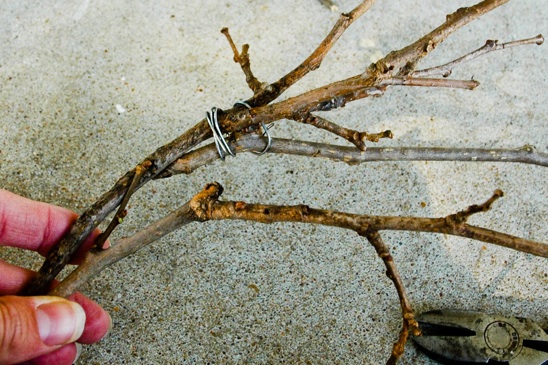
I cut my twigs into 1’ to 2’ sections, using my wire snips. I know this isn’t what wire snips are for, but…I am naughty that way. Using 3” sections of the galvanized wire, I joined my twiggy sections to one another.


Wrap the galvanized wire around the joined limbs, tucking the pointy ends underneath.


I continued this pattern until I had a nice wreath shape. I wasn’t worried about it being perfectly circular, and neither should you when you are making this. Perfection is highly overrated when it comes to crafting…


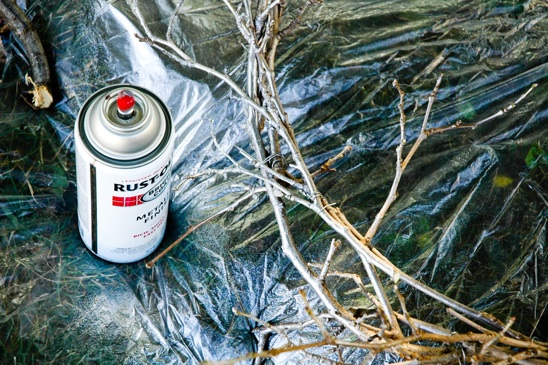
I sprayed my imperfect circular wreath with my spray paint of chose, as of late-Metallic Silver. It makes everything look very ‘ooh and ahh’…


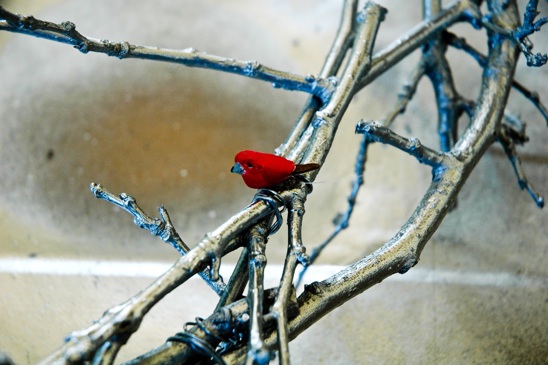
Once the wreath was dry, I added birds and metallic circles here and there at my leisure. I even used the decor to cover over the wire. Pretty sneaky, eh?


In order to hang the wreath from the door, I simply tied a black ribbon onto what I deemed as the ‘top’ of it. I also added a vintage jingle bell to the center of the wreath-alerting me of intruders-or visitors…whatever you want to call them. You say ‘potato’, I say ‘puh-tah-toe’…


Simple, different, pretty and sparkly. The ‘Silver Twig Wreath’ is a fanciful addition to the second front door. And I like fanciful things very much, let me tell you.

Read more

My Fairly Normal Parents and the Christmas Tree

I have fairly normal parents.
If they were more normal, then I might have had a better chance at not being so weird.
Alas, those are the cards that I have been dealt.
And so, I am weird.

I’m pretty happy with those cards-I like my fairly normal parents.
On a recent tour, Biceps and I were in my parent’s hometown.


Once again, they exhibited signs of weirdness; confirming my suspicions as to why I am so weird.


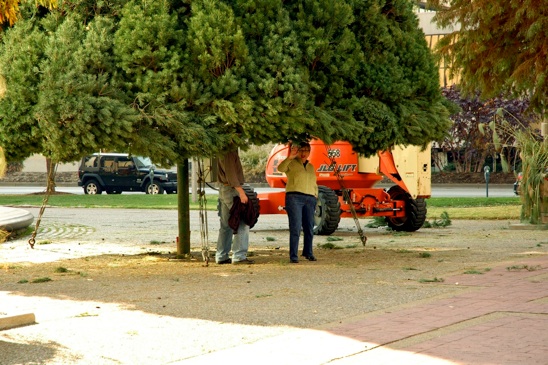
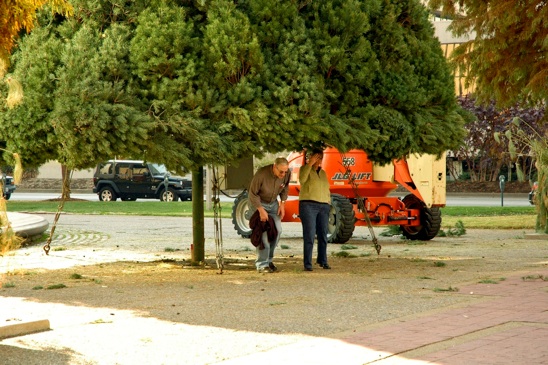
From across the park, Biceps and I watched as my fairly normal parents investigated the structure of the downtown Christmas tree.


My fairly normal mother realized she was being watched, inviting us over to join them.


Of course, we obliged.
Let’s be honest-Biceps and I were just as curious as my ‘fairly normal parents’ about the tree. We just like to watch from afar and tease a bit first. It’s what we do.
We love you, Mom and Dad. Even if you are weird.

Read more

Retro Reindeer Stocking

After making my Retro Christmas Tree Skirt, I was inspired to update some of the other decor around the ‘ol house for Christmas. This picture from 2009 shows Biceps’ stocking in all of its ridiculous glory. His stocking is far left, Cowboy is in the center and mine is far right.

Notice the sheer enormity of his stocking? He believes it entitles him to more presents…
Not only does his stocking stretch as the weight increases, but the knit of the stocking allows you to see anything inside of it-thus you must wrap everything. After years of dealing with this silliness, something had to be done.


With the leftover material from my Retro Christmas Tree Skirt and the green light from Biceps, I decided to make us Retro Reindeer Stockings that were the proper size a stocking should be.
This is the man’s version of a Retro Reindeer Stocking….


And this is the lady’s version of a Retro Reindeer Stocking.


Here’s what you’ll need to make a pair of you very own Retro Christmas Stockings:

Felt-several different scrap colors that float your boat and enough to cut (4) pieces of approx 2’ stockings-8’ squared of total material
Hot glue gun
Scissors
Ric-rac or other desired embelishments
Card Stock or your favorite stencils


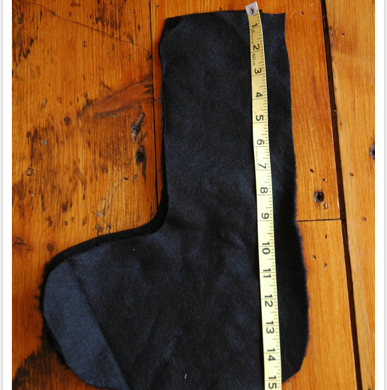
Trace a simple stocking shape onto the material and cut out four total pieces. Mine measured approximately 16” tall and 10” wide. With two right sides together, sew a seam around the stocking, 1/4” away from the edge and leaving the top open.


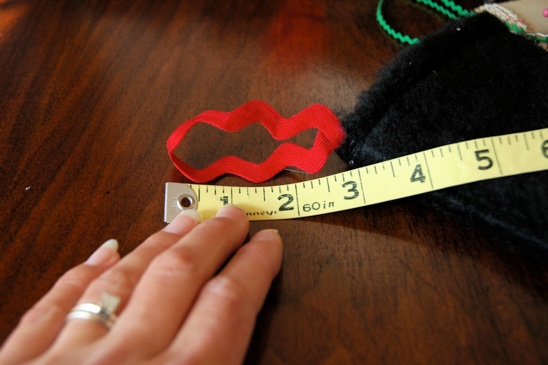
Cut a 7” loop of ric-rac. Turn the sewn stocking right side out. Fold the top down a 1/2”, turning it inside of the stocking. Insert the loop of ric-rac on the edge of the stocking and sew a 1/4” seam around the top of the stocking.


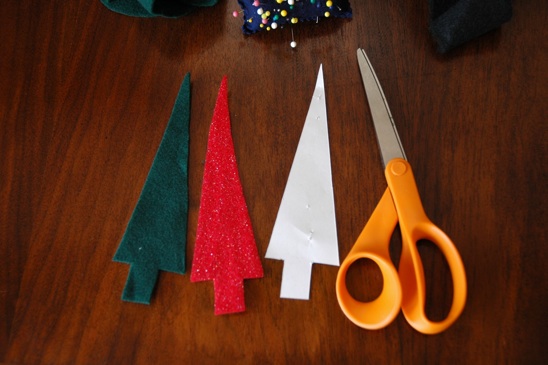
Use your favorite stencil, or draw a shape onto cardstock that your little heart desires. I chose a tree for each stocking and also a boy deer with antlers for Biceps and a girl deer sans-antlers for yours truly.
Cut out the shapes that your little heart desired on you felt scraps.


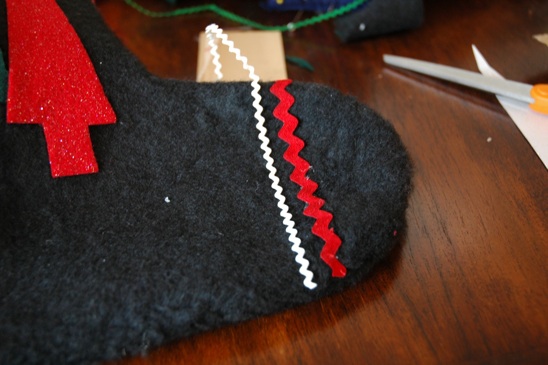
Hot glue your felt shapes onto your stocking. Add ric-rac on the toes, heels and the top of the stocking.


I gave a little ric-rac embellishment to each deer’s neck…


…and added a bow to my ‘girl’ deer.


And then, I hung my Retro Christmas Stockings up by the chimney with care, in hopes that Saint Nick can fit a ’66 Mustang in there.
Or a diamond tennis bracelet.
Or just some gum. I’m easy to please.

Read more