Archive for category: Lady Type Crafts

Cheap, Organic Face Wash

My month long challenge of slowly ridding our house of nasty chemicals began several weeks ago. Two weeks ago, I shared my Recipe for Facial Moisturizer  and last week-my DIY Organic Dishwasher Detergent.

I am concocting my own household replacements with little more than what I have on hand or what I can find at the organic market.

But the replacements must meet or exceed three important expectations for this frugal gal:
1. It must be easy to replace-no beakers or science lab experiments. Thank you.
2. It must be just as good or better than the current product I’m using and,
3. It must cost the same or less than the current product I’m using.


photo source unknown

If the product I create passes the final test-me using it for over two plus week to make sure it does its job-then I’ll be sharing it with you. I will break down the cost for you, provide you the recipe and give you my honest opinion of the final product.

Without further ado: here is Phase 3 of ridding my house of chemicals-Cheap, Organic Face Wash made from nothing other than oatmeal.
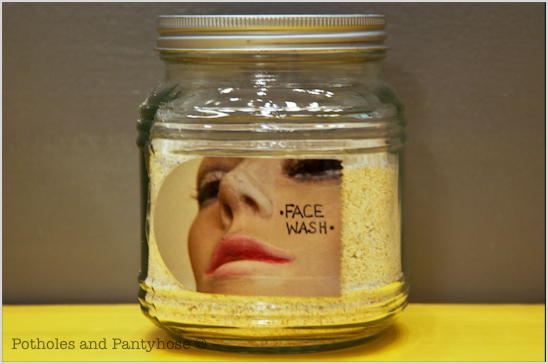


First things first-this ‘recipe’ is simple-so simple in fact, that it shouldn’t be called a ‘recipe’. Oatmeal naturally exfoliates the skin, reduces redness, fades out sun spots and leaves the skin feeling supple.
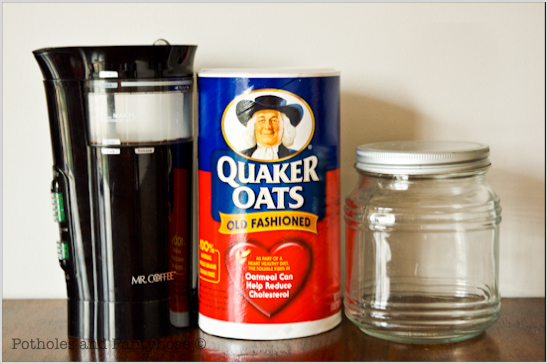


Here’s all that you’ll need for your Cheap, Organic Face Wash:

Coffee grinder or blender
Old Fashioned Oats (not the quick oats)
Jar
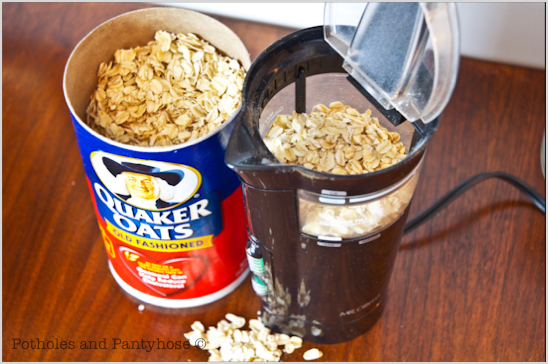


Grind about 1-2 cups of oatmeal in the coffee grinder/blender until it has become very fine.
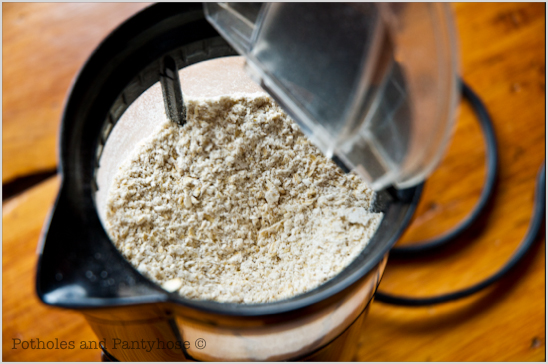


There will still be a few chunky oats here and there, but for the most part it should be almost flour-like.


Throw the oats in a jar and label it with a cute label.
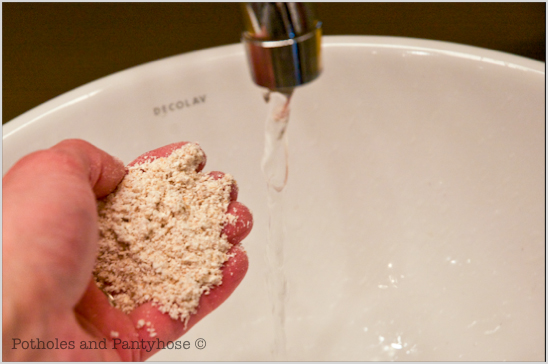


To use the Face Wash, grab a handful of the ground oats while standing over a sink.
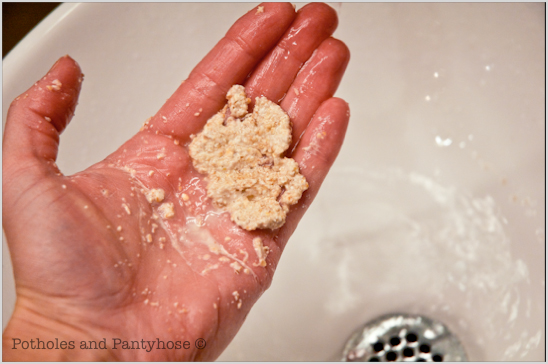


Add a bit of water to the oats, until it feels more like a dry dough.
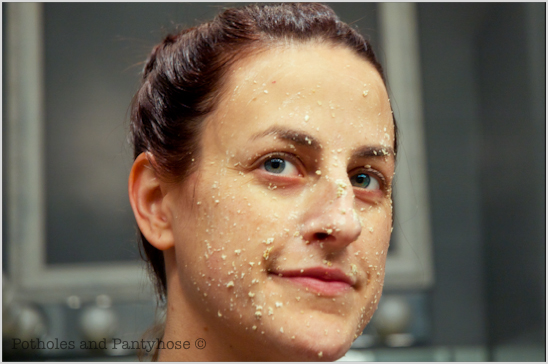


Humble yourself and take pictures as you apply the mixture to a dry face.



Rinse off with warm water. Take more humbling pictures of your crazy hair, sans make-up self that you share with the world.


This face wash costs approximately $.01 or less per usage. And I’ve noticed my sun spots fading. That’s stinking awesome.


Linking to this party, amongst others (here’s my full page of parties I link to): Today’s Creative Blog http://www.thethriftyhome.com


Read more

Easy Lace Cape-Shirt

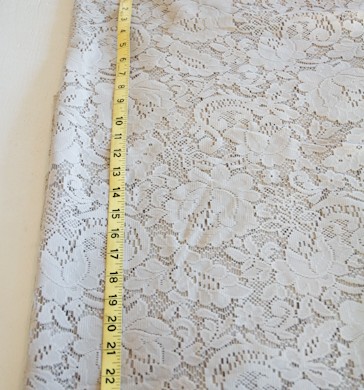
My lovely sis-in-law gave to me a set of lace curtains that she could no longer use. What’s a girl to do but make a shirt from them? (This idea works fine with a lace tablecloth, too.)


Within an hour or so, I had a sweet new shirt that goes with just about anything. This may seem like a lot of steps, but it’s just that I’m a little overboard on details, sometimes.


Here’s what you’ll need to make your very own Lace Cape-Shirt:

Fabric Lace-at least 40″ in width, 25″ in length
Thread to match
Scissors
Tape Measure
Straight Pins
Sewing Machine
Heat ‘n Bond Tape
Iron
Lace Edging


First, fold the material in half from top to bottom.
Then fold the material in half from the left side to the right side.
To make the circle that will be your cape, begin by measuring 20″ from the corner fold across the top fold. Place a straight pin at the 20″ mark.


Measure 24 1/2″ from the corner fold down the side fold. Place a straight pin at the 24 1/2″ mark.


At a 45 degree angle from the corner fold, measure out 23″. Place a straight pin at the 23″ mark.
Alternately on either side of the 45 degree angle, measure 20 1/2″ at a 22 1/2 degree angle, and 24″ at a 67 1/2 degree angle.


Following your pin marks, cut out the quarter circle shape.


At the corner fold, measure down 2″ and across 2″. Cut out the tiny quarter circle shape. This will be the start of the neck hole.


Unfold the quarter circle to the left, leaving the top folded. This should now be the bottom half of a circle.
Measure and pin 6 1/2″ across the top fold of the lace, centered over the 2″ mark already cut for the neck hole. Increase the neck hole by cutting along these guides making the hole now 6 1/2″ wide.


Measure 2″ down from the already snipped portion of the fabric on only ONE side of the shirt. To increase the neck hole on only the FRONT side of the shirt, deepen the plunge the additional 2″.
Leave the back side of the shirt as is.


With the front of the shirt folded to once again create the quarter circle, measure down from center 4″.


Cut the 4″ slit on ONLY the front side of the shirt.


I used a hem stitch to finish off all of the edges of my lace. You can do whatever you want, but this seemed to work the best for me. So there.


Sew all of the edges on the shirt, including the neck hole.


Once all of your edges are sewn, fold the shirt once more with the neck hole in the front, a fold across the top, creating the bottom of a circle.
On each side, measure 10″ in across the top fold and pin (yellow pin in picture). Then measure from that pin 13″ down and pin (white pin). From that pin, measure back towards the edge 7 1/2″ (pink pin).
(This shouldn’t change the location of the 13″ pin, it’s just a double check that you measured correctly).
Sew two 1/4″ “stays” at the 13″ mark with a quick zig-zag stitch through both pieces of material. This will keep the cape in the right place on the body.


I decided to trim out the neck hole with lace edging. I followed the package directions on the Heat ‘n Bond to apply the edging to the shirt.


I liked using a darker color to offset the gray lace. But, the same color of lace would be just as pretty to make a plainer shirt.


Tah-dah! That’s all there is to it. Slip the Lace Cape-Shirt on over a bold colored cami and call it a day. Below is the back of the shirt.


Simple. Cute. Cheap. Fun.
That’s the way I like my crafts (or crap, whatever…).

Read more

Sweet ‘n Salty-Neighbor Presents

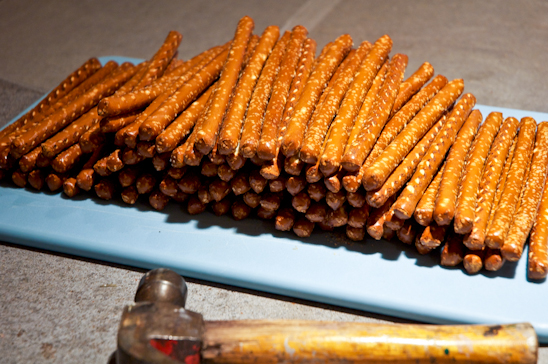
Pretzel rods will please even the pickiest pallet-or the neighbor you don’t know very well-but would like to. I know this idea isn’t new and you’ve probably either made, consumed or purchased pretzels rod sometime in your life.

They look so pretty all lined up and ready to be eaten.
For this decadent looking but simple to make treat is:
white and chocolate almond bark
a hammer
wax paper
peppermint candies
pretzel rods.


I wanted each household/neighbor to have 8 pretzel rods each. That meant that I needed 88 rods total. I picked out all the full rods from my bag, setting aside the broken nubs to be consumed by yours truly.


Next, I hammered all of the peppermints while they were inside of a thick waxed bag (cereal bag or something similar works great).


By microwaving the almond bark in a tall glass, the pretzel rods were easy to cover in chocolate, leaving about 2 inches at the bottom for a finger hold.


While the chocolate was still warm, I rolled half of my rods in the crushed peppermint.


The other half I drizzled with alternating types of chocolate.
Yum.


The leftover chocolate was used on my reject pretzel nubs, or eaten with a spoon by a certain Biceps and the mother of a certain Biceps.
So simple, so pretty and oh, so good.
Merry Christmas neighbor’s!


Read more

Makin’ a mess for the Neighbors

Biceps and I enjoy making food-type gifts for the neighbors and our tenants each year. Even some of our friends make the cut, and perhaps a few family members that insist on having a loaf of my “Beautiful Banana Bread“.

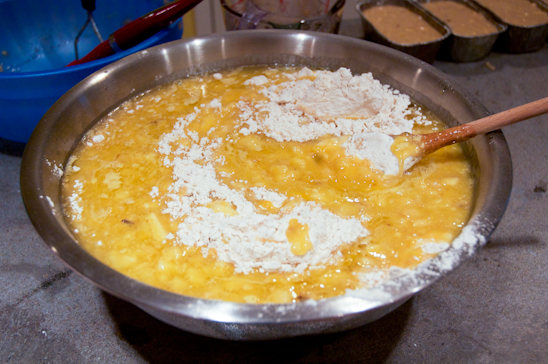
When they receive their nice little food package from us, they have no idea what a mess I had created in my kitchen.


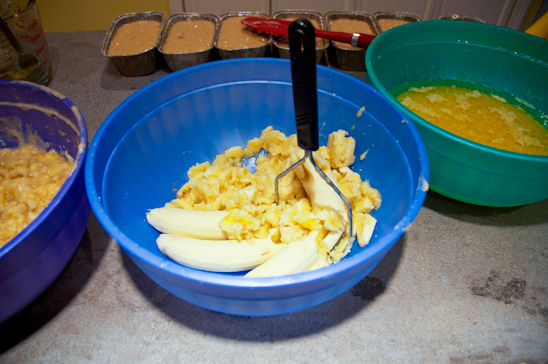
40 Bananas-mushed.


To a pulp.


That’s forty banana peels. The recipe was octopled – scientifically, that means the recipe was made 8 times. Every bowl, measuring cup, spatula and bread tin was implemented in this all out food-fest.

After wrapping each gift, I added a card and our crazy Christmas Picture and delivered them one by one to my neighbor’s and tenants. This made it feel like Christmas.
So, Merry Christmas, everyone. Hope you enjoy tasty foods and seeing my mug standing on your front porch.

Read more