Archive for category: Anyone Crafts

DIY Vintage Aluminum Foil Wreath

It is officially December. Let the Christmas games begin!
Truth be told, I have been listening to Christmas music since November 8th. That morning it was chilly, Biceps suggested we turn on “the Christmas cheer” and we haven’t looked back.
I love creating new wreaths each year for Christmas. Last year, I made two wreaths for Christmas-“Silver Twig Wreath” and a “Whimsical Silver Wreath” that I dismantled this year and re-used for parts.


Reduce, Re-use and Recycle, right? Here is this year’s DIY Vintage Aluminum Foil Wreath that took just a few minutes and a few pennies to create. It’s so purty.


Here’s what you’ll need to make your very own DIY Vintage Aluminum Wreath:
A large dinner plate, charger or lid to a popcorn tin
Coffee can lid or something similar
Scissors
Cardboard
Aluminum Foil
Leftover ornaments-plastic, glass, fabric-whatever floats your boat
2′ + of Ribbon
Hot glue gun and glue sticks


Using your dinner plate/charger/lid, trace a large circle onto the cardboard.


As Uncle Joey would say, “Cut it out.”
If you don’t know what that reference was, I apologize. It’s a little Gen X humor, I suppose. Or is it Gen Y? If I had my choice, I’d rather be a Gen Z because it rhymes with Ginseng and just sounds so much cooler. But, I digress.


Trace a smaller circle smack dab in the center of your large circle using a coffee can lid. Cut out the smaller circle. The cardboard will now resemble a large donut. Yum.


Wrap the front and back or the cardboard “donut” with aluminum foil.


Tear off 2-3′ sections of aluminum foil, fold in half lengthwise. Place an end of the foil on the aluminum donut and hot glue that sucker down.


Make 3″ loops of the folded foil, hot glueing each loop down to the aluminum donut an inch or so away from the last loop. Continue doing so until you are out of foil. Start over with another 2-3′ piece of folded foil until the entire wreath is covered in looped foil.


Cut a slit in the top of each loop with your scissors (this simultaneously sharpens your scissors and makes a killer wreath, by the way).
“Poof out” each loop randomly. “Poof out” is the technical term for “fluffing”.


Loop the ribbon in half, hot glueing the ends to the backside of the wreath.


Hot glue the chosen ornaments on the front side of the wreath, interspersing them willy nilly between the “poofs”.


One DIY Vintage Aluminum Foil Wreath is now ready for your front door. Hang it up and call it a day. Grab a glass of wine and realize just how awesome you are with your hot glueing skillz.

Read more

Vintage Lace Fall Wreath

With the change in weather comes a change in wreaths for most front doors. My front door needed-nay-demanded a fall wreath. Armed with some lace and an old tablecloth, I hot-glued my way to a Vintage Lace Fall Wreath.

I’ve been hanging onto a vintage lace curtain (given to me by my beautiful sister-in-law) and a vintage embroidered tablecloth full of holes and stains. They were perfect for the demands placed before me by my front door.


Here’s what you’ll need if you’d like to create your very own Vintage Lace Fall Wreath:
Lace Curtain or section of material
Embroidered tablecloth, or something similar
Foam Wreath (mine is silver because it’s recycled from my Whimsical Wreath I made last year)
Hot glue gun and glue sticks
Scissors

It’s that simple-let’s get started!


I cut my lace to be about 12″ wide, leaving it as long as the curtain already was-about 8′. Hot glue an end section of the lace to the backside of the foam wreath.
Now, grab your partner and wrap the lace ’round and ’round the foam wreath.


Here’s the wreath all wrapped up in the lace. On to the embellishments (from the vintage tablecloth/fabric) that make it cute!


Cut out your desired embellishment from your tablecloth or fabric.


Wrap the raw ends of the fabric underneath, hot glueing the embellishments around the wreath however you see fit. Leave enough of a section on the side of the wreath for a bow.


With your remaining lace, cut out a 12″ square of fabric.


Gather the raw ends of the lace together, making a bow. Hot glue the bow to the side of the wreath you earlier left blank.


Add another embellishment in the center of the bow, if you so desire. I did-so I did.


Here’s a little up close and personal of my finished product.


My pretty Vintage Lace Fall Wreath is finished and ready to serve its purpose on my front door!

Read more

DIY Spinning Composter-Video Only

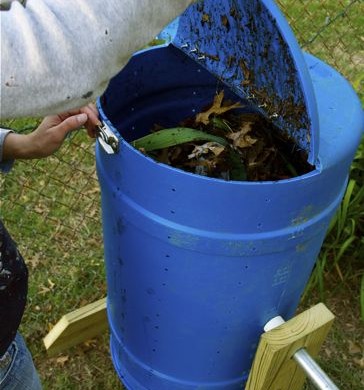
I wrote a post a few weeks ago outlining how to make a DIY Spinning Composter. I had such a huge response from this particular project, that Biceps and I decided it needed a video to go along with it.

And here’s a little excerpt from that tutorial on my DIY Spinning Composter:

This year was my first year for a full-fledged garden. I consider it full-fledged because it produced enough to not only feed Biceps and I, but it also allowed me to dehydrate, freeze and give-away the excess.To be honest, I was just happy that anything sprouted from the earth.

I give props to the composted kitchen and yard waste that we added to the soil-this garden seemed to outperform many of my neighbors’ gardens.

And just in case you don’t want to go spend your hard earned dollars buying a fancy composter in excess of $100 bucks or more, I thought I would show you how to make your own using some recycled and some store bought materials for about $30 in a matter of hours.

If you’d like to see step by step instructions, along with photographs, here’s the link to my DIY Spinning Composter.


Read more

DiY Recycled and Cheap Rain Barrel

Taking on the responsibility of gardening this year brought about several financial questions that Biceps and I had to discuss.

One-How can I garden with my cost being minimal while also yielding the best produce?

Two-What kind of cute garden accoutrements can a girl justify buying in order to really enjoy the gardening experience, i.e. pea green garden clogs, flowery leather gloves, etc.?

Our first experiment was making our very own and very cheap “DIY Spinning Composter”.

It took a couple of hours and a couple of bucks, and voila-rich, lovely compost. Mmmm….


Our next experiment was making our very own DiY Rain Barrel.
Did you know that with only ONE INCH of rain, a 1,000 sq. ft. roof will produce 600 gallons of water? What the heck! We decided to make two rain barrels for the back of our house. If I had my way, they’d be surrounding the house….
(Of course, there are many stores that sell rain barrels-but that seemed too easy. Plus the price tag of $80-$300+, made most of them outside of our “cheap” budget.)
We started off by buying a recycled pepper barrel from Atwoods for $35.


It came complete with a spigot…


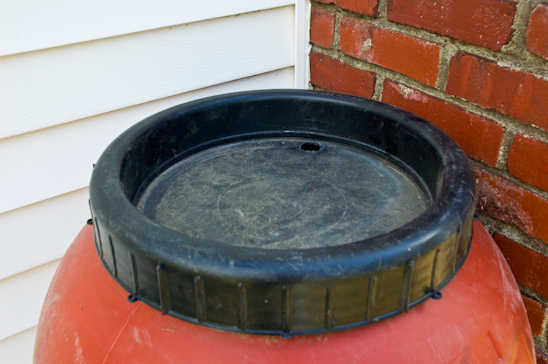
…a lid that screwed on and a bonus-it’s very own peppery smell.


And the rest of the necessary items needed we purchased for less than $10.
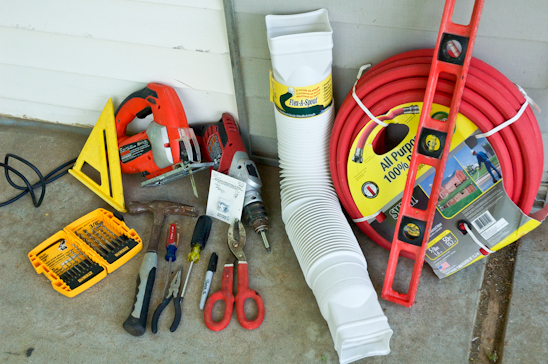
Here’s what you’ll need to make your very own rain barrel:
Drill and drill bits
Hammer
Metal Cutting Shears
Jig Saw with wood blade
Phillips & Flathead Screwdrivers
2′ or 4′ Level
Old window screen
Hose (Buy a new one, recycle an old one)
Flex-A-Spout (Lowe’s, Atwoods, Home Depot)
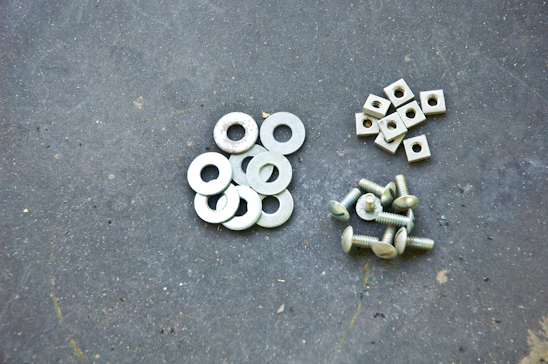
(4 ish) White sheet metal screws for gutters (Lowe’s, Atwoods, Home Depot)


…1″ Bolts with washers and nuts (we have a coffee can full of these, but if you must purchase them, you might spend $1-2)


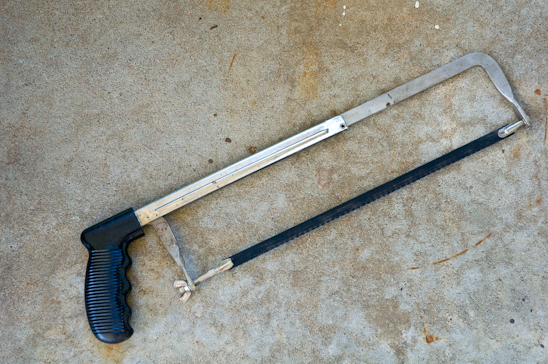
…and a Hand Saw with metal blade


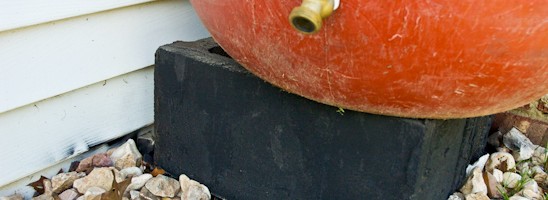
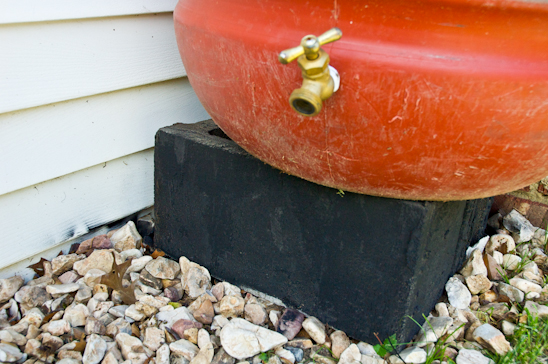
We raised our rain barrel up 6″ in order to have gravity take control of the water flow. If you are placing your rain barrel on a slope and watering below, you can skip this step. I would recommend raising it as high as you can safely-(NOTE:1 gallon of water weighs about 8.35 lbs, so a 55 gallon barrel full of water weighs approximately 460 lbs.).


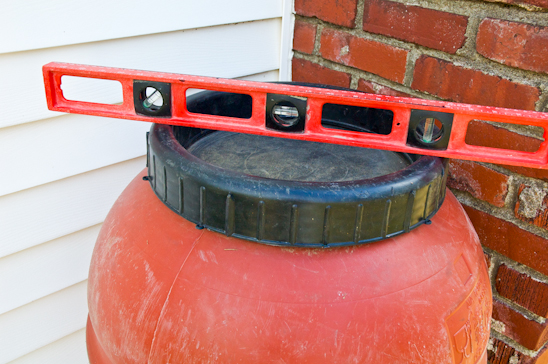
Level the barrel to avoid any topsy-turvy action.


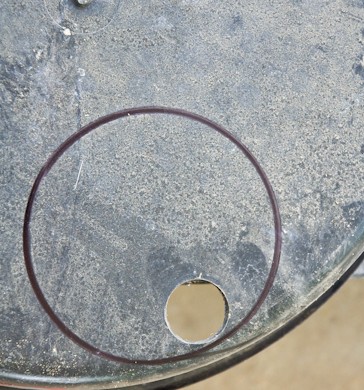
The first step was to trace where I would cut a hole (I used my coffee can) in the lid to allow the water to flow from the downspout and into the barrel.


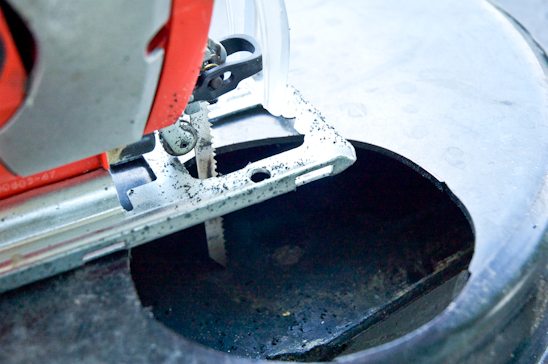
Using my jig saw, I cut out the traced circle.


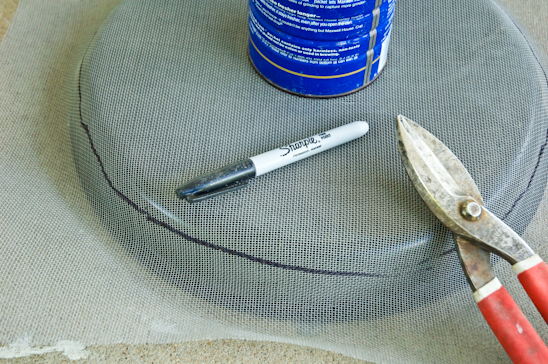
Next, I cut out a circle of screen with my metal cutting sheers to cover the entire top of the lid. The screen will catch tree limbs, nuts, and roof debris before it enters the barrel.


I pre-drilled five holes around the top of the lid. This is where the bolts will go to hold down the screen.


I laid the cut screen on the top of the lid and pierced through the screen with a hammer and a nail, into the pre-drilled holes. This will allow the bolts to go through easily.


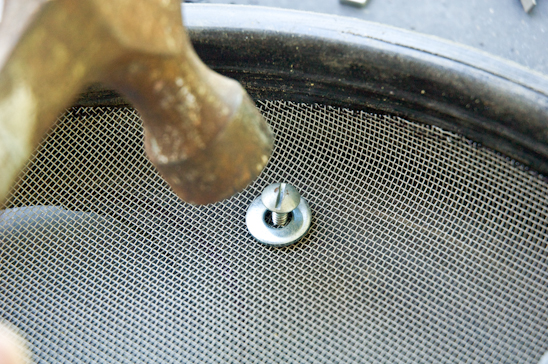
The bolts and washers came next. I pounded the bolts through the pierced and pre-drilled holes in the screen. On the underside of the lid, I tightened the bolts by adding nuts.


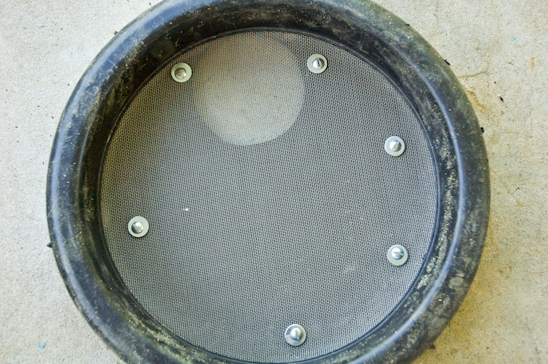
Here’s what my finished lid looked like.


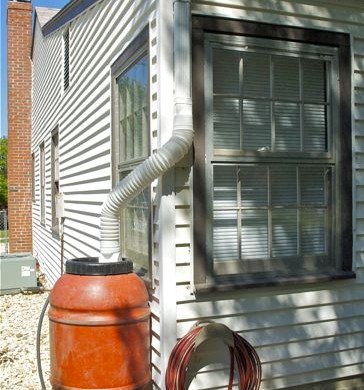
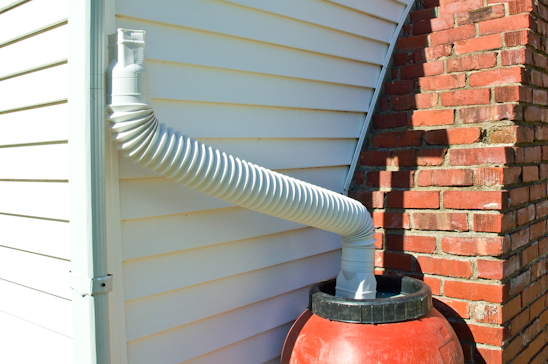
Next, I determined where my Flex-A-Spout would need to attach to my gutters while still reaching my barrel.


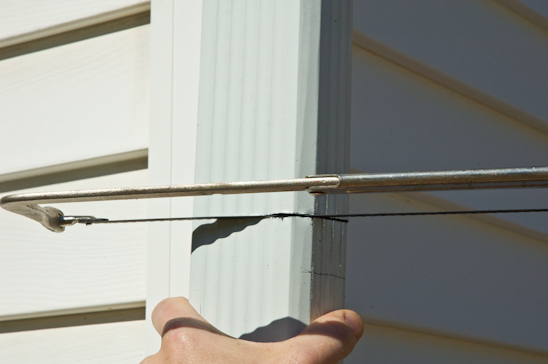
After marking on my existing downspout where the cut would be made, I got to work with the hand saw.
To be honest, Biceps is cutting so that I can take the picture.


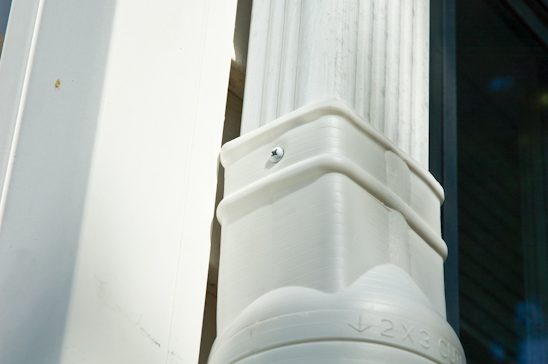
I pre-drilled through my Flex-A-Spout and into the existing downspout before adding the white sheet metal screws on all four sides, cinching the two spouts together in perfect harmony.


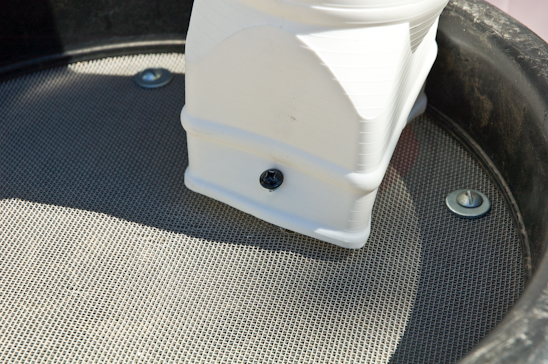
For good measure, I screwed the end of the downspout into the rain barrel lid with a 3″ exterior screw. I didn’t want it to be flopping around during a high wind and embarrassing itself.


I would recommend drilling out a large hole at the top of the barrel for overflow. I even attached a hose to this in order to feed the overflowing water into another barrel or trashcan during an intense rain.
Attach the hose to the spigot, and voila-you are done!

Now you don’t have to freak out each time you want to water your garden or fill up your bird bath. Or maybe you weren’t freaking out, but still would like to have a rain barrel.

Either way, it’s win-win.

Read more