Archive for category: Anyone Crafts

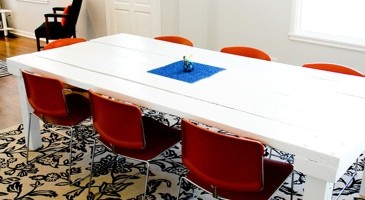
Barn Wood Dining Table

I love to fill up a person’s belly until they are beyond full…and then heap a dessert on top.
A large dining room table, with the ability to sit twelve, was a dream of mine.
And Biceps and I made it a reality-a beautiful, unique and inexpensive reality.
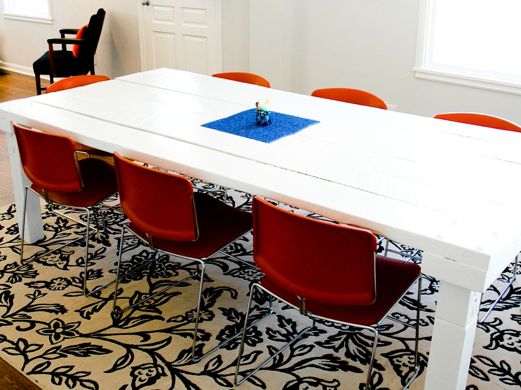
Using recycled barn wood from Bicep’s century farm, we made the indestructible table for about $50.
If you don’t have access to barn wood, don’t worry. I’ll tell you how to make this with dimensional lumber you can buy from Lowe’s.


What you’ll need to make your own dining room table:
Circular Saw
Drill with a 1/2” wood drill bit and a phillips drill bi
(16) 5” carriage bolts, 1/2” thick with matching nuts
A box of 4” wood screws
Belt Sander with 80 & 40 grit sand paper
Tape Measure
Speed Square
(4)Mailbox Post Holders (found at Lowe’s)
Socket Set & Hammer
Primer & High Gloss White Paint
Paint Rollers, brush


No barn wood? No problem!
Here’s what you’ll need:
(6) vertical table top pieces:1 1/2” thick, 8’ long, 8” wide.
(2) horizontal bottom pieces: 2 1/2” thick, 8” wide and 4 feet
in length.
(4) 4”x 4”Mailbox Posts (for the legs)


Using your speed square, measure your vertical table top pieces to be 8’ in length. Measure your horizontal bottom pieces to be 4’ in length.


Use your circular saw to cut your wood.


Line up your horizontal 8’ top pieces on your 4’ bottom piece.
Watch your fingers as you do this, unless you like that blood blister look. I know I do.
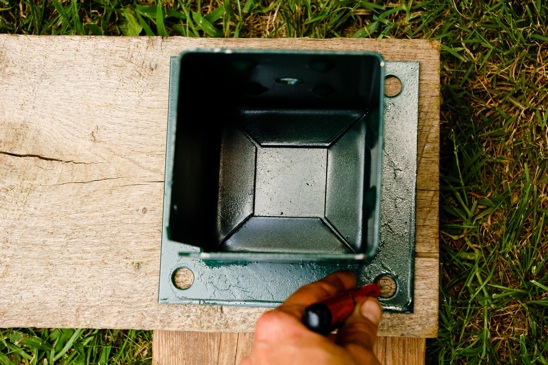

With the top side of your table facing up, trace the holes that will attach your mailbox post holder (legs) to your table top on each corner of the table.
(Note, you will be attaching the mailbox post holder underneath the wood you are seeing presently.)
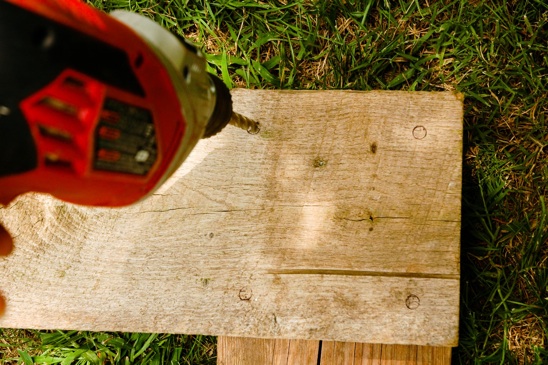

Attach your 1/2” drill bit to your drill and get to work, drilling through both the top piece and the bottom piece.
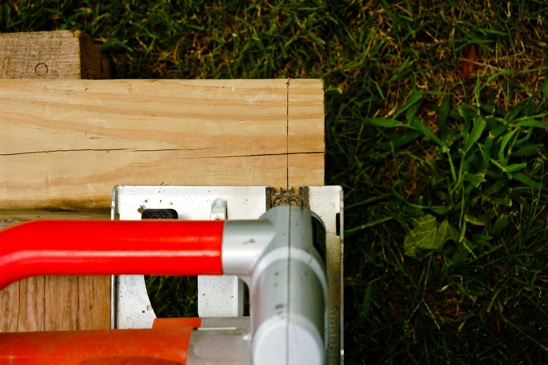

A standard table top height is 30”. The thickness of my vertical table top pieces plus the horizontal bottom pieces was 4 1/2” thick. I cut my four posts to 25 1/2’ tall to make the table at the normal 30” height.


Pound your mailbox posts into the holder like you just don’t care.


Now, pound your 5” bolts into your drilled holes like you just don’t care about that, either.
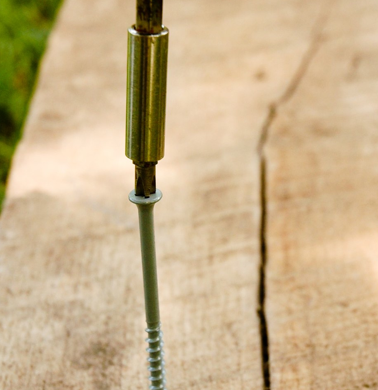

Screw in the rest of your vertical table top pieces to your bottom horizontal pieces with your 4” wood screws. I used about (6) wood screws per piece on each end.
Once all of your top pieces are attached to the bottom pieces, grab a friend, offer them a cold beverage and then con them into helping you flip the table over.
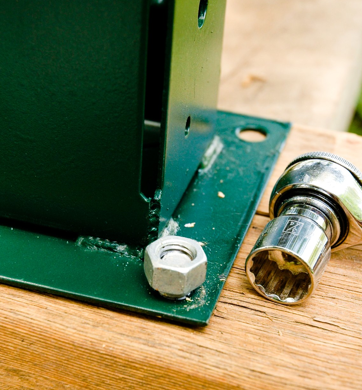

Use your socket set to attach the carriage bolt to the mailbox holder, tightening the nut as far down as you can.
Or in my case, as far as you can and then ask Biceps to finish it off for you.


Using a 40 grit sandpaper and your belt sander, sand the puddin’ out of your table.
Upgrade to an 80 grit for a nice smooth finish if you like. I wanted my table to be pretty rustic, so I stopped after the 40 grit.


Next step: paint-ville! Prime and paint your table and let it dry.
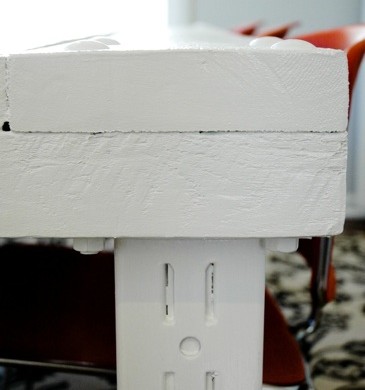

You’ll need to bribe approximately 4 strong men to move your table indoors. I bribed them with cake during my brother’s birthday party.
I am very, very sneaky….
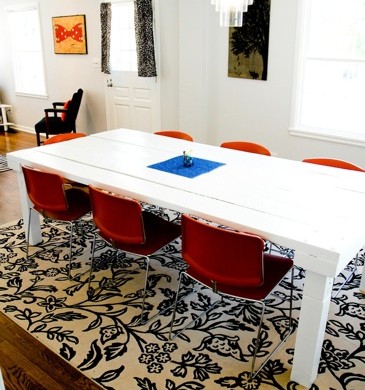

But trust me, the backache is worth it. You can sit twelve people around this table, have your entire meal in the middle of it and still have room to dance on top.
Not that this scenario has ever happened before. But if it did, the table wouldn’t mind.
It’s just that awesome.
Read more

Recycled Wood Art

A bag of hardwood flooring bits have been sitting in my shed.
For awhile.
The last time they fell from the shelf and hit me in the head, I decided it was time to show those bits who’s boss.

I love making ironic pieces. And I really love it when they cost me absolutely nothing.


Here’s what you’ll need to make your own variation of Recycled Mod Art:
Hardwood scraps-ask a flooring man to save a bag full for you
Plywood scrap (mine was about a 2’x3’)
Stain
Polyurethane
Foamy Brush
Sand Paper-forget the palm sander–not needed
Oops Paint & roller
Nail gun w/ appropriate nails or gorilla glue
Table Saw & Chop Saw
Level
Hammer
Sharpie


Paint your plywood scrap with a bold color. I chose red because we had it on hand. But I really would have preferred orange.
Oh well. That’s the way the paint chips crumble…


Set up your table saw and create a ‘push stick’ for yourself if you don’t already have one.
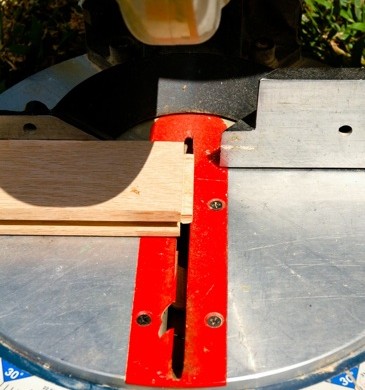
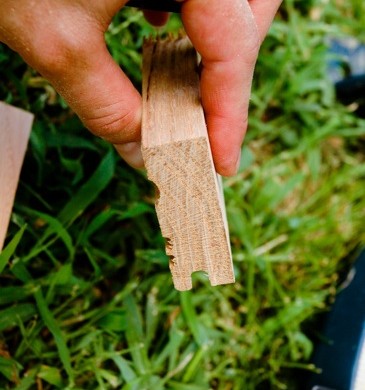
Cut the tongues off of your wood bits.
Sounds gruesome, I know.


Using your chop saw, cut the lips off of your wood pieces.


Your little wood bits should look like this when you are finished hacking them to pieces.


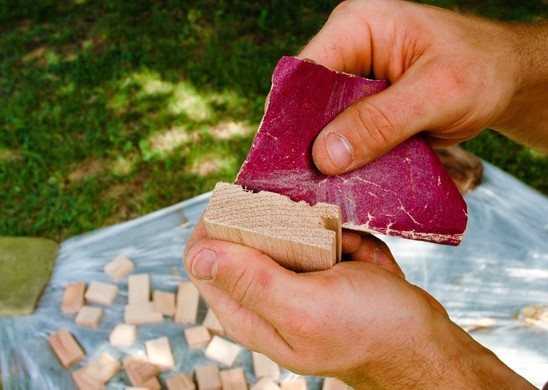
Hand sand any little burrs from your wood bits using a very masculine and furry hand model for the occasion.


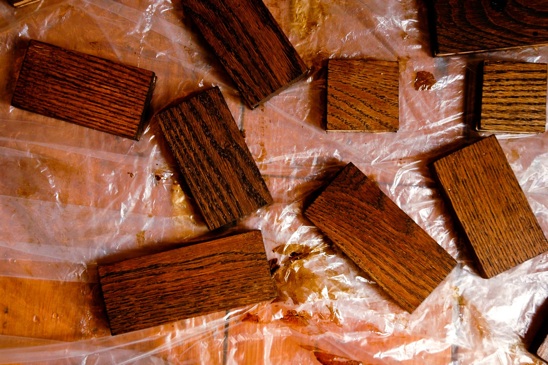
Stain your wood bits with your choice o’ color and let dry.
I would suggest wearing gloves, unless you like the street urchin look.


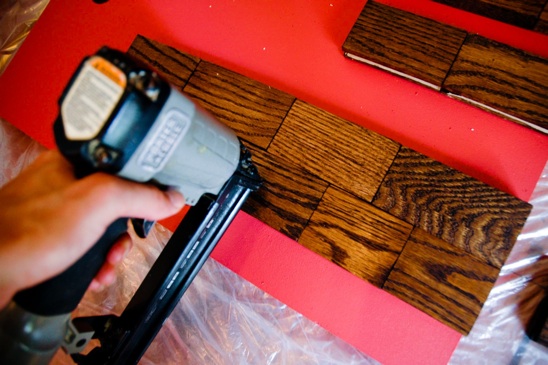
After deciding what pattern you like, you can either use your brad nailer to shoot your wood bits to your plywood scrap or attach them with gorilla glue.
I was tempted to go with a box that became smaller and smaller, or a random flowing line of wood bits…but ‘The City’ called to me and I wouldn’t deny it.


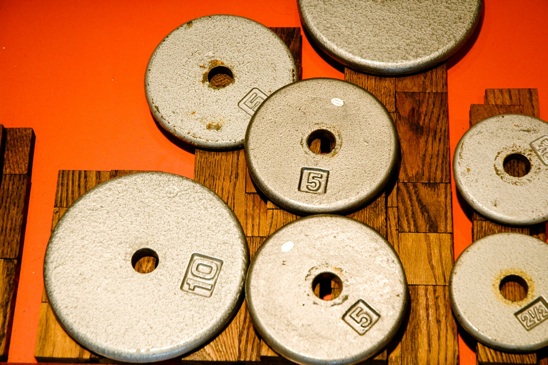
If you do opt for gorilla glue, I would recommend doing this ghetto method, or getting fancy and using real wood clamps to hold your bits into place overnight.


I drew my title for the piece freehand using a sharpie.


Use your foamy brush to apply a thin coat of polyurethane on the entire piece and let dry according to the manufacturers directions.
Or in my case, until it no longer sticks to your fingers.


Behold….


…your masterpiece beckons to be hung on the wall.

Read more

Cutesy & Cheap Mod Curtains

My bay windows gladly invite the 100 degree temperatures into my sweaty office.
Although Cowboy loves to bask in the suns UV glory, I do not.
Searching for curtains and fabrics left me empty handed.
Nothing suited my fancy and my office was getting
unbearable by the second.
Something must be done!

I decided it was time to take matters into my own hands and create a ‘Rebekah original’.


Here’s what you’ll need to make your very own curtains:
A couple different colors of spray paint-I used gold, black & white
Wax Paper
Blue Tape
Scissors
Sharpie
Either sew your own or buy some cheap plain curtains (If found my thermal light blocking curtains at Target for $12 a piece. You can’t beat that!)


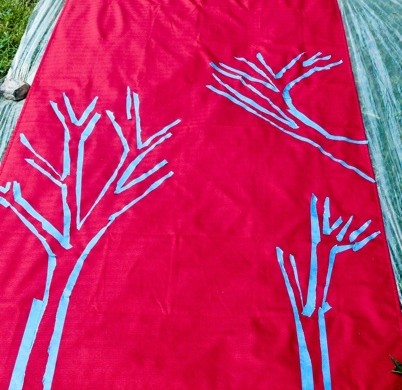
I decided to go with a tree theme for my curtains. Ripping my blue tape down the center, I began placing the tape on the fabric at my creative leisure. (Ripping the tape not only conserved the amount that I used, but also gave the trees a bark-like look.)
Only do one curtain at a time so that you can reuse your blue tape!


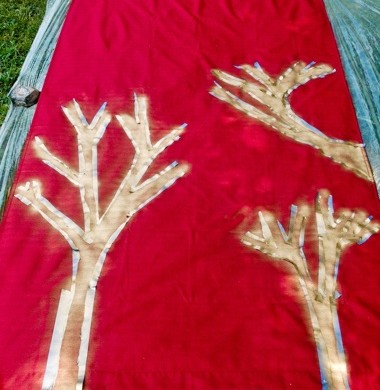
I wanted gold to be the dominate color on my curtains, so I sprayed the majority of the trees this color.
Let your spray paint dry.
Remove several pieces of your blue tape and create smaller trees next to and even on top of the original ones.


Spray your secondary colors on the smaller trees until you are satisfied with the look.
I used black and white to be my secondary colors.


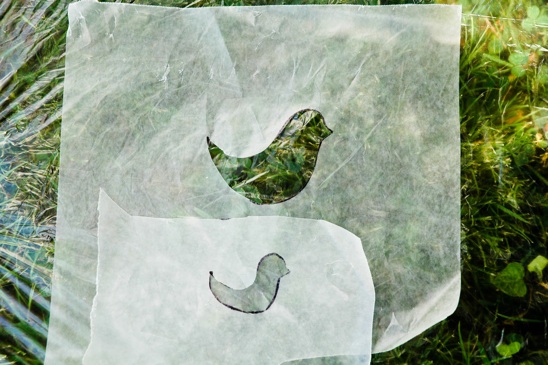
Let’s add a little pizzaz to the whole tree motif, shall we? Using your wax paper and your sharpie, create a design that suits your fancy.
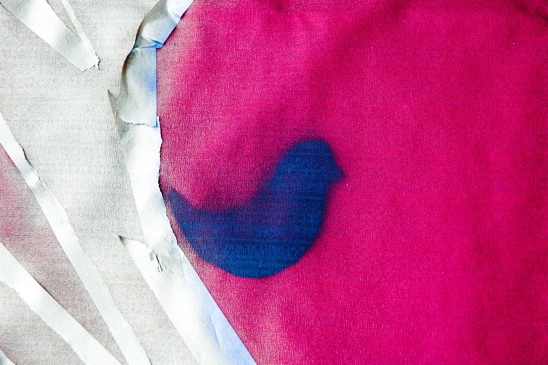
I liked the simplicity of these little birds and made two different size ‘tweeters’ just to be crazy.


Tape your wax paper onto your fabric and spray paint whatever color you desire.
I used all three of my colors for these little birdies-gold, black and white.
There is no right or wrong way to do this. I did each of my three curtains completely different and loved them all the same.

Here’s the final product after letting the curtains dry. Although, my office still faintly smells of spray paint…
Maybe that’s why I am so loopy.
Maybe.
Read more

Mod Deer Hoof Coat Rack

*DISCLAIMER: I used this project awhile back as a guest blog for someone else. It caused a mild uproar when a woman commented that it was ‘gross’. If you don’t like to see the hooves of deer, please bail out now.
I would hate to gross you out. Over and out.*

I have been wanting a coat rack by our front door for a couple of years. Our guests must pile their coats on our bed, which of course becomes the perfect nesting ground for Cowboy.

I live in a part of the country where the phrase ‘He’s packing’ doesn’t mean ‘He’s preparing for a trip’.
Naturally, I thought, ‘If one can make gun racks out of deer hooves, why can’t one make a coat rack out of them?’
I searched on ebay and found five deer hooves that would be shipped to me for $5 each.


What you will need:
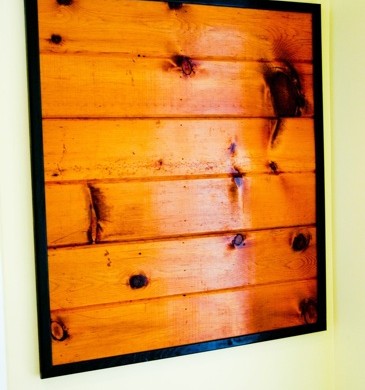
Wood Paneling-I bought my 3/4” tongue and groove from Habitat for Humanity
3/4” x 1” ‘L’ shaped trim
Deer Hooves
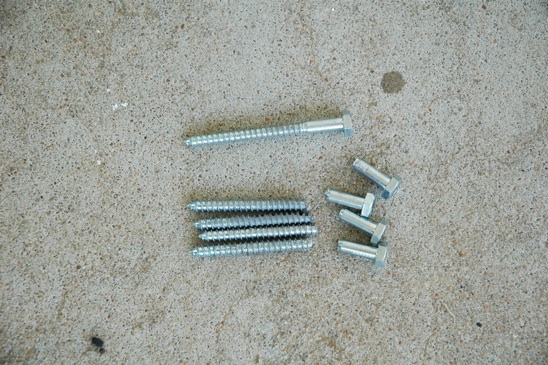
Lag Screws-mine are 2”
Epoxy
Oops Paint-I used glossy black
Paintbrush
Level
Tape Measure
Sawzall with metal blade, or a hand saw with metal blade
Skill Saw with a wood blade
Square
Drill & Drill bit a little smaller than your lag screws
Studfinder


You’ll also want a:
Hammer
Finish Nailer, Nails & Compressor (or you can use ‘brad’ nails & a hammer)


My wood was pretty damaged in several areas. I determined that I had enough to make a 30” x 34” coat rack. I marked the pieces that I wanted and drew a ‘cut’ line using my square.


Using my skill saw, I cut those suckers down and then double checked for accuracy.
I always double check myself. My accuracy tends to be unreliable. I guess you could call me ‘reliably unreliable’.


Find your studs by using a ‘stud finder’ or tapping a hammer lightly against the wall.
Starting with your top board, make sure it’s level before using your finish nailing to attach it straight to the wall and hitting the studs.
I painted my ‘L’ shaped trim black and cut the ends to fit at a 45 degree angle. I used my finish nailer again to attach the trim to the tongue and groove boards.


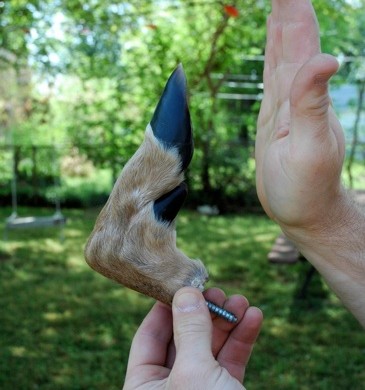
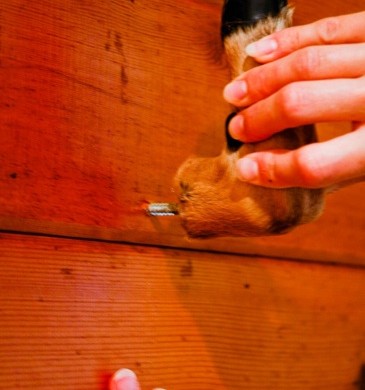
My deer hooves did not have a screw already mounted in them-some do. If yours don’t, clamp the heads of your lag screws with a strong table vice and use a metal bladed sawzall or hand saw to cut the heads off of the screws.
‘Off with their heads!’


Place the cut end of your lag screw into the hoof, filling the entire cavity with epoxy. Let dry for the manufacturer’s recommended time.
That is Biceps’ un-manicured hand, not mine. However, mine isn’t far from this….


Once the epoxy has hardened, give your hoof a ‘high-five’ just for good measure and to keep the neighbor’s guessing.


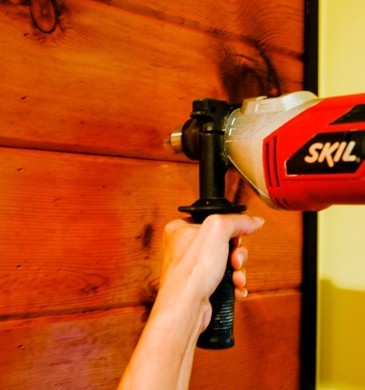
Using your level, mark where you would like your hooves to be attached on the wood paneling. Drill pilot holes into your wood paneling.


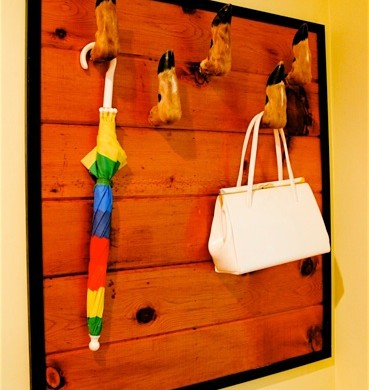
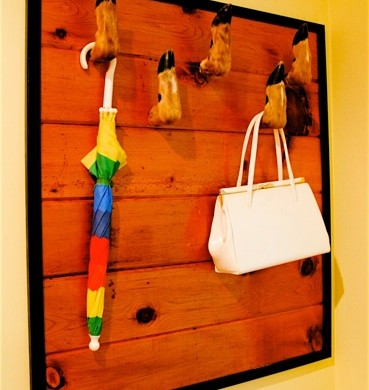
Screw your hooves into the pre-drilled holes and then stand back to enjoy your creation.


‘Modern-Bohemian’ is what I call it…with a touch of ‘weird-functionality’.
I hope I didn’t gross you out. Please let me know if I did…

Read more