I hunt for bargains.
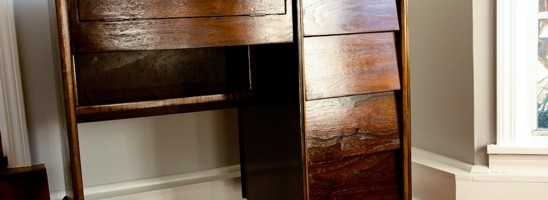
I got this little number at a Habitat for Humanity and fell in love immediately. This little guy needed a second chance at life and I’m just the girl to make it happen.

I love to sew and have always wanted a really functional sewing cabinet. This not only had drawers for scissors, tape, etc…but the two sides flipped out to give you some more working room. Bonus.
Here’s what you need below.

You will need sandpaper. I recommend the 120 grit (on the left) if you don’t have to cut through years of stain or paint.The 80 grit (on the right) is tougher and can cut through thicker stains or stubborn paint.

You will need a palm sander and extension cord.

Grab yourself a pair of gloves-save that manicure; polyurethane-I chose the fast drying clear gloss, three foamy brushes, a drop-cloth and a rag. You will also want to choose which color of stain you want, or you can go au natural. I chose a stain we had in our shed, which you will see later on.

You’ll need two microfiber cloths and steel wool, as well. I think that’s about it. Now on to the lesson!

Take one of your sandpaper sheets and fold it in half.

Then fold the half in half, creasing the folds.

Tear the sandpaper down the creases making four squares.
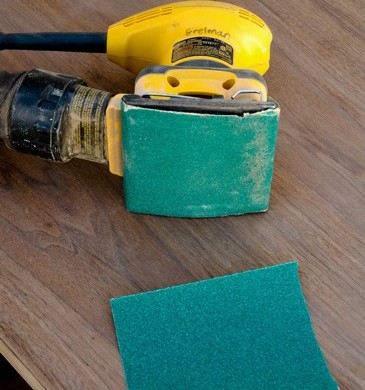
Take one of these squares and attach it to your palm sander. Watch those fingers-I have been pinched one too many times….
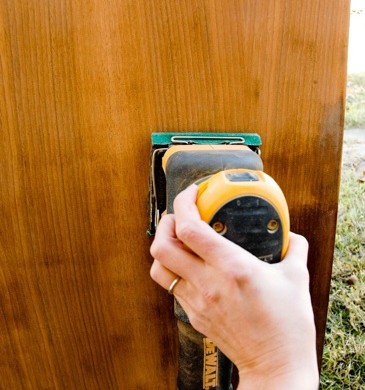
Sand in the direction of the woodgrain. You may have to go over the piece a couple of times. Use a square of sand paper to hand sand anything your palm sander cannot get to.

Once you have sanded the entire thing, vacuum every nook and cranny.

Then use a microfiber cloth to get any left behind bits o’ dust. Run it over the entire thing thoroughly. I recommend doing this two or three times.
Please ignore my weird looking hand. I blame it on my camera’s perspective.

Find an inconspicuous place on your piece of furniture-like the bottom of it or the backside and test out your stain samples. I chose the one at the far right. It’s called ebony. There is no ivory stain, I checked.
At this point, I would recommend bringing your item indoors and laying down a drop-cloth.

Using your foamy brush, apply a thin layer of stain in the direction of the woodgrain very slowly. Make sure you are checking for drips or pools of stain the whole time you are staining.

Use a rag to wipe off the excess stain. ‘Nuff said.

Then let the sucka dry following the manufacturer’s recommendation.

Time for the polyurethane, which I like to call the ‘OOH! moment’, cuz it’s pretty. Carefully open the poly can and stir in a clockwise direction. Do not pull up from the bottom like you normally do with paint. Stir the poly frequently during application. Dip a NEW foamy brush into your stirred, not shaken, poly and apply it while following the woodgrain once again. Let dry-mine took 4 hours to dry indoors, but follow the manufacturer’s recommendation.

Using a steel wool pad, slightly scuff the dried poly by following (yes, you guessed it!)-the woodgrain.

Take a clean microfiber cloth and wipe that thing down, in any direction you like this time.

Back to the poly for your second coat. Apply a thin layer following the woodgrain again. Let dry the recommended time. And then….

POW!
And ZAM!
And BOO-YEAH!

And then, mark this momentous occasion with a glass of red wine.
Or white. Your choice.








 They’re bright, they’re fun, they stack on top of each other. You can’t argue with my logic here. And when I see them all alone at the flea market, the wallet starts to come out.
 And these two cute little dudes? They hold leftover veggies or sauces or whatever you need them to, even if it’s sauerkraut.
 “Hey, Rebekah! Thanks for giving us a home. And we promise never to leach toxic chemicals into your food, like those plastic guys do.”-Mr. Pyrex Dish.
 “Hey, who are you calling toxic?!”-Mr. Plastic Tupperware.
 “Crunch, munch, slurp…”-Mr. Pyrex Dish.
 “BURP!”-Mr. Pyrex Dish.
 Ah…that’s better. Serenity now.