Tag Archive for: vintage

Signs, Signs, everywhere are Signs-Palm Springs, CA

When you buy a new car, do you start to notice all the ones that look like yours? Of if you happen to break up with someone, do you suddenly start noticing everyone else that’s holding hands, smooching and in love (and want to punch them)?
When I’m on tour, I get on these kicks of photographing a cool signs which makes me then see more and more signs. But, I’m glad I do-they inspire me. The colors chosen are typically eye-catching. After all, the signs are advertising something and are trying to grab your attention. The color combos, fonts and text placement influence my creative decisions, whether I like it or not.

 

The signage at the Ace Hotel and Swim Club in Palm Springs was weathered but bright. The paint was chipping off the five foot letters in a haphazard-but-we-meant-to sort of way.

These colors together inspired me to have Harold in my bathroom. Yes, yellow and bits of red can coexist without looking campy.

 

Our room number. The wood against the adobe made the sign feel warm, aged and homey. This sign inspired me to make a Cedar Christmas Garland from cross sections of a tree.


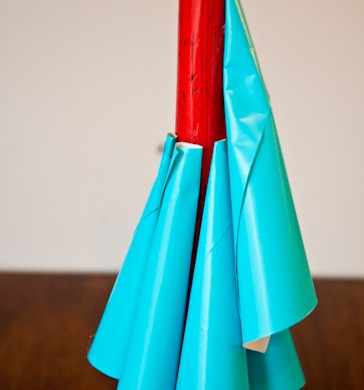
The color combo on this hotel inspired me to do make Pretty Paper Christmas Trees in a bold red and robin’s egg blue combo for Christmas. Granted this sign is more tangerine and aqua-but it was the beginning of a mind shift for this gal.

 

I loved the sleek black on the rough wood. It reminded me of our leather headboard behind our master bed with barn wood floors.

 

The vintage feeling of this sign always inspires me to use cutesy stars and fonts whenever I can. Cutesy is my middle name, you know:
Rebekah Cutesy Greiman.

I am inspired by signs, what inspires you?

Read more

Christmas Clean-Up

It’s time for it to come down. The tree, the holly, the mistletoe, the lights. All of it.
Granted, I have been listening to and enjoying Christmas music since before Thanksgiving. But, it’s time for all of it to be packed up into boxes and stored away in the attic.


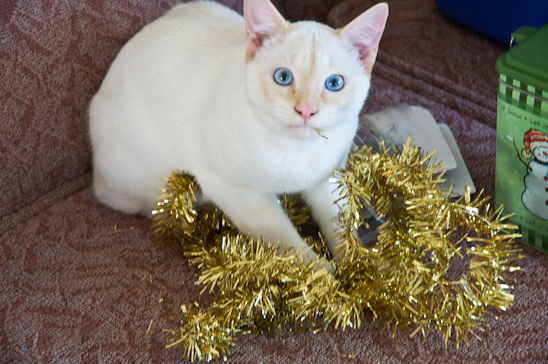
I have had my fill of keeping the cats away from the tree, closing them off from certain parts of the house, or cringing when I hear an ornament hit the floor.
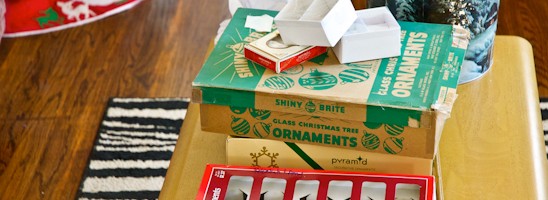
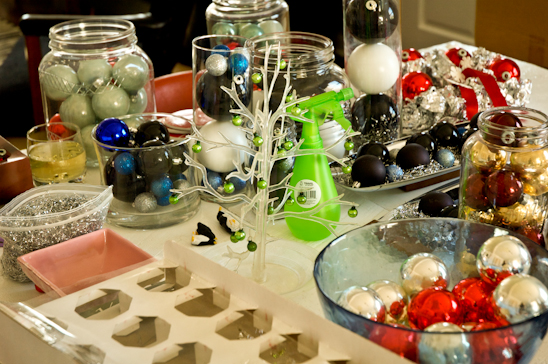
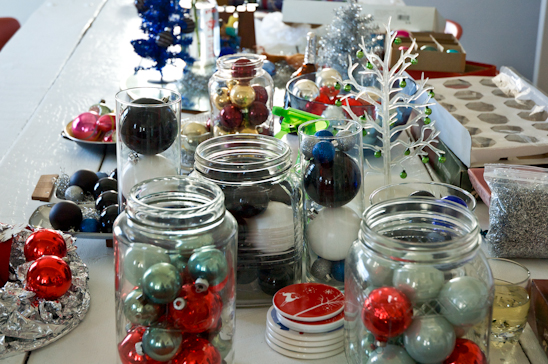
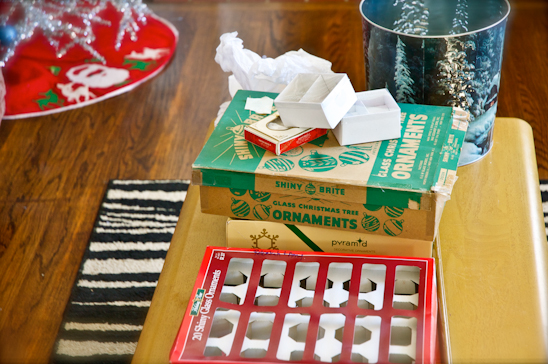
So, I start off by corralling all of my Christmas miscellany onto the dining room table. There are jars, platters and dishes full of bulbs, balls, and tinsel.


After pouring a glass of wine, I turn on Billie Holiday and assess my opponents.


I can never remember how I got all of that into there.
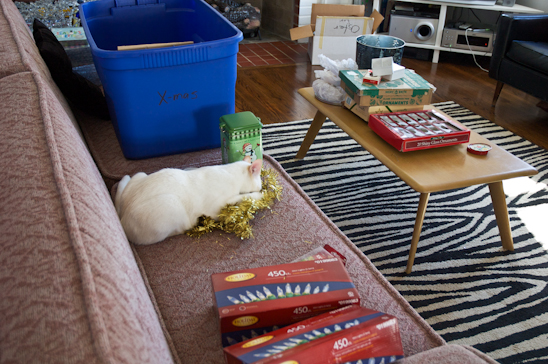
Max and Bianca entertain themselves as they jump in and out of the empty boxes and chase the run-away tinsel.


Certain guilty parties incriminate themselves over and over…


…and over.


Our Christmas ornaments span the years-beginning with my first out-of-college roommate and I co-investing in maroon and gold ornaments purchased from Wal-mart. We spent $5 between us to decorate our tree. That was high-living for us back then.


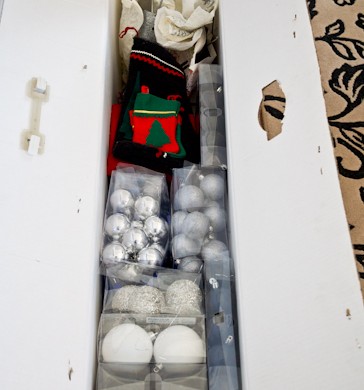
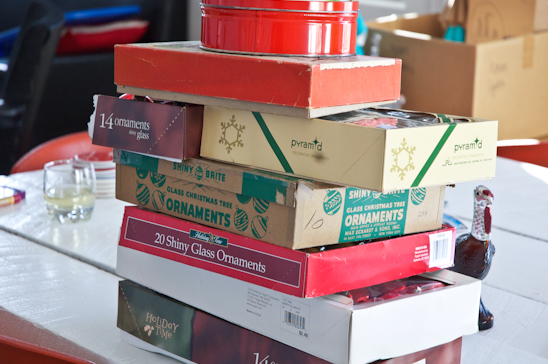
Now, black and white Ikea balls, along with sparkling blue and silver ornaments have been added to the Christmas decor mix. Throw in a dash of Grandma’s vintage ornaments, vintage deer from the flea market and our yearly ornament purchase, and I am running out of uses for all of them.


Soon, everything is packed away, taped up and ready for next year’s frivolities. It almost feels as if Christmas had never happened.
Except for the tinsel I keep finding squirreled away in nooks and crannies due in part to my weird cats Bianca and Max.
I don’t think they can let Christmas go either. I suppose we are good for each other.

Read more

Pretty Paper Christmas Trees

I explained in “Christmas No-No Decor” why I had to switch it up this year due to my naughty kittens. We are in the throes of training them…they are just a little hard-headed.

I was excited to try something new and this vision of blue and red came to mind. I went with it.


Apparently, the motivation from naughty cat-dom was just the challenge I needed. Without spending a dime and using things that I had on hand, I created a whole new fancy look for my mantel this year.


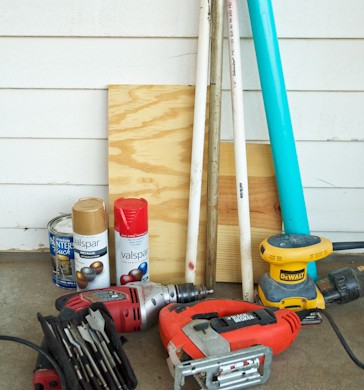
Here’s what you’ll need to make your very own Pretty Paper Christmas Trees:

3/4″ Dowel Rods or PVC pipe
3/4″ Scrap Plywood
Coffee can lid
Jigsaw
Palm Sander & Fine/Medium Sand Paper
Drill and paddle drill bits
Oops Paint or Spray Paint
Hot glue gun & glue sticks (not pictured because they were warming up for their duties)
Wrapping Paper (I used both robin egg blue and brown parchment)


I had two pieces of leftover 3/4″ PVC and a 3/4″ Broom stick that someone had gone ninja on. I used all three pieces to make my three trees.
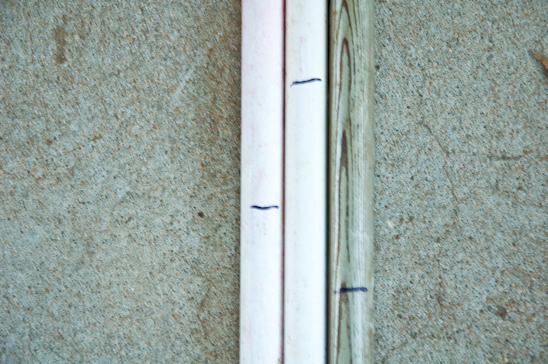
Mark the desired height of trees onto the PVC or dowel rod with a sharpee. I cut my lengths to 18″, 24″ and 32″.


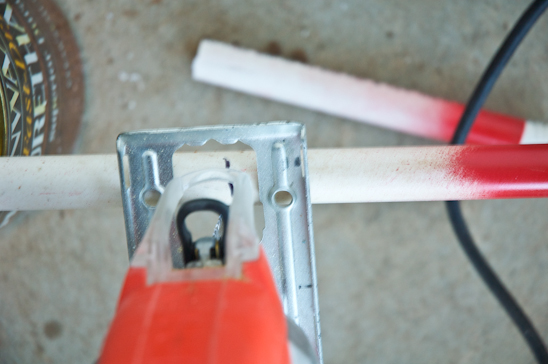
Using the jig saw and a wood blade, cut the PVC or dowel rods at the marked lines.


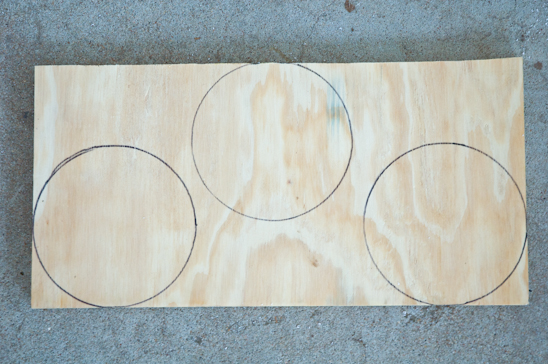
Outline the coffee can lid onto the scrap plywood. This will be the base of the trees.


This joke never gets old, “Cut it out.” (Courtesy Uncle Joey.)
Meaning, cut the plywood circles out with the jig saw.
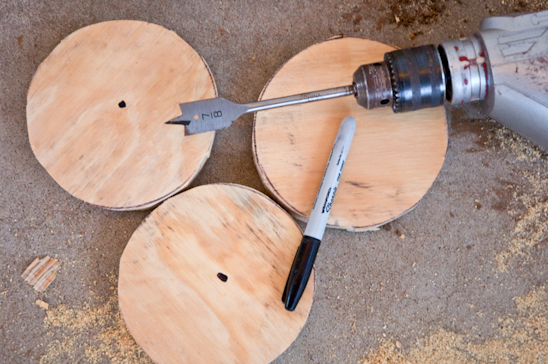
Using a 7/8″ paddle drill bit attached to the drill, drill into the center of the plywood, without going all the way through.


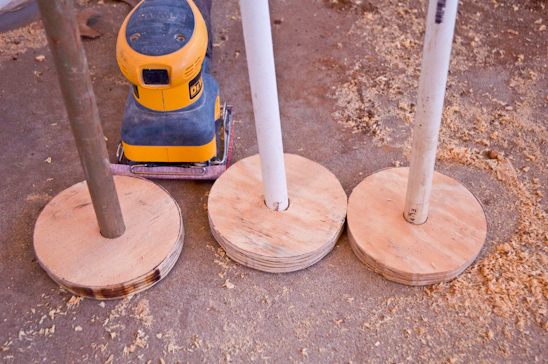
Sand the pieces of plywood using the palm sander. Sand the PVC and dowel rods by hand with a loose piece of sand paper.
Make sure the PVC or dowel rods fit into the holes in the plywood.


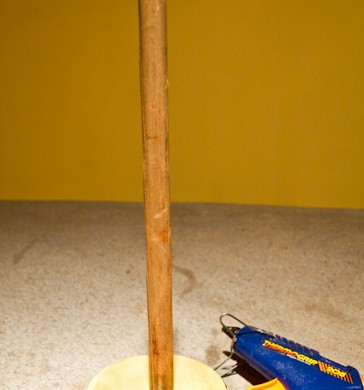
Hot glue the PVC or dowel rods to the plywood. Make sure you burn at least two of your fingers in this process.


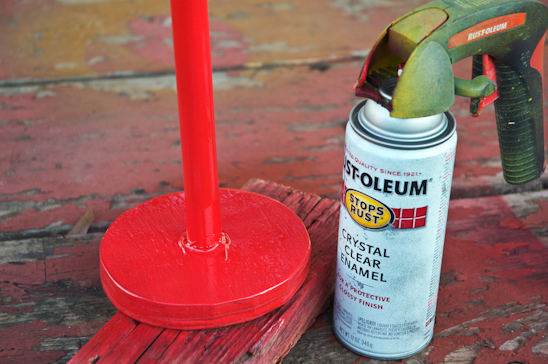
Spray the entire thing with two coats of your favorite paint. Let dry.


While the tree stands are drying, cut out 3″ square pieces from the wrapping paper.


Roll each square into a cone shape that resembles this one. Hot glue the very end to the cone.


Pour a glass of wine and then do that same thing about 20 times more for each tree-depending upon the height.
Some of my trees required about 20 cones, the tallest about 30.


Starting about 6″ away from the base of the tree, begin hot glueing the desired colored cones to the PVC or dowel rod. Move up about 3-4″ and add another round of cones. Continue doing this until you reach the top of the tree.
I made one tree that was all blue, one with rows of alternating blue and brown parchment paper, and one that alternated within the same row blue, brown, blue, brown, etc.


I insist you make a mess while doing this, just so I don’t feel bad.


Add one last cone to the top of the tree, covering up any of the remaining PVC or dowel rod. Add a few cute birds, candy canes or alternating colors.


Fancy it up with some cute deer, sparkly tinsel and leftover ornaments and call your mantel decorated!
Merry Christmas!

Read more

DIY Vintage Aluminum Foil Wreath

It is officially December. Let the Christmas games begin!
Truth be told, I have been listening to Christmas music since November 8th. That morning it was chilly, Biceps suggested we turn on “the Christmas cheer” and we haven’t looked back.
I love creating new wreaths each year for Christmas. Last year, I made two wreaths for Christmas-“Silver Twig Wreath” and a “Whimsical Silver Wreath” that I dismantled this year and re-used for parts.


Reduce, Re-use and Recycle, right? Here is this year’s DIY Vintage Aluminum Foil Wreath that took just a few minutes and a few pennies to create. It’s so purty.


Here’s what you’ll need to make your very own DIY Vintage Aluminum Wreath:
A large dinner plate, charger or lid to a popcorn tin
Coffee can lid or something similar
Scissors
Cardboard
Aluminum Foil
Leftover ornaments-plastic, glass, fabric-whatever floats your boat
2′ + of Ribbon
Hot glue gun and glue sticks


Using your dinner plate/charger/lid, trace a large circle onto the cardboard.


As Uncle Joey would say, “Cut it out.”
If you don’t know what that reference was, I apologize. It’s a little Gen X humor, I suppose. Or is it Gen Y? If I had my choice, I’d rather be a Gen Z because it rhymes with Ginseng and just sounds so much cooler. But, I digress.


Trace a smaller circle smack dab in the center of your large circle using a coffee can lid. Cut out the smaller circle. The cardboard will now resemble a large donut. Yum.


Wrap the front and back or the cardboard “donut” with aluminum foil.


Tear off 2-3′ sections of aluminum foil, fold in half lengthwise. Place an end of the foil on the aluminum donut and hot glue that sucker down.


Make 3″ loops of the folded foil, hot glueing each loop down to the aluminum donut an inch or so away from the last loop. Continue doing so until you are out of foil. Start over with another 2-3′ piece of folded foil until the entire wreath is covered in looped foil.


Cut a slit in the top of each loop with your scissors (this simultaneously sharpens your scissors and makes a killer wreath, by the way).
“Poof out” each loop randomly. “Poof out” is the technical term for “fluffing”.


Loop the ribbon in half, hot glueing the ends to the backside of the wreath.


Hot glue the chosen ornaments on the front side of the wreath, interspersing them willy nilly between the “poofs”.


One DIY Vintage Aluminum Foil Wreath is now ready for your front door. Hang it up and call it a day. Grab a glass of wine and realize just how awesome you are with your hot glueing skillz.

Read more