Tag Archive for: painting

Painting Like a Pro-Step by Step

Owning rental properties along with my own home, I have learned what works and what doesn’t in the painting department. Today, I want to share a few tips with you on how to paint like a pro.
I will warn you, once you learn how to paint properly, you will begin to notice shoddy painting and want to talk about it with husbands and friends….which usually aren’t that interested in the subject. Unless they’re freaks like me.

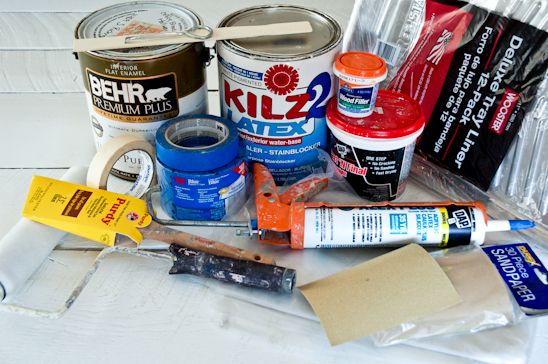
Here’s all that you’ll need in order to paint like a pro:
Lightweight Spackling
Wood Fill
Fine Sand Paper
Primer
Paint (can opener, stir stick)
Painter’s 2″ Blue Tape
Masking Tape
Plastic Drop Cloth
Brilliant White Acrylic Latex Painter’s Caulk-no Silicone and Caulk Gun (I recommend buying one with a tension release lever)
Roller, Roller Cage, Roller Pan & Plastic Liner
2.5-3″ Paintbrush-I recommend Purdy brand because they don’t fall apart or leave bristles in the paint


First things first. Lay out the plastic dropcloth and use the masking tape to tape seams together.
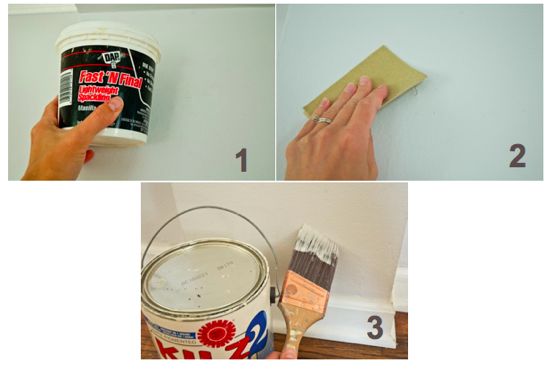
1. Fill nail holes and low spots on the wall using your finger to spread lightweight spackling into the hole.
2. Let the spackling bubble over the surface of the wall a centimeter or two. Once dry, lightly sand the spackling by hand with the sandpaper.
3. Brush a thin coat of primer on all the spackled spots. Let dry.
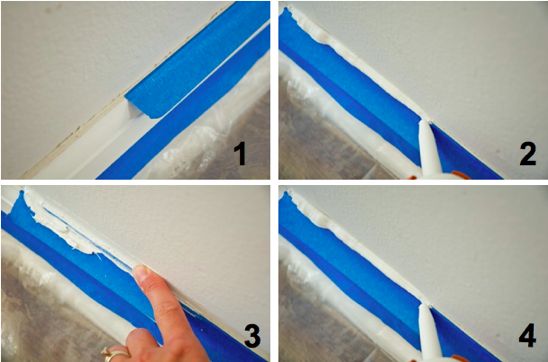


Next, use the blue painter’s tape to help create a perfect line between the trim and the wall color.
1. Apply the blue painter’s tape onto the trim leaving a 1/16 to 1/8″ gap between the trim and the wall.
2 (& 4). Using a box knife, cut a slanted tip on the end of the caulk tube. Insert the tube into the caulk gun and begin squeezing out a line of caulk along the edge of the blue tape. Do this process in 6′ increments to avoid letting the caulk dry out.
3. With each 6′ increment, use the index finger to run along the line of caulk, removing excess caulk. The goal is to create a seal between the wall color and the trim (that the blue painter’s tape is protecting). You don’t need a huge line of caulk, just enough that the blue tape shows through the caulk and a seal is formed. Have a wet rag handy to wipe your fingers on. It’s going to get messy.
4. Continue this process until all windows, doors, crown moulding and floor trim are taped off and caulked.
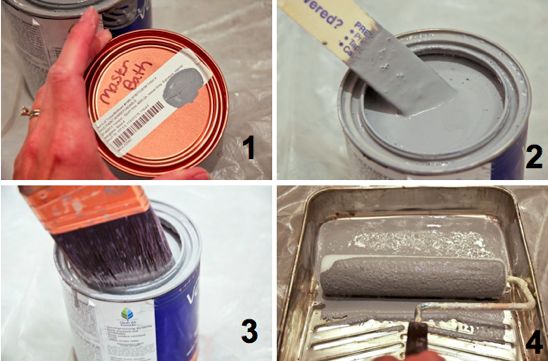


Once the caulk is dry, it’s time to load your brushes and rollers in preparation to paint. I know this isn’t the paint that I have picked out for my living room, but it does the job!
1. Label the can of paint before you start with a permanent marker. (This will save future headaches of not knowing which paint goes to which room-Lowe’s also offers the option to keep track of your paint colors online.) Slowly open the can using a paint key (given to you free at the paint counter) by going around the entire rim of the lid. Lift the lid straight up to avoid drips.
2. Use a stir stick to mix up the paint (even if it’s already been mixed in the store). The pigment will settle at the bottom. Pull up from the bottom with the stir stick and then stir in a circular fashion one or two times. Repeat this process until the paint is thoroughly mixed.
3. Properly load a paint brush by dipping into the paint about 1/4″ and scraping the brush against both sides on the paint can.
4. Properly load a roller by pouring paint into the paint tray (with liner), using a paint brush to catch drips from the can. Begin by lightly dipping one side of the roller into the paint and dragging the roller back towards you in the pan. Do this several times until the roller is fully loaded all the way around.
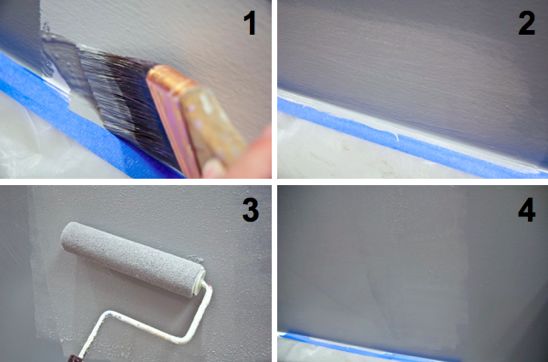


Now that we have our walls prepped, the floor protected and the trim ready to receive paint, it’s time to slap on the color!
1. First, you “cut in” the trim before rolling the walls. With your loaded paintbrush, give the brush a slight angle as you “cut in” along the trim. The “cutting in” should be one motion, pulling the paint from left to right (if you are right handed). You shouldn’t be brushing back and forth-this will create thick spots and lines in the paint.
2. Some of the paint will be seen on the blue tape-this is exactly why we have the tape and caulk protecting the trim.
3. Next, roll the walls with a loaded roller. Use a “W” pattern as you roll in the walls. This will help avoid lines being formed in the paint.
4. Once the first coat is dry, apply a second coat if need be. Also, scan the walls for “holidays” which are formed by air bubbles in the paint finally popping and leaving behind tiny see-through spots. Touch up where it is necessary.
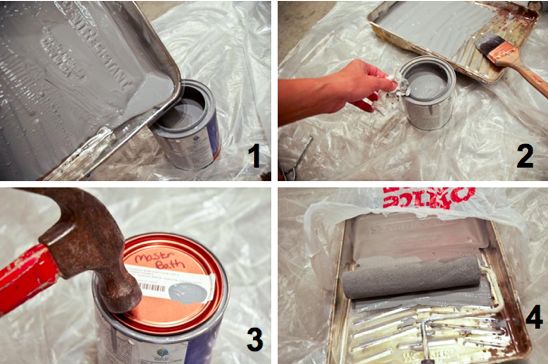


Until I am 100% certain that there will be no further touch up, I bag up my brushes and my rollers.
1. Pour all excess paint back into the can, using the brush to make sure you have removed as much as you can from the paint tray liner.
2. Wipe the rim of the paint can so that it can be sealed properly.
3. Tap the lid on with a hammer, going around the entire rim.
4. Bag up the liner, the roller and the brush with plastic bags, sealing them off as much as you can from outside air. This will keep the paint wet in case you missed a spot.
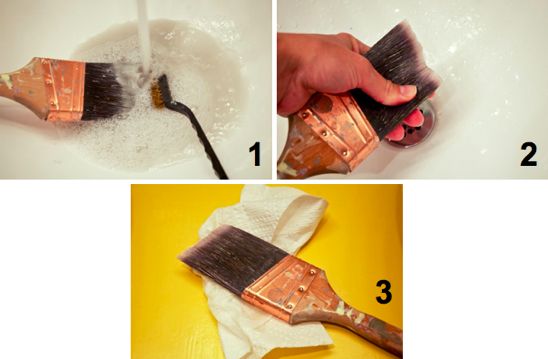


If you are certain that there will be no further touch up, it’s time to clean the brush and roller.
1. Use lukewarm water and a mild soap to clean the brush. If there is stubborn stuck on paint, use a wire brush pulling lightly from the handle towards the edge of the brush.
2. Squeeze the excess water out of the brush or roller.
3. Lay flat to dry (either outside or on a paper towel to protect the surface it’s laying on-there often is excess paint that dribbles out over time).
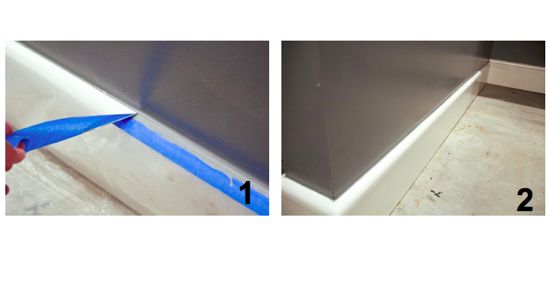


Now, the reveal!
1. Once the paint is dry, it’s time to pull the blue painter’s tape from the trim. Do not wait more than a few days to pull the painter’s tape from the trim. Grab one end of the tape and pull towards you with a 27 degree angle (in between a 0 degree and a 45 degree angle). Pull slowly, allowing the caulk to tear it.
2. If the caulk was applied too thick, it may begin to pull the paint from the wall along with it. If you notice this starting to happen, use a box knife to help create a clean line. If the caulk was applied properly, you will have a beautiful clean line between your wall color and your trim.


Now that the brushes are clean, the tape has been pulled and everything has been put away, stand back and enjoy the brand new color on your walls. And the fact that you just painted like a pro.

PS-Here’s the full Master Bathroom Remodel-Part Uno and Part Deux for your ocular senses!

Read more

BFF & Remodeling Her Bathroom

My BFF-Cynthia, needed a new bathroom and she had a week of vacation with which to reinvent her commode.
After volunteering to help her far in advance, I then learned that one side of my family would be leaving town just as another would be coming in at this same time. Simultaneously, I contracted bronchitis from an unnamed source.

I didn’t get to help as much as I would have liked to. But, at least I was able to help a bit. We painted, installed hexagon tile-with the help of Biceps and removed excess grout together.

Cynthia hired a plumber install the toilet and a new vanity-I wasn’t about to try and tackle plumbing after my debacle with one of my rent houses. I flooded the second story with my awesome plumbing skillz.


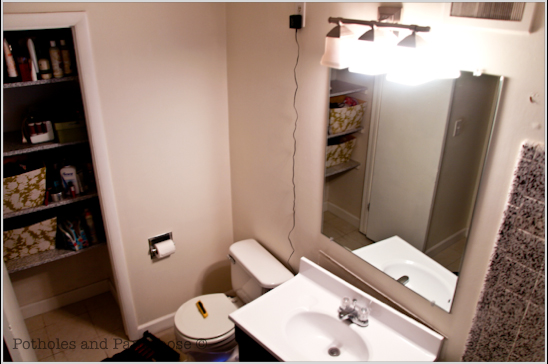
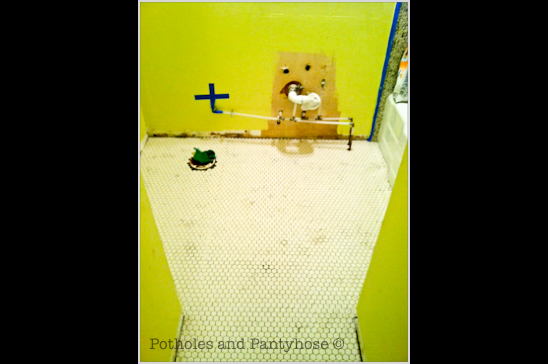
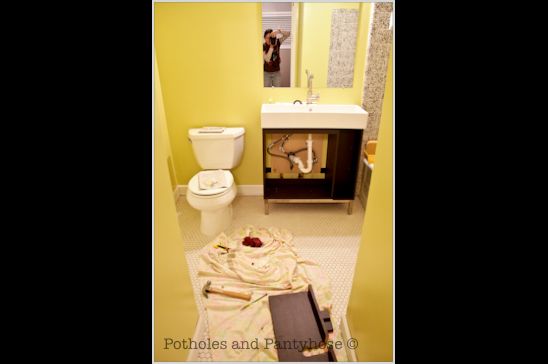
This is what her bathroom looked like before it was torn apart and renewed. Fine, but a bit boring.


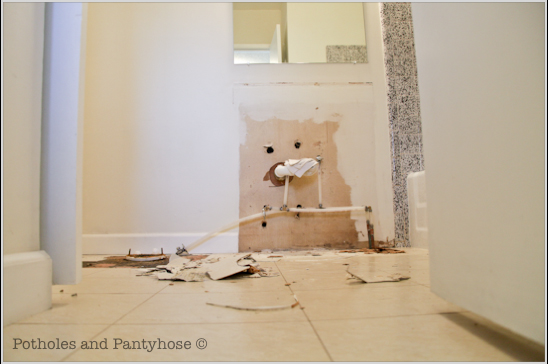
My sweet brother, Pat, donated his time and removed the old toilet and vanity.


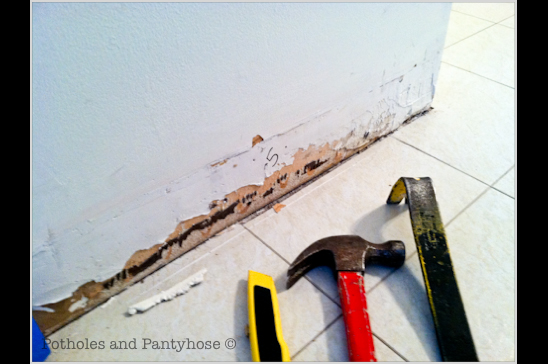
I removed and numbered all of the baseboards and light switch plates. We taped off the tiling and any other surface that needed to be protected with painter’s tape.

We knew we would get messy. Mostly on purpose.


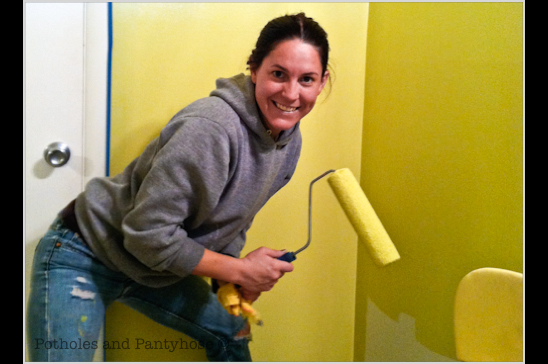
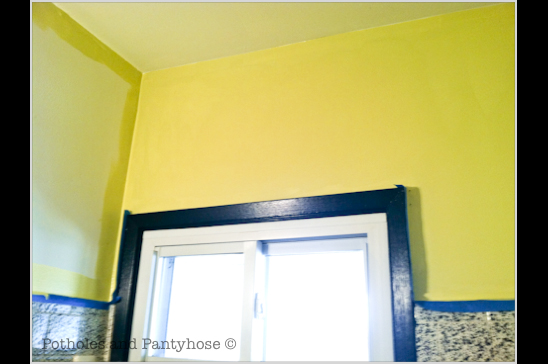
Cynthia chose a beautiful limey green color for the walls, with accents of grays and whites. I tackled the cutting in and she had fun rolling the walls. And my pants.


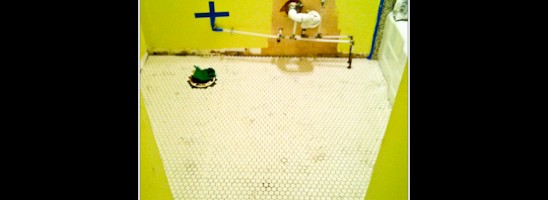
Next, there were some floor leveling issues that needed to be addressed where a few loose tiles had been removed. So, I addressed them and asked, “Why aren’t you level, you stupid floor?”.

There was no response.


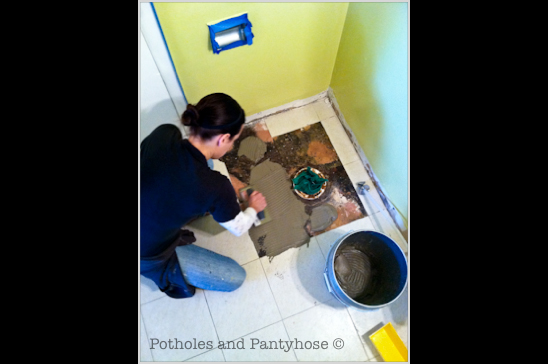
I grabbed my drill, a bag of dry mastic and got to work. Leveling a floor is a lot like icing a cake-except with dusty mastic, a drill, stinky clothes and severely dry hands afterwards.


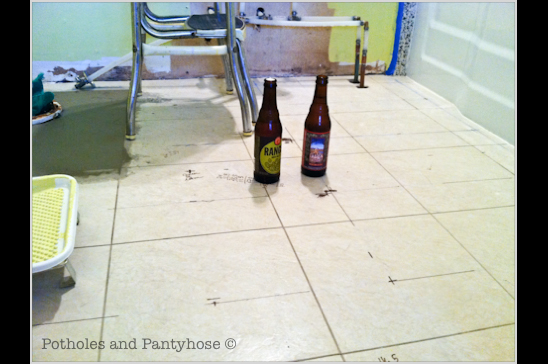
We then paused for a moment and had some refreshments. This is what I live for when remodeling…


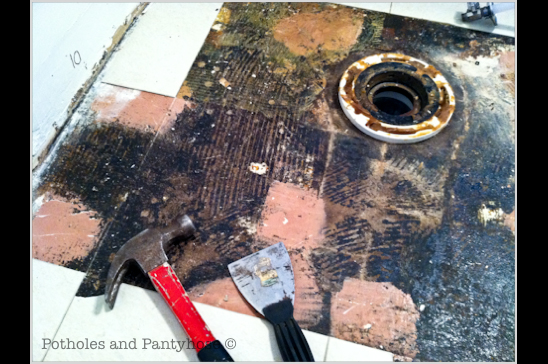
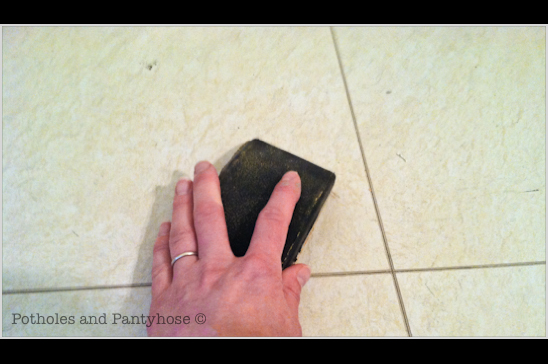
After our refreshments, we got back to work and scuffed up the linoleum floor with a sanding block, which helps the mastic stick to the flooring, holding the tile in place.


About halfway through the process of laying the tile, a frantic call was made to Biceps-who came right over.

That’s a good man.


We had little spare tile to work with, the mastic was drying too quickly, the tile saw blade was dulling, the angles needing to be cut were giving me a mathematical headache and…I was getting grouchy.

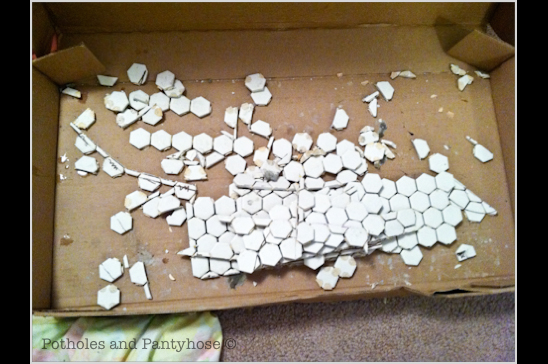
Pictured here is all that was leftover of the tile. Talk about cutting it close-literally. Hah.


After the tile was laid; my backs, knees and fingers breathed a sigh of relief.


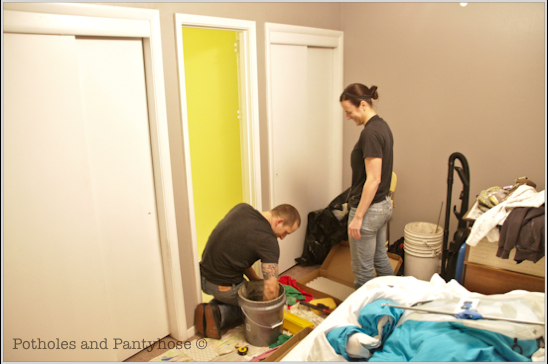
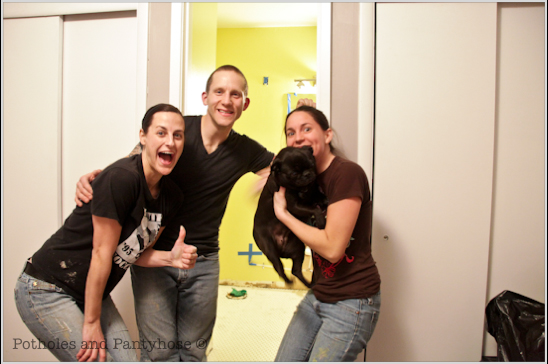
We were a little delirious by the end of the night, as can be seen here. Nothing like photographing stinky remodelers at the end of the work day and then posting it online for the world to see.

I like to keep it real. Real-real.


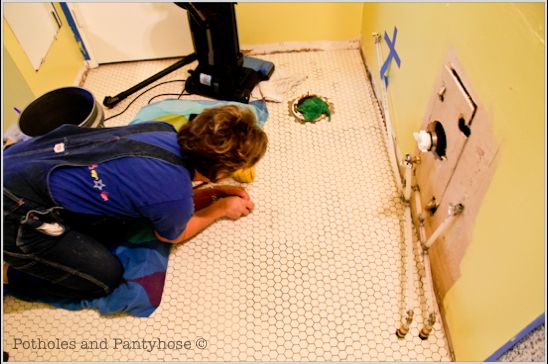
The next day, Cynthia’s sweet mother came to her rescue, cleaning out excess mastic from between the tiles-with a toothpick. This is one devoted momma.

The two of them decided to tackle grouting together.

It did not go as planned.

Bicep’s and I were called and headed over to lend a hand. We found two tuckered out hard working women who desperately needed a break. The grout they had applied was a little too thick and was drying-quickly.


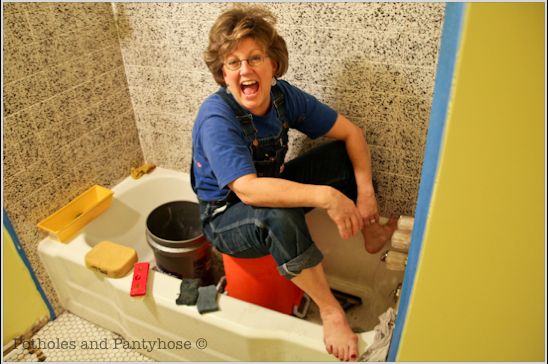
We used everything we had on hand to scrape off the excess grout-sponges, a grill brush, toothbrushes. It was a tense couple of hours until all of the grout was off. Although, Cynthia’s mother was just as happy as if she were picnicking in the park.

I could learn a lot from this woman.


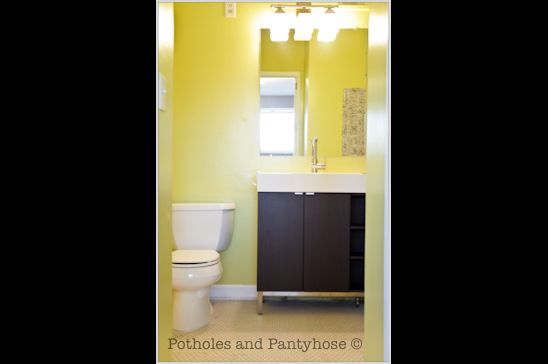
After the grout incident, Cynthia was able to install her brand new toilet and vanity.


And here she is. So pretty.

I will post some pictures with the accessories Cynthia chose soon. Stay tuned.

Read more

The Master Bathroom Remodel-Part Deux

You’ll want to check out the Master Bathroom-Part Uno before jumping into this. You need to be prepared. And if you really want to be prepared, check out what I did with the adjoining Master Bedroom.
So, go-I’ll wait for you. But please, do come back.


Yeah! You’re back-I am assuming you have done what you were told and aren’t being naughty at this point. However, if you are being naughty, I know the feeling…
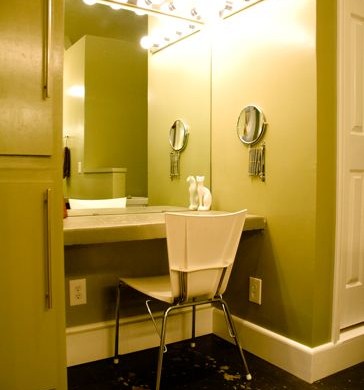
This is what I started with-a green room with absolutely no appeal, nothing, nada. Boring.

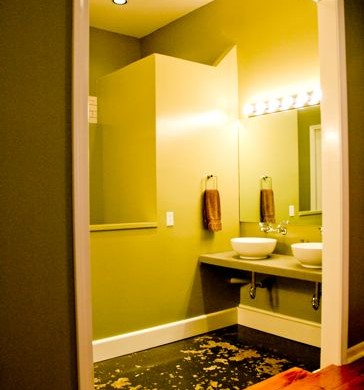
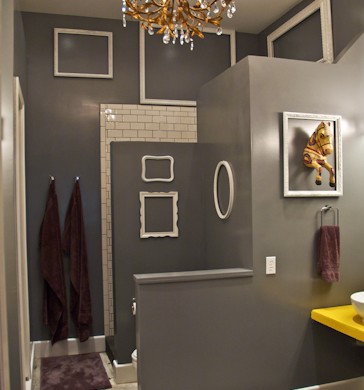
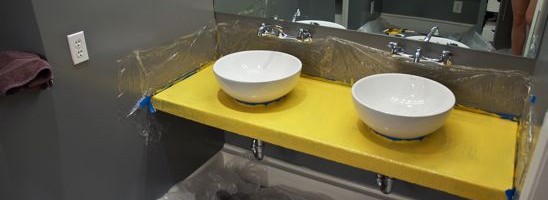
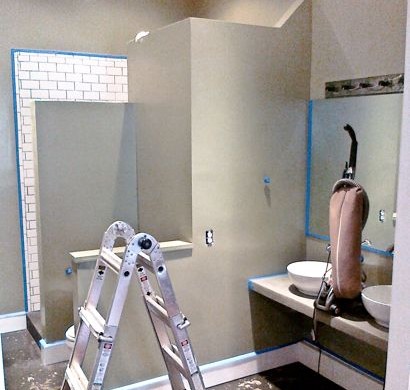
And this is where I left you in the Master Bathroom-Part Uno. Biceps was on tour without me (very sad) and I was being sneaky and remodeling the bathroom. I changed the wall color from green to a deep gray. The concrete floor and both vanities had been stripped of their old concrete stain. I painted the countertops canary yellow using garage floor paint. All the difficult steps are finished-now, it’s time to decorate!

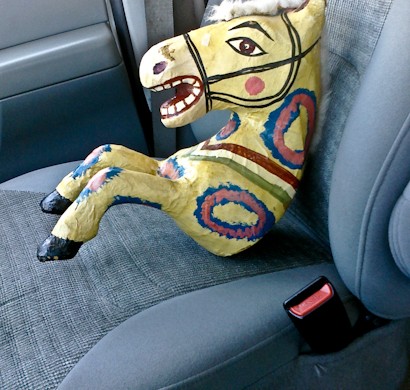
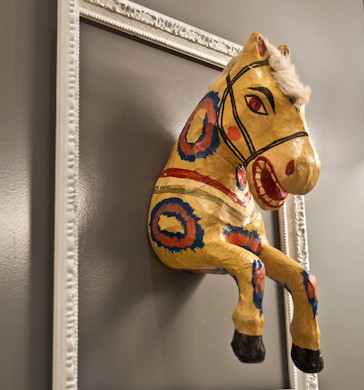
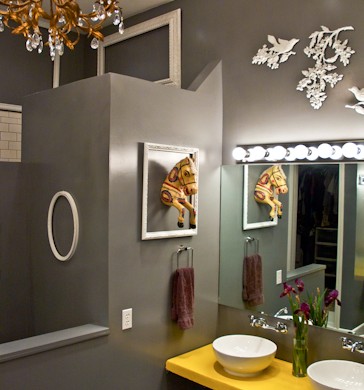
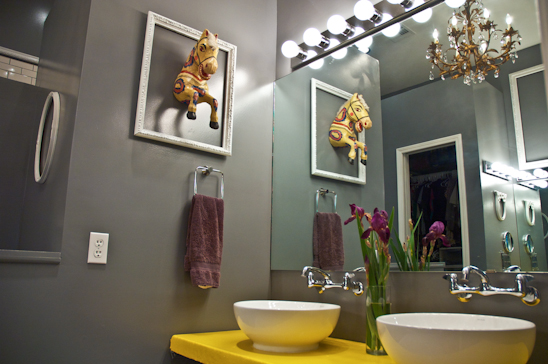
I found Harold (the horse) at an antique store in Jenks, Ok for $10. This was Harold’s first car ride. As you can see, Harold was very happy to come home with me.

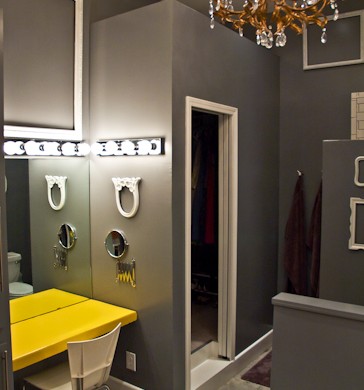
Using Harold as inspiration, I began to amass several large and small frames-all of which I spray painted a high gloss white. I hung the empty glossy white frames on the gray bathroom walls, making them pop.

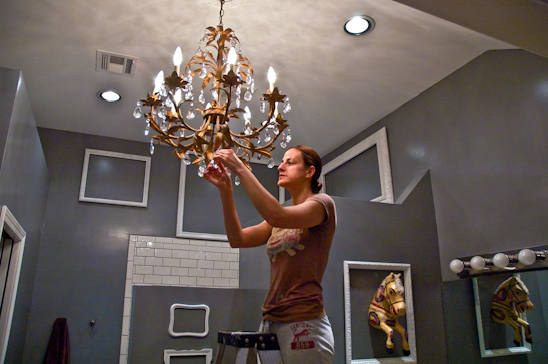
I found a chandelier at an antique shop for $15. For safety’s sake, I rewired it first. Armed with a can of gold spray paint, I repainted it and then antiqued it. I then watered down some leftover high-gloss black paint, and used a rag to rub the watered down black over the gold to antique it.
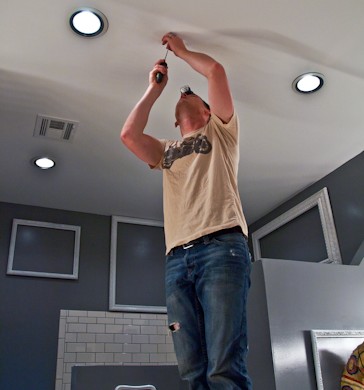
Next, I found a brother-in-law that came free with my marriage to my husband. He aided me in the electrical portion of my bathroom remodel. After determining the spot we wanted to hang the chandelier from, he went to work-cutting, wiring, and hanging.

I got to do the fun stuff associated with chandeliers-hanging sparkly crystals in the appropriate areas. I scavenged discarded chandeliers from other projects to come up with what you see here. Before hanging them, I first cleaned them with vinegar and water to really make them sparkle.

Since I was on my own when it came time to hang the frames, I needed a ladder, some dexterity and a lot of good balancing. And 911 ready on speed dial.

Harold witnessed me almost fall (more than once), but he just sat there and whinnied…jerk.

The three dimensional bird and branch motif that are hanging above the mirror, I snagged at our local flea market for a couple of bucks and spray painted them also high gloss white.

We’ll probably lay tile on the concrete floor at some point in the future, but for now, just the stain being gone is wonderful. If you hadn’t read in my earlier post, the “stain” decided not to stain the concrete and kept coming off in chunks and sticking to our little footsies.

Hope you enjoyed my new changes around my old house.
Harold (the horse) seems to be loving his new home, and so am I. I can hardly wait for Biceps to see it.

Read more

The Master Bathroom Remodel-Part Uno

While Bicep’s was away on tour, I got a wild hair to remodel our Master Bedroom and Bathroom. We’ve never lived in one of our houses long enough to want to “remodel our remodel”. After only 3 years of living in our “Current Remodel, it seemed a little ridiculous to remodel, but the green we chose for both the Master Bed and the Master Bath had to go.

In the beginning, we loved the green. Then I began to loathe it.


Nothing matched it. Nothing. Notice how bare this room is of any accessories? This is after 3 years of living in this house. No rugs, no paintings on the wall, no warmth.


(Sorry for the quality of the photo-this picture was taken with my phone and I forget to up the anty and pull out the fancy camera).
I taped off all the areas I knew I would slop paint on, vacuumed all cobwebs, rolled up my shirt sleeves and got to work. I chose a deep gray paint that would compliment the purple I had just painted in the adjoining Master Bedroom.


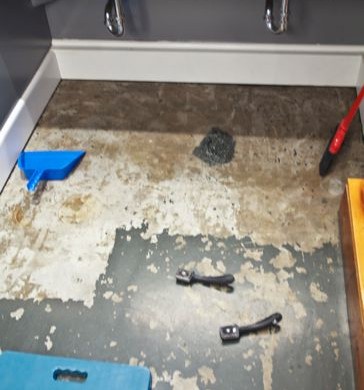
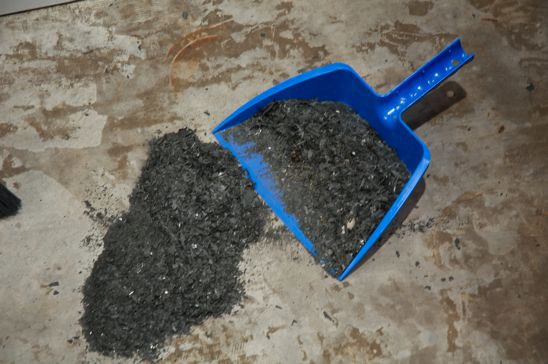
We had spent an arm and a leg “staining” our concrete. The staining process didn’t work and we aren’t sure why. The stain did take in another bathroom in our house. Just not this one. And the “stain” would stick to our feet, our shoes and our kitty cat paws anytime we would walk through the bathroom.
The stain was a pain.
It, much like the green paint color, needed to go.


Using a wall scraper, elbow grease and a few choice words, the concrete “stain” was removed.


The stain on the sink vanity and my makeup area was removed with a very technical procedure of placing packing tape on the surface of the vanity and removing the tape-along with most of the stain. I had to scrape the stubborn areas with the wall scraper, too.


Next came El Diablo-Muriatic Acid-to clean the newly scraped concrete. Diluting the acid with water, I scrubbed the floor armed with chemical safe rubber gloves and eye protection. I don’t mess about. I taped off and saran wrapped anything the acid might touch-including, don’t laugh, my shoes. Probably overkill, but again…I don’t mess about.


With the concrete clean and dry, the next phase of the remodel was to paint the vanities. And it was about to get kuh-razy.


I chose a canary yellow concrete paint-made for garage floors, porches and patios-to brighten the lives of my two vanities.


I used a foamy brush and applied four coats of the concrete paint, allowing it to dry according to what the can told me to do.

I was a little shocked at first with how bright the yellow was. However, I had a plan. I will be adding accessories to compliment the gray and yellow motif going on here. It’s all part of my master plan. I will soon post Master Bathroom Remodel-Part Deux-don’t you worry.

Read more