Tag Archive for: decor

DIY Plaster Animal Heads

I am in the throes of decorating our nursery. I know that our baby won’t care what the room looks like. Heck-as a baby-I removed the paint my father laboriously put on my nursery walls with a wet wipe.

However, since I will be spending an inordinate amount of time in this room, I wanted some pretties to look at. And, of course, I didn’t want to spend very much doing so-thus my DIY Plaster Animal Heads. If you have the patience of a cucumber and a few hours each day, you too can have very inexpensive animal heads custom made to your liking!
 

Plaster Heads Begin
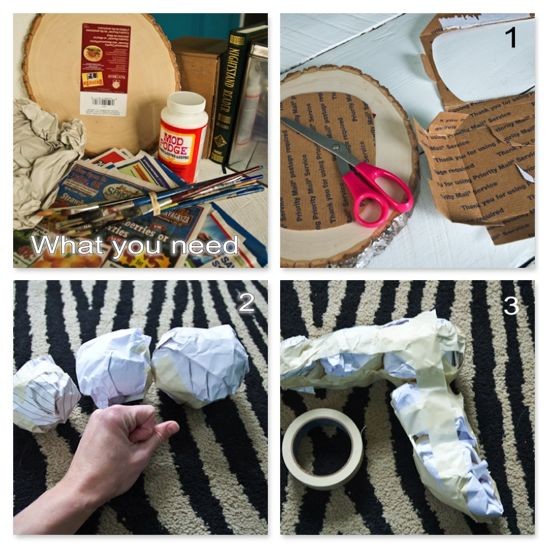
Here’s all that you’ll need to make your DIY Plaster Animal Heads:

Newspaper, Packing Paper
Paper Towels
Masking Tape
Cardboard
Mod Podge
Tissue Paper, Book Pages
Paintbrushes, Paint
Glitter, other accessories to decorate if desired
Plaque (I bought mine from a hobby store)
Brad Nails, Hammer
Flour, Water

Step 1:
Cut out a piece of cardboard that will be the backer to the animal head. Make sure it’s smaller than the plaque that’s been chosen.
Step 2:
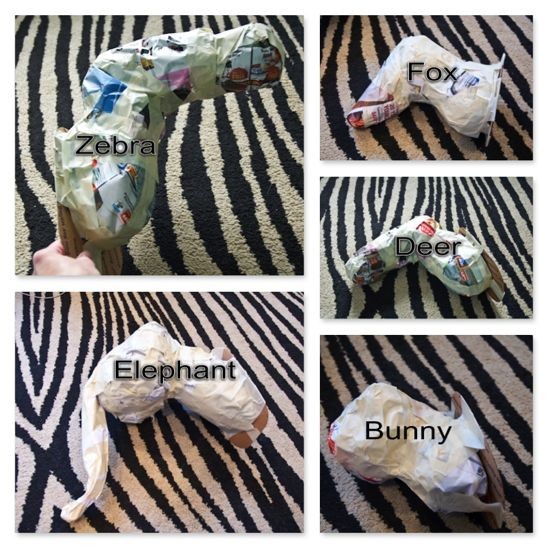
Make balls out of newspaper or packing paper that will be the animal head and neck. Tape the balls together individually.
Step 3:
Tape the entire head and neck together.
 

Plaster Step 2
Step 4:
Add a final layer of newspaper to smooth out any valleys and build up any areas that are needed for the contour of the head. Use masking tape to attach the newspaper and the cardboard backer to each head.
 

Plaster Step 3
Step 5:
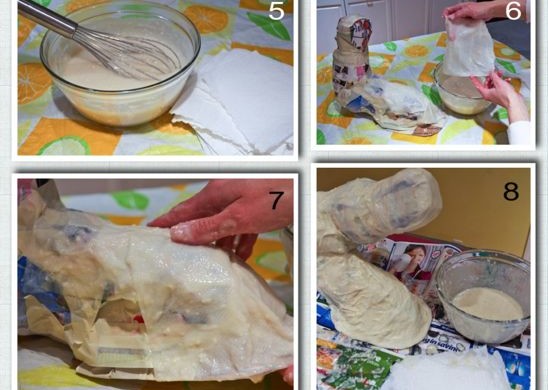
Use 4 parts water to 1 part flour to make the “plaster”. Heat up on stove and slowly whisk in flour until the consistency is a thick and soupy. Let cool.
Step 6:
Cut paper towels into 3″ x 4″ rectangles, or somewhere close to that size. I cut my select-a-size in half. Dip into the soupy plaster and squeeze off the excess.
Step 7:
Using one paper towel at a time, add a single layer of the paper towels to the head and cardboard backer.
Step 8:
Cover the entire head and cardboard backer with the plaster paper towels.
 

Plaster Step 4
Step 9:
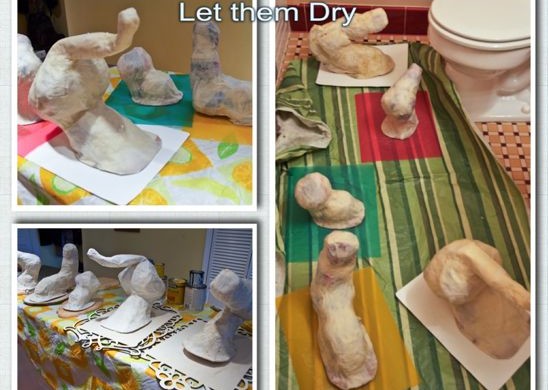
Let the head(s) dry completely overnight or for several hours. It was very cold out, so I placed my heads in a small bathroom and used a space heater (safely) to speed up the process. Rotate the heads and make sure the cardboard backer is completely dry as well.
 

Plaster Step 5
Step 10:
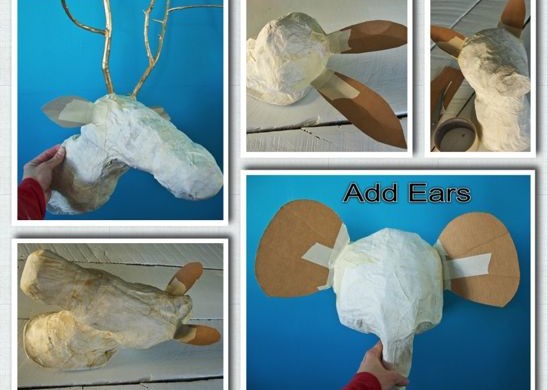
Cut out ears for each head and use masking tape to attach to the heads.
 

Plaster Step 6
Step 11:
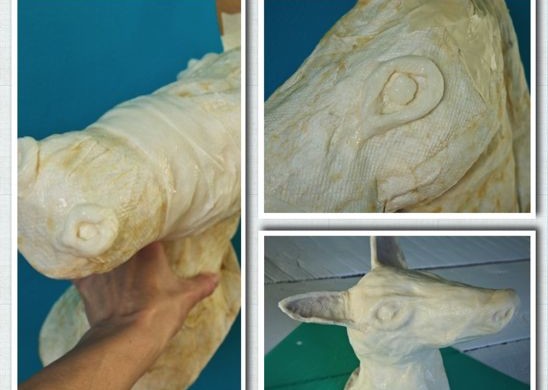
Use another round of plaster and paper towels to build up eye and nose formations. Cover the entire head once more, along with the cardboard backer and the ears with another layer of paper towels.
Let the head(s) dry completely overnight.

While you’re waiting on them to dry, paint your plaques!
 

Potholes and Pantyhose
Step 12:
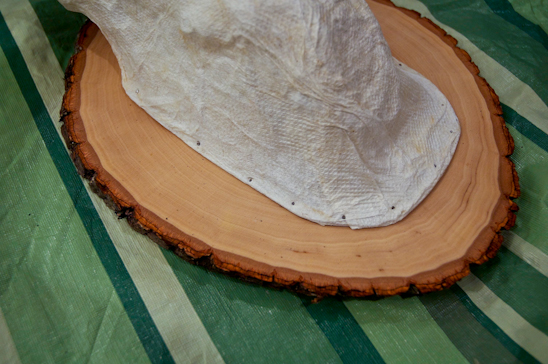
Once the head(s) are completely dry, attach to the painted plaque by gently using brad nails and a hammer. (I went the extra mile and added a little hot glue to the cardboard backer before attaching it to the plaque. I don’t think this step was necessary, but it made me feel better.)
 

Plaster Step 8
Step 13 Alternate (1):
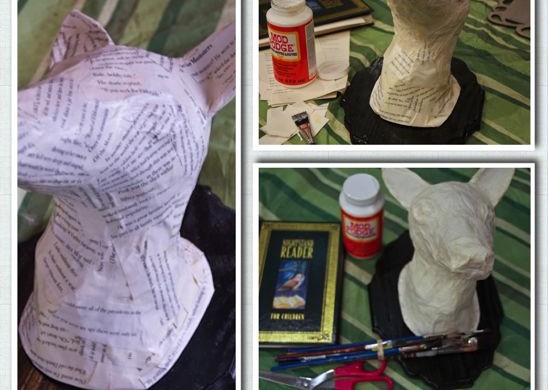
Here comes the fun part-decorating the heads! There are many ways to do this. Here you can see that I used mod podge and the pages of a book to cover the entire head. After cutting out a stack of small pieces from a book, I brushed a thin layer of mod podge on the back side. I placed the piece on the head and brushed another thin layer over the top. I repeated this process until the whole head was covered.

I had five heads, so I covered two with book pages.
 

Plaster Step 9
Step 13 Alternate (2):
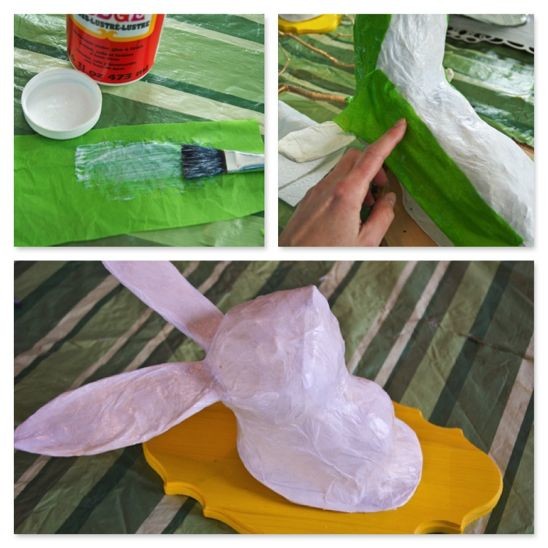
Here, I used the same mod podge process, but utilized fun tissue paper instead. I covered the three remaining heads with tissue paper.
 

Plaster Step 10
Step 14:
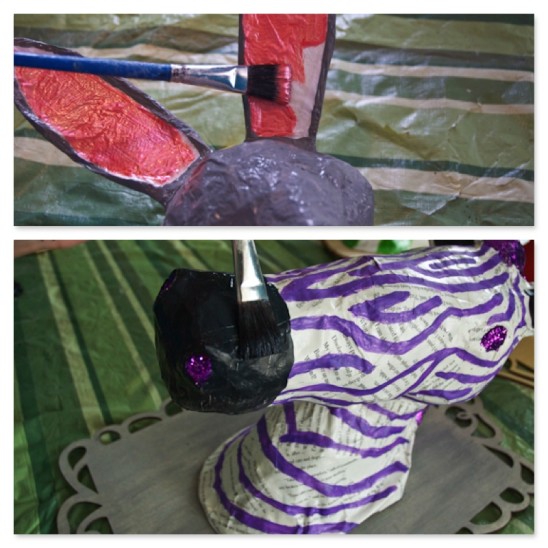
Now, it’s time to paint! Get creative and crazy. Add glitter, rhinestones, mirror pieces, wires for whiskers, feathers, or whatever you have on hand. (Let dry completely between coats of paint).
 

Potholes and Pantyhose
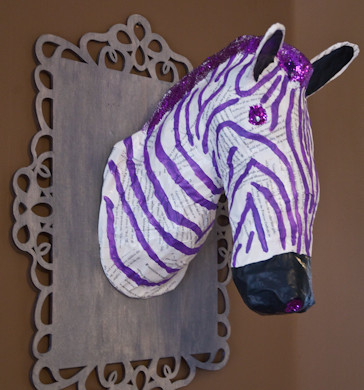
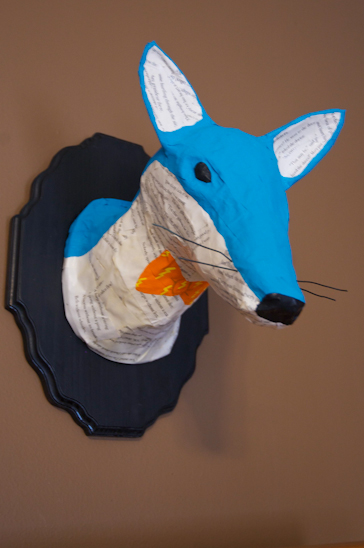
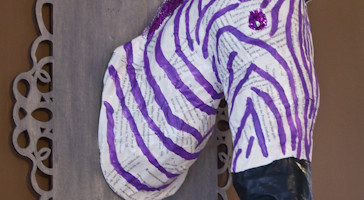
Here are my finished heads. This one I call Frank the Zebra.
 

Potholes and Pantyhose
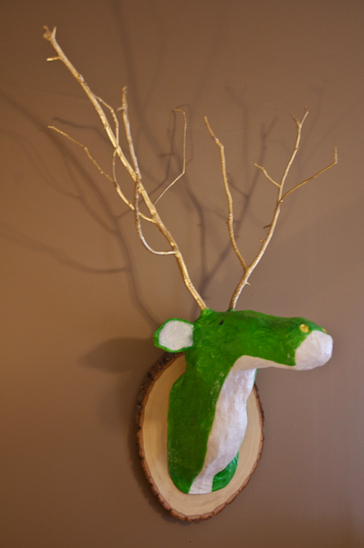
This is Lightening McQueenFox.


Potholes and Pantyhose
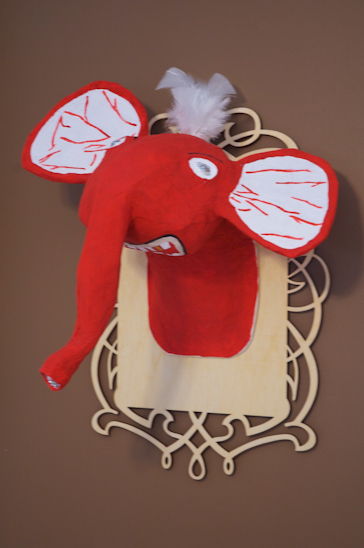
This is Goldy the Elephant.


Potholes and Pantyhose
This is George. Just George.


Potholes and Pantyhose
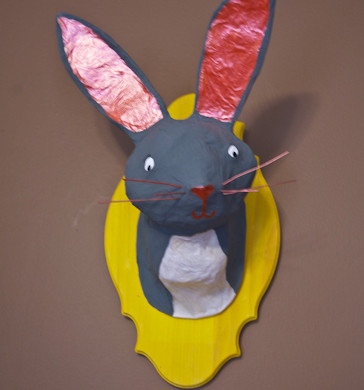
And this is Twinkles the Bunny.

I figured that I saved about $700 making these myself. Not bad for a few days’ work. If you made an animal head, what would it be?
Read more

The Beginning of Change-Budget Living & Dining Room

For years, I have been toiling over what to do with our living and dining room. I’ve gone to you all, my dear readers, in months gone by with my initial thoughts and asked for your opinions. I’ve badgered friends and cats with this subject over and over.


Living Room
Because frankly, this room was boring. Clean? Yes. Minimalistic? Yes. But, B-O-R-I-N-G? Double yes.

And although I felt ready to pull the trigger, there were many objections for change:
1. Financially I can’t in good conscience spend money redoing something we just did 5 years ago.
2. If Biceps had his way, this room would have had center seating (black), gray walls and little else. He wanted to go for the art museum feeling.
3. I hate taping and caulking.
4. I hate cutting in trim.
5. I hate cleaning out brushes and roller.
6. I’m pregnant and flat out didn’t want to.


Living Room
I decided to finally quit talking about changing the living room and the dining room and just get this thing done. Using many of these items above as inspiration, the trigger was pulled–while Biceps was at the station and couldn’t stop me. Heh heh.


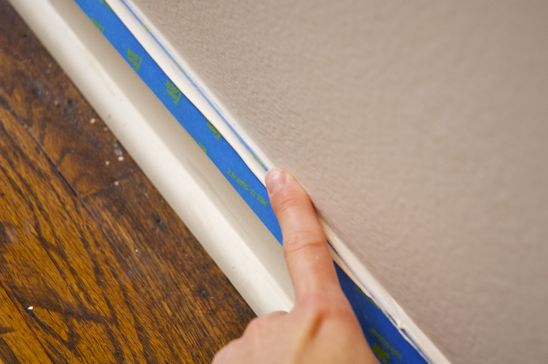
Taping:Caulking
I started by assessing the initial costs:
1. Paint $60
2. Blue Painters Tape, Painters Caulk, tray liners $25
3. Trim for picture frame molding $36

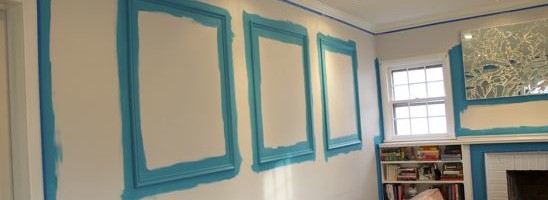
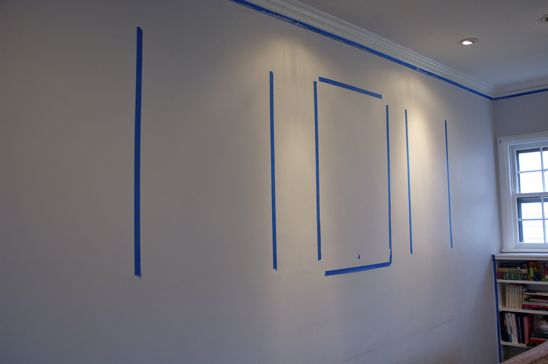
After buying my necessities, I rolled up my sleeves and got to work. First, I pulled everything into the center of the room and started taping and caulking like a son of a gun. (I will share the reason behind this process in detail this week).


PicFrameTaped
I waited for Biceps to determine the size of  the picture frame moldings. It was a long process, which enriched our marriage. (I will also show you in detail how to install your own picture frame molding this week).


TrimCut in
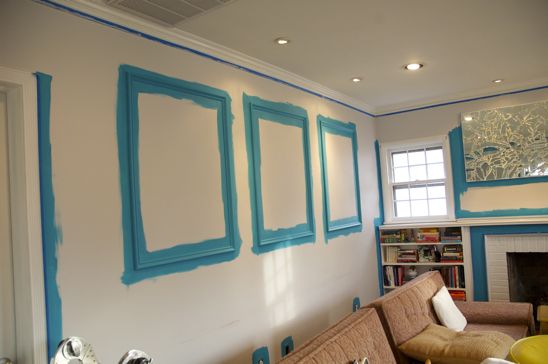
While Biceps was back at the station, I opened my can of paint and panicked a little. Was it really that blue? After a short stint of talking myself off the ledge, I grabbed my favorite Purdy brush and got to work cutting in the trim.

And didn’t stop for 2 days. The living and dining room is now a lovely shade of “exotic sea” blue, which Biceps and I both love (thankfully).

Don’t worry, I will show you the finished product after hanging all my lovely art work. That is another process that is enriching our marriage.

But–I’m dying to know–what do you think so far?


Read more

Christmas is over-what’s next on the list?

Every year, around August, I start thinking about and planning for Christmas. Biceps and I begin discussing that year’s Christmas photo  and I begin gathering costuming and necessary accoutrements.


And, I have a theory about Christmas:

Lists rule, disorganization drools.


List for 2012 Christmas Card Photo:

1. Angel Wings
2. Large Tighty-Whities
3. My “dress”-a white sheet
4. Halo
5. Red Jeans
6. Cape
7. Devil Horns
8. Triton

Totally normal Christmas Photo shoot list for most families, I assume.


And sometime after Thanksgiving, I start scheming for Bicep’s birthday-(also known as my “pre-Christmas”), because he’s a Christmas Eve baby.

List for Bicep’s Birthday:

1. Egg pancakes for Birthday breakfast (Greiman tradition)
2. Some sort of weaponry present
3. Some sort of clothing item present that he will probably return
4. Chocolate cake with chocolate frosting with chocolate ice cream (plus more chocolate options, just in case)
5. Back-up Chocolate


Now, if you know anything about Biceps and I-you know that we are frugal. Christmas is budgeted throughout the year, with a little set aside each month. That way, when present making (or for this year-present buying) comes around, we don’t go into a sticker-shock-induced-coma.


Usual List for homemade presents:

1. 95 Ripe Bananas (boy, do the cashier’s give us a weird look)
2. 8 Bags Pretzel Rods
3. 4 Packages Almond Bark
4. 5 Bags Flour
5. 5 Bags Sugar
6. 3 Jars Molasses
7. 2 Bags Peppermint Candy
8. Etc….


And then there’s the Thank You Note List for Gifts Received (past, present and future):

1. Golden Toilet Lighter from Daniel
2. Self-Adhesive Mustache Pack from Christy
3. Portrait of a Sheriff from Beau
4. Inappropriately Shaped Pine Cone Ornament from Carisa
5. Pooping Penguin from Justin
6. 1966 Ford Mustang from Biceps


But now, the carefully planned out lists have been fulfilled and thrown away. The presents have been unwrapped, the meals have been eaten and the house is silent.

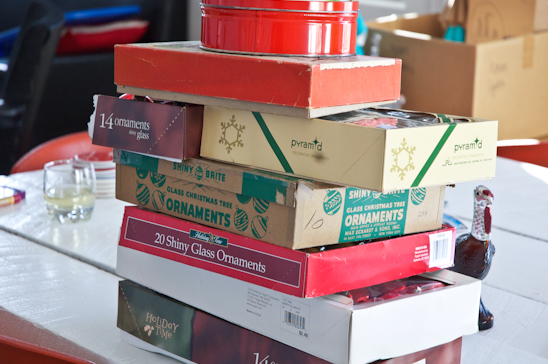
And, it’s time to put all the Christmas cheer back in its appropriate box, wrap it up in tissue paper and store it-once more-up in the attic, until next Christmas.

And I am left with a “Christmas-less” house-until next August when the planning begins again. I don’t have a list anymore. It’s a little disconcerting.

What’s next on your list?

Read more

Christmas on the Cheap-Decor Ideas

Each year, I love to create new decor ideas for Christmas. The stores are filled with glittery goodness, and I like to keep my wallet full of my hard-earned greenery goodness.

If you get my drift. (That’s no snow joke.)

Here are a few ways that I’ve decorated our house for pennies on the dollar.


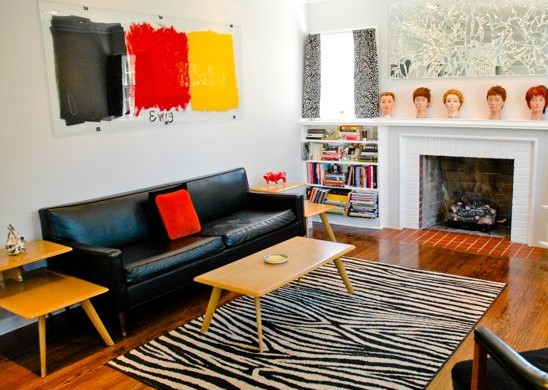
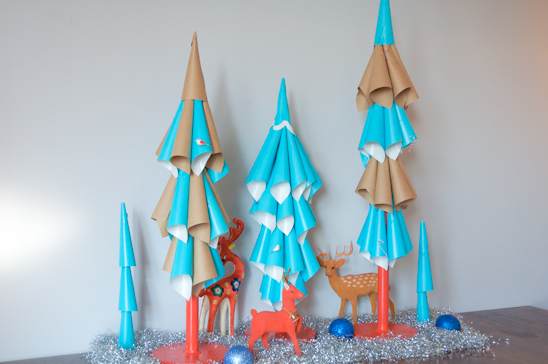
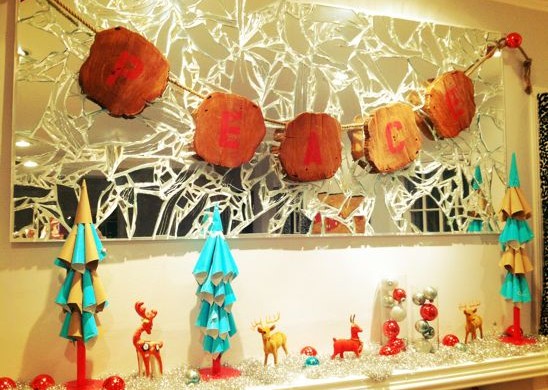
My Pretty Paper Xmas Trees were very inexpensively made. They grace my fireplace mantle and add a lot of color to my gray living room. Each are made from dowel rods, scrap plywood, wrapping paper and hot glue.


This is what the trees look like this year; surrounded by vintage deer, tinsel and very breakable bulbs (knowledge courtesy of ninja cats).

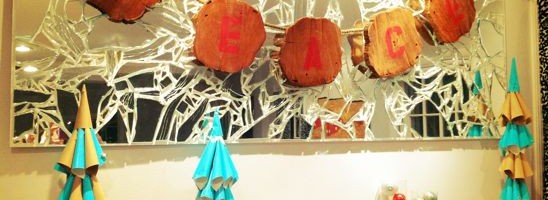
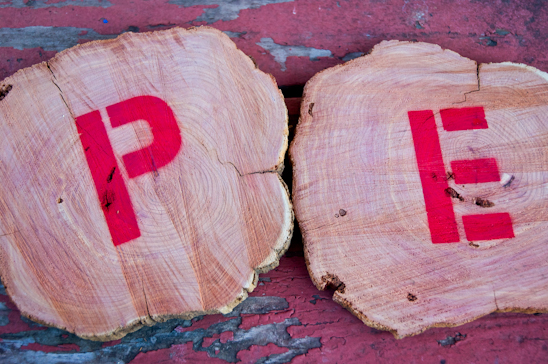
I made the Wooden “Peace” Garland that’s on the  Broken Mirror Art from a felled tree, spray paint and stencils.


These are the pieces close up to the Wooden Christmas Garland before I polyurethaned them.


This DIY Vintage Aluminum Christmas Wreath was made from Aluminum foil, cardboard and leftover red bulbs. Super cute, lightweight and cheap!


Simple, different, pretty and sparkly. My Silver Twig Wreath is a fanciful addition to our front door. And yes, I like fanciful things very much, let me tell you.


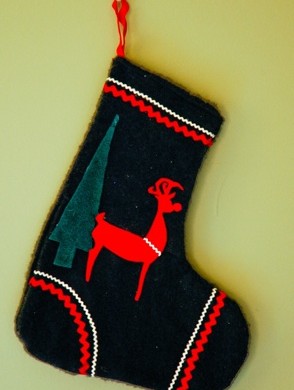
I also made this Retro Christmas Stocking for Biceps…


…and one for me using leftover felt and vintage ric-rac. They were both very simple to make and much better than the gigantic knit one Biceps insisted on using-hoping Santa would fill it to the brim. The size of this Retro Christmas Stocking is much more practical, although certain people aren’t happy about it.


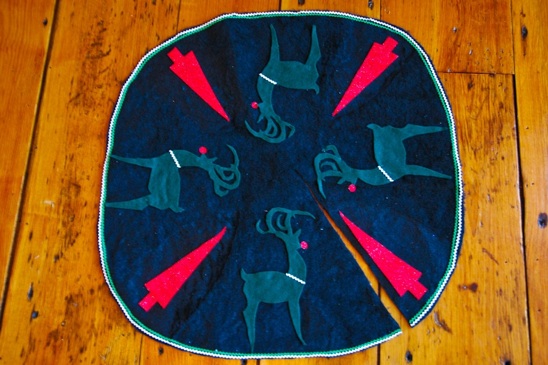
To match the stockings, I also made a Retro Christmas Tree Skirt for our secondary tree with the same felt and ric-rac. This tree skirt just took a few minutes to make.


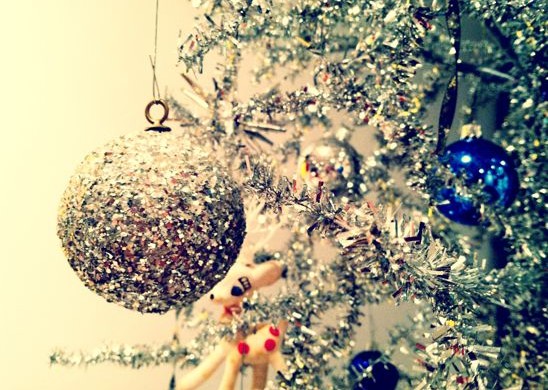
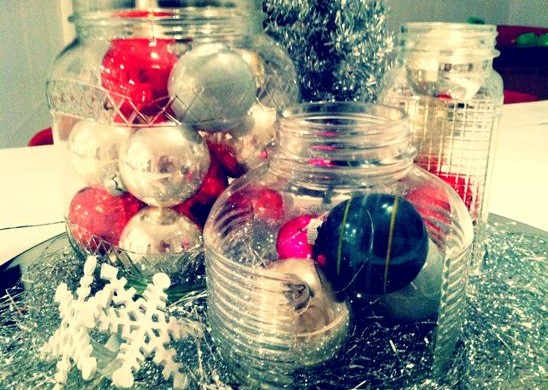
Throughout out the house, if there are any remaining surfaces untouched by Christmas, I fill jars with inexpensive ornaments picked up over the years at flea markets and garage sales. I add some sparkly tinsel and a few varieties of colors of bulbs and my house is ready for Christmas.

I have always said, “You can never have too many bulbs and you can never have too much Christmas.” I’m sure you’ve heard me say that, right?

I hope you’ve been inspired or at least your creativity has been sparked from some of these ideas. I would love to see and hear how you are decorating on the cheap this year!


If these parties are up, I link to them! (Here’s my complete Linky Party Page):
Monday: Crafts Keep Me SaneThe Better BakerSkip to My LouDIY ShowoffSay NotSumo’s Sweet StuffEtcetorizeSew ChattyBrassy AppleFlour Me With LoveCreating my WayMad in CraftsOur Delightful HomeSew Can DoIt’s So Very CheriCraft O ManiacPolly Want a Crafter, Tuesday: Craft EditionInspiration Board New Nostalgia Lettered Life Coastal CharmTip Junkie Ladybug BlessingsHope Studios Todays Creative Blog, Wednesday: Someday Crafts Day2DayJoysJillify It Junk in the TrunkWe are that Family Frugally SustainableSew Much AdoFine Craft Guild The Thrifty HomeMy Girlish Whims Quick, Easy, Cheap & HealthyTrendy Treehouse, Thursday: Somewhat SimpleNo Minimalist Here A Glimpse InsideThe Mommy ClubThe 36th AvenueCheap Chic HomeBeyond the Picket FenceFireflies and Jellybeans House of Hepworths The Shabby Chic Cottage, Friday: My Repurposed LifeIt’s a HodgePodge LifeThe Shabby NestJust Wingin’ ItOne Artsy MommaFrench Country CottageFinding FabulousPassionately ArtisticPetals and PicotsSimply DesigningLittle Becky HomeckyMy Romantic HomeBacon TimeSimply Living, Saturday: Polkadot PrettiesTatertots and JelloCreate and InspireBe Different, Act NormalCraft EnvyFunky Junk InteriorsPetites Passion, Sunday: Under the TableNatural MothersMopping the Floor


Read more