Archive for category: Remodeling

Man Hands?

Dear Readers:
I have shared with you my inadequacies as a human as I begged for help with my hair debacle. I’ve shown you my messy kitchen and have revealed to you my loneliness after the guest go home.

Now, I am guilty of something even more sinister and grotesque.

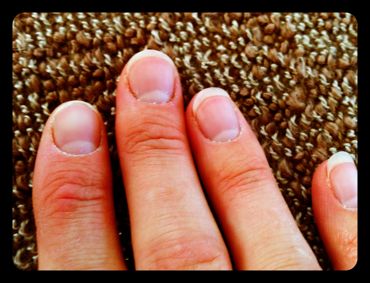
Exhibit A:
These are not man’s hands as you would suppose (or surmise). Whatever adjective works for me.
These are my hands.
Let the record show: Awful cuticles followed by poorly misshapen nails and extreme skin dryness.

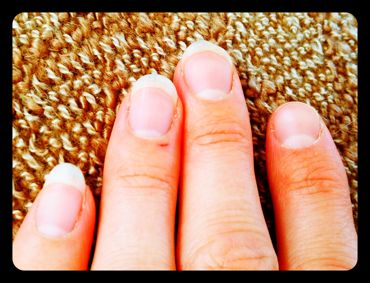
Exhibit B:
Scrapes, scratches and pulled off hangnails contribute to the debauchery.

Let the record show: Nothing is being done to rectify the situation. The defendant is displaying a lifestyle of grouting tile, washing dishes without gloves, sanding wood and anything else women with nice hands don’t do.

The verdict: I am guilty of a heinous crime-Hand Abuse and must serve 1-2 days in intensive therapy to improve the Hand Abuse situation.

Case closed.

Read more

Weird Reasons to be Thankful

Thanksgiving is creeping in. Let’s be thankful.

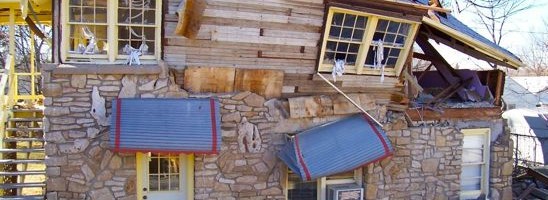
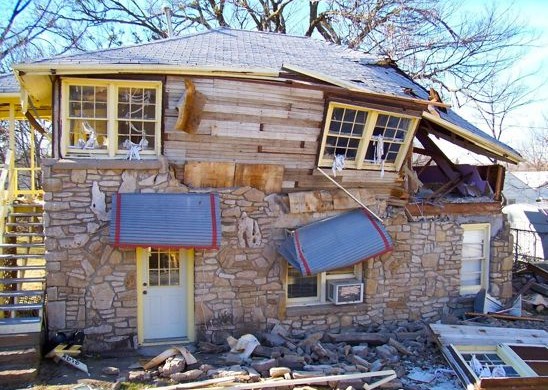
I am thankful that I didn’t die when my house exploded. (Full Story Here.)

 
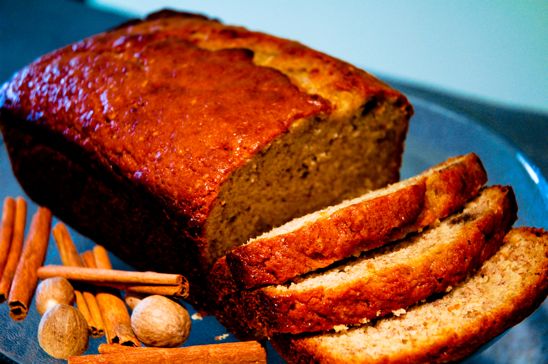
I am thankful for the amazing banana bread that I love to make-and eat. (Recipe here.)


I am thankful that even when things in life appear to be prickly, beauty can be found at the end.


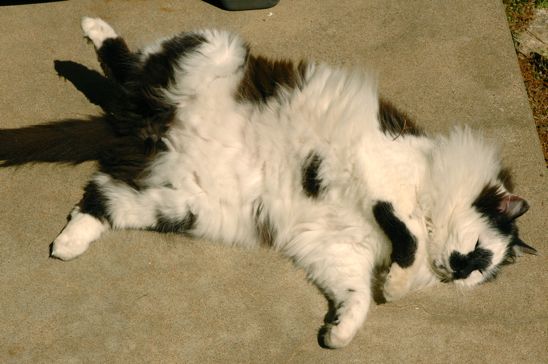
I am thankful that I had this weird cat for eight years of my life. R.I.P. Cowboy.


And, I am thankful that Biceps convinced me to sell one of our houses by tempting me with a trip to Europe.

What are your weird reasons to be thankful?

Read more

The Master Bathroom Remodel-Part Deux

You’ll want to check out the Master Bathroom-Part Uno before jumping into this. You need to be prepared. And if you really want to be prepared, check out what I did with the adjoining Master Bedroom.
So, go-I’ll wait for you. But please, do come back.


Yeah! You’re back-I am assuming you have done what you were told and aren’t being naughty at this point. However, if you are being naughty, I know the feeling…
This is what I started with-a green room with absolutely no appeal, nothing, nada. Boring.

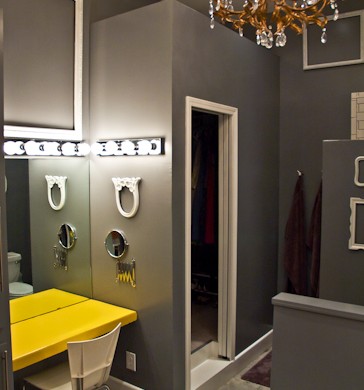
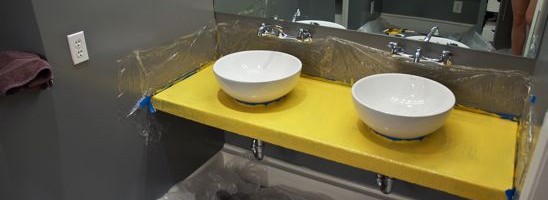
And this is where I left you in the Master Bathroom-Part Uno. Biceps was on tour without me (very sad) and I was being sneaky and remodeling the bathroom. I changed the wall color from green to a deep gray. The concrete floor and both vanities had been stripped of their old concrete stain. I painted the countertops canary yellow using garage floor paint. All the difficult steps are finished-now, it’s time to decorate!

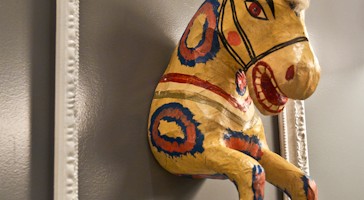
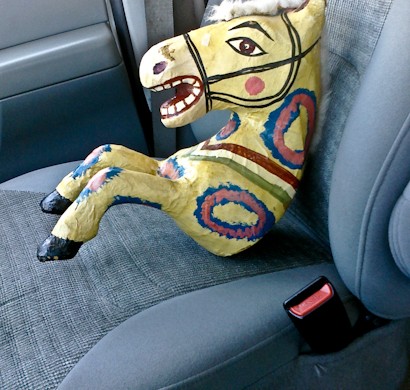
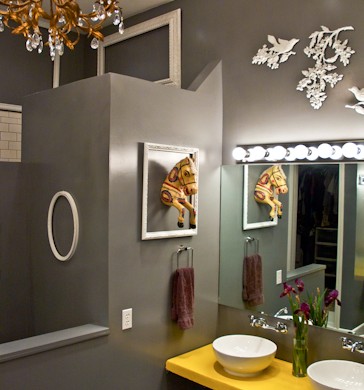
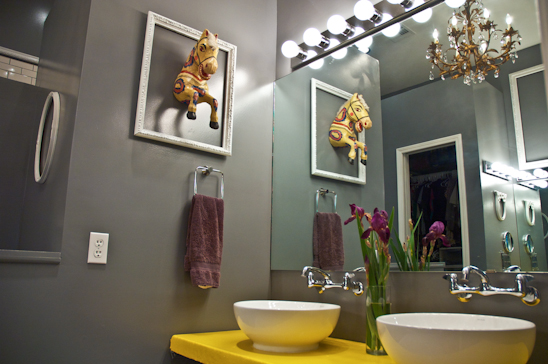
I found Harold (the horse) at an antique store in Jenks, Ok for $10. This was Harold’s first car ride. As you can see, Harold was very happy to come home with me.

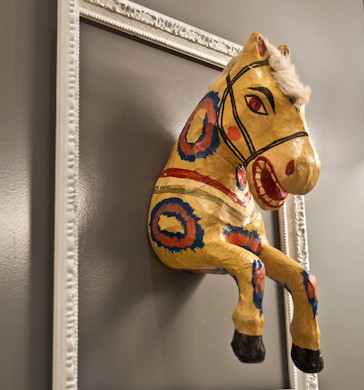
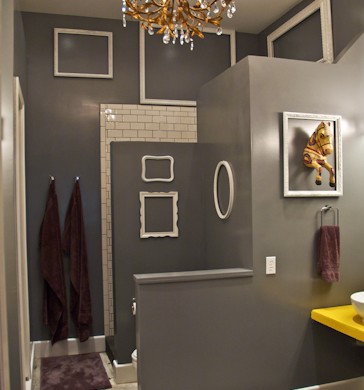
Using Harold as inspiration, I began to amass several large and small frames-all of which I spray painted a high gloss white. I hung the empty glossy white frames on the gray bathroom walls, making them pop.

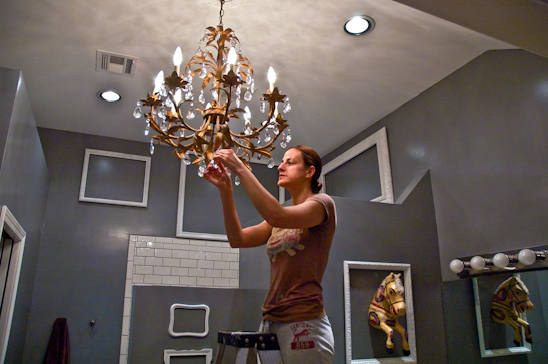
I found a chandelier at an antique shop for $15. For safety’s sake, I rewired it first. Armed with a can of gold spray paint, I repainted it and then antiqued it. I then watered down some leftover high-gloss black paint, and used a rag to rub the watered down black over the gold to antique it.
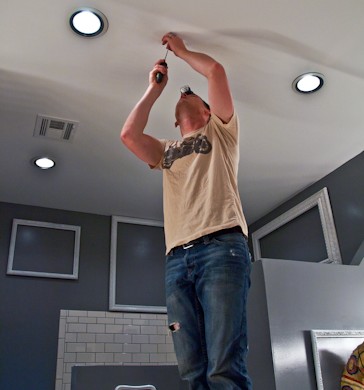
Next, I found a brother-in-law that came free with my marriage to my husband. He aided me in the electrical portion of my bathroom remodel. After determining the spot we wanted to hang the chandelier from, he went to work-cutting, wiring, and hanging.

I got to do the fun stuff associated with chandeliers-hanging sparkly crystals in the appropriate areas. I scavenged discarded chandeliers from other projects to come up with what you see here. Before hanging them, I first cleaned them with vinegar and water to really make them sparkle.

Since I was on my own when it came time to hang the frames, I needed a ladder, some dexterity and a lot of good balancing. And 911 ready on speed dial.

Harold witnessed me almost fall (more than once), but he just sat there and whinnied…jerk.

The three dimensional bird and branch motif that are hanging above the mirror, I snagged at our local flea market for a couple of bucks and spray painted them also high gloss white.

We’ll probably lay tile on the concrete floor at some point in the future, but for now, just the stain being gone is wonderful. If you hadn’t read in my earlier post, the “stain” decided not to stain the concrete and kept coming off in chunks and sticking to our little footsies.

Hope you enjoyed my new changes around my old house.
Harold (the horse) seems to be loving his new home, and so am I. I can hardly wait for Biceps to see it.

Read more

The Master Bathroom Remodel-Part Uno

While Bicep’s was away on tour, I got a wild hair to remodel our Master Bedroom and Bathroom. We’ve never lived in one of our houses long enough to want to “remodel our remodel”. After only 3 years of living in our “Current Remodel, it seemed a little ridiculous to remodel, but the green we chose for both the Master Bed and the Master Bath had to go.
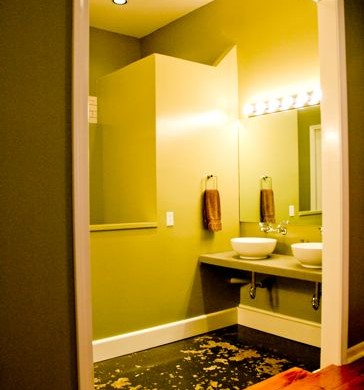
In the beginning, we loved the green. Then I began to loathe it.
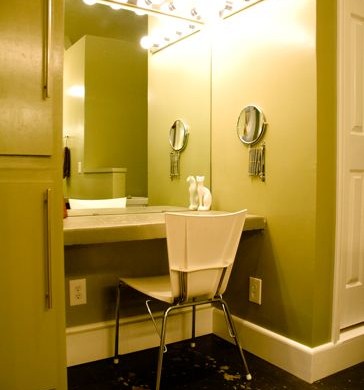


Nothing matched it. Nothing. Notice how bare this room is of any accessories? This is after 3 years of living in this house. No rugs, no paintings on the wall, no warmth.
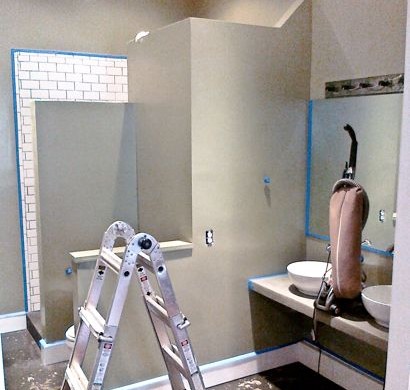


(Sorry for the quality of the photo-this picture was taken with my phone and I forget to up the anty and pull out the fancy camera).
I taped off all the areas I knew I would slop paint on, vacuumed all cobwebs, rolled up my shirt sleeves and got to work. I chose a deep gray paint that would compliment the purple I had just painted in the adjoining Master Bedroom.
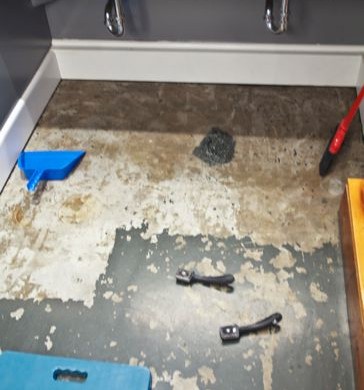


We had spent an arm and a leg “staining” our concrete. The staining process didn’t work and we aren’t sure why. The stain did take in another bathroom in our house. Just not this one. And the “stain” would stick to our feet, our shoes and our kitty cat paws anytime we would walk through the bathroom.
The stain was a pain.
It, much like the green paint color, needed to go.
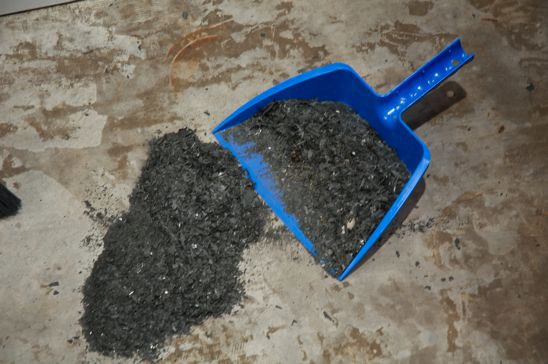


Using a wall scraper, elbow grease and a few choice words, the concrete “stain” was removed.


The stain on the sink vanity and my makeup area was removed with a very technical procedure of placing packing tape on the surface of the vanity and removing the tape-along with most of the stain. I had to scrape the stubborn areas with the wall scraper, too.
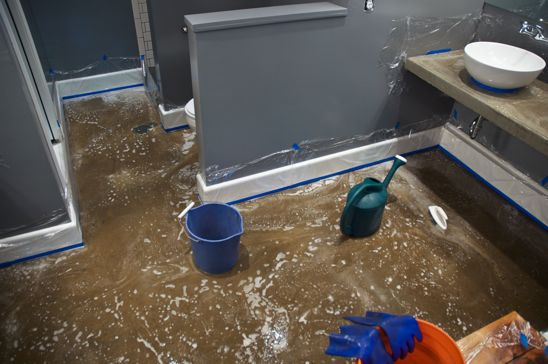


Next came El Diablo-Muriatic Acid-to clean the newly scraped concrete. Diluting the acid with water, I scrubbed the floor armed with chemical safe rubber gloves and eye protection. I don’t mess about. I taped off and saran wrapped anything the acid might touch-including, don’t laugh, my shoes. Probably overkill, but again…I don’t mess about.


With the concrete clean and dry, the next phase of the remodel was to paint the vanities. And it was about to get kuh-razy.


I chose a canary yellow concrete paint-made for garage floors, porches and patios-to brighten the lives of my two vanities.


I used a foamy brush and applied four coats of the concrete paint, allowing it to dry according to what the can told me to do.

I was a little shocked at first with how bright the yellow was. However, I had a plan. I will be adding accessories to compliment the gray and yellow motif going on here. It’s all part of my master plan. I will soon post Master Bathroom Remodel-Part Deux-don’t you worry.
Read more