Archive for category: Arts & Crap

Ten (Plus) Easy Ways to save Money

I am frugal by nature-just ask my parents. I used to hide girl scout cookies under my bed, only allowing myself one delicious thin mint a night. That is-until the ants also found my stash and my parents put an end to my cookie hoarding ways.

That said, I love to save money. Here are ten (plus) easy ways that you can, too!
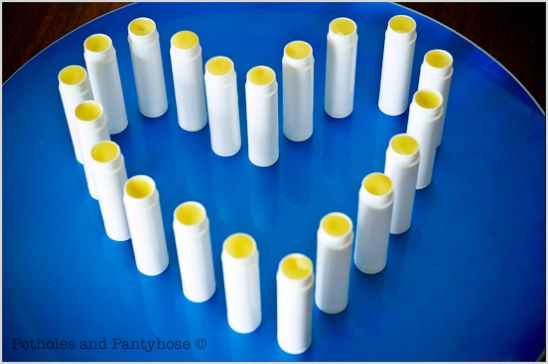
 

Chapstick
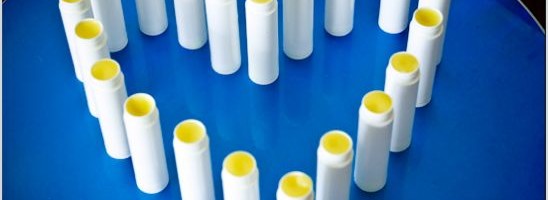
1) Biceps uses lip balm like nobody’s business. And to be fair-so do I. But, is it a crime to want supple, luscious lips void of cracks and flakiness. I contest that it is not!
However, the $3 a tube for Burt’s Bees was a crime. And I needed to solve it. With a few ingredients and within a few minutes time, I had made 40 tubes of Lip Balm that cost less than $.25 each.
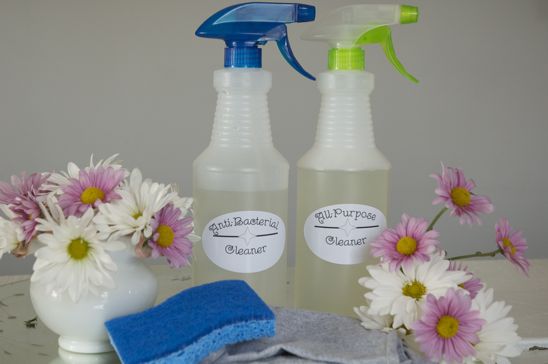
 

Cleanser
2) I make all of the cleansers that I need to keep my home sparkling. They are cheap, easy to make and non-toxic. Everything from: all purpose & anti-bacterial cleaners, to furniture polish, toilet bowel cleaner, brass and stainless steel polisher, and cooking spray.
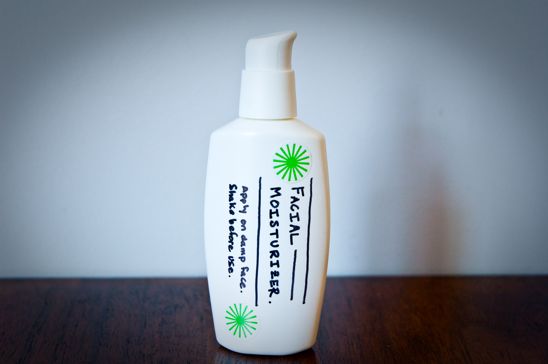
 

Potholes and Pantyhose
3) I also make most of my beauty products saving me hundreds of dollars a year. Check out this easy to make facial moisturizer, eye make-up remover, toothpaste and mouthwash.
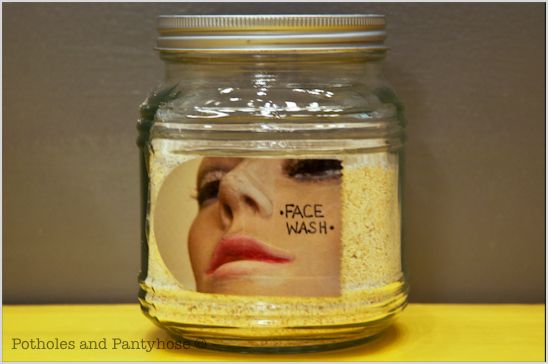
 

Face Wash
4) Simply make your own face wash using ground oatmeal. I know what you might be thinking-how does oatmeal on my face actually work? The ground oats add moisture back into the skin (thus the reason you are supposed to bathe in it when you have a rash, poison ivy, etc) while the gentle oats exfoliate the skin and cleanse. Cheap. Simple. Love it and the smell of breakfast as you’re washing my face.
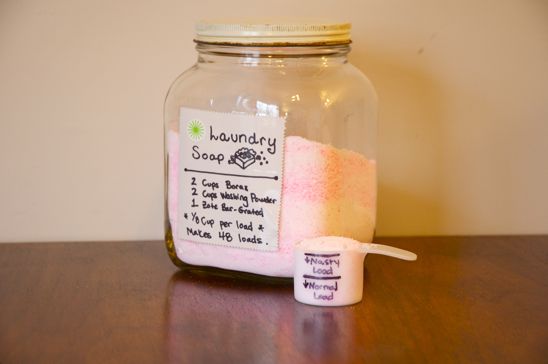
 

Laundry Soap
5) I make my own laundry soap once a month which lasts me for 48 stinky, big-boy loads. I save big-boy money doing this. The clothes smell great and it’s fun to grind up soap in my blender. Everybody wins.

I also make my own laundry softener and stain stick. Super easy, does the job and smells fantastic!


Mirror Art
6) Make your own art with whatever you have on hand. Get creative and dare to cut your knuckles making this Mirror Art. I’ve used scrap plywood, drywall, oops paint, repainted canvases, and many other odd things to decorate my walls. And-the best part is-if you screw up, you can just throw it away!

 

Potholes and Pantyhose
7) Learn how to do some basic sewing and start getting thrifty. I made this silky scarf shirt with a couple of scarves and two pieces of ribbon. The cost-$1. I’ve also made shirts and dresses from pillow cases, and cape shirts from lace tablecloths.
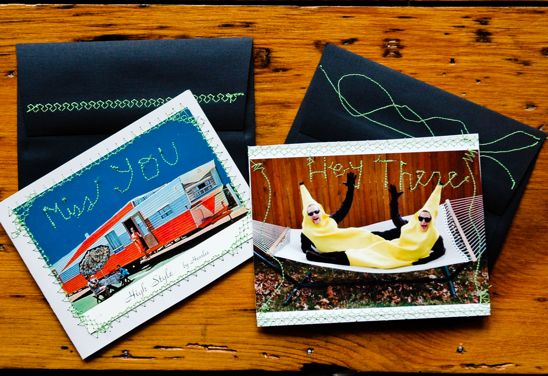
 

Thank You
8) Create your own cheap thank you notes by recycling old photos, postcards, pictures from magazines. Sew them onto card stock and offer your friends a one-of-a-kind letter in the mail.
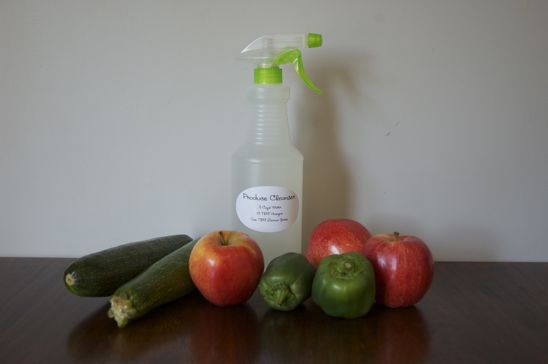
 

Veggie Wash
9) The produce cleanser I was buying from the store cost about $3 a bottle. Forget that! I now make my very own produce cleanser at home for about $.10 a bottle. Those are savings you can keep!


Garden-Tomatoes
10) Keep your garden humming all year long with an inexpensive DIY spinning composter, rain barrels, critter deterrent and pest spray.

These are just a few ways that I’ve found to save money and replace store-bought items. What are some of your favorite ways to be frugal and keep your cold-hard cash where it belongs (in your wallet)?
Read more

DIY Cement Garden “Hands”

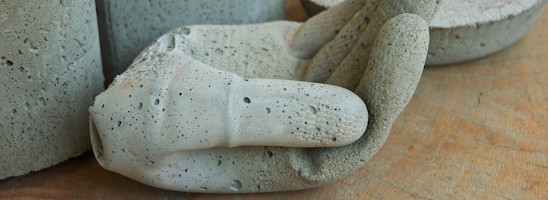
At first, I was a scared little girl when it came to working with cement. It seemed so permanent and could be a colossal waste of time if I screwed it up. Which I do often. Then, I had an epiphany. Cement is no different than cookie dough-other than the whole edibility issue.


Planters and Cement Hand
So, I opened up the creative floodgates and made a cement hand (or two). This little hand will be perfect holding birdseed, or just adding a little pinache to my flower beds. And it cost almost nothing to make.


Ingredients-Cement Hand
Here’s all that you’ll need to make your very own cement hand:
Bucket and access to water
Rubber gloves
Sand/Topping mix
Hand shovel or garden trowel
Cooking oil and paintbrush


Water and Bucket-Cement Hand
Pour a cup or two of the Sand/Topping Mix into a bucket. Add a little water and begin to mix-just like cookie dough!


Mixing Thick Cement Hand
The cement needs to be the consistency of thick dough. Do a test by pushing a little to the side of the bucket-if it stays in place pretty well, it’s thick enough. If it slumps right back down, you’ll need to add a little more of the Sand/Topping Mix.


Oil and Rubber Glove-Cement Hand
Turn a rubber glove inside out and pour a tablespoon into it. Clamp the end of the glove and give it a good shake, until the whole glove is coated inside with oil.


Rubber Glove-Cement Hand
Fill the inside out rubber glove with cement, squeezing it to the tips of each finger.


Drying Rubber Glove-Cement Hand
Prop up the fingers into the desired shape and let dry overnight.


Removal Rubber Glove-Cement Hand
Once the cement hand is completely dry, remove the rubber glove carefully by cutting and removing sections a little at a time.


Planters and 2 Cement Hand Side
That’s it-you’re done! Easy as making cookies, wasn’t it?

 
Close Up Cement Hand
You now have a one of a kind art piece with which to decorate your garden, your fireplace mantle or even use it to hold your business cards at work.

Take that, normalcy!

Read more

Springy, Silk Scarf Shirt-Live on GDGC

This morning, I will again be LIVE on Fox23’s “Great Day, Green Country” showing how to make this Springy, Silk Scarf Shirt. I like to create many of the items I wear-this not only helps pinch pennies but prevents the awkward ‘you’re wearing the same thing I’m wearing’ at a party. This scarf shirt is inexpensive and very simple to make.
Not only will it flatter any body type as it tapers in at the smallest point of the waist, but it will also keep you cool throughout a hot summer.
Skill Level: If I can do it, you can do it. (A.K.A. Easy.)


The robots have determined my live video can be viewed now. Enjoy. Nanu-nanu.


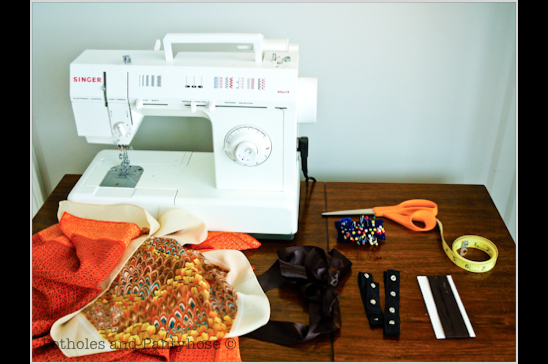
What you’ll need:
2 Scarves (approx. 2’ x 2’)
Sewing Machine
Thread and Bobbin to Match
Straight Pins
Lighter
Scissors
(2) 3″ squares and (4) 2″ squares Hem or Bias Tape, fold cut sides and iron flat
(2) 12″ sections of Craft Ribbon or Section of Snaps (like on a onesy)
(3) 2″ sections of velcro if not using snaps
(2) 18″ Sections of Craft Ribbon


Determine which scarf will be your ‘front’ and which will be the ‘back’ of your shirt.
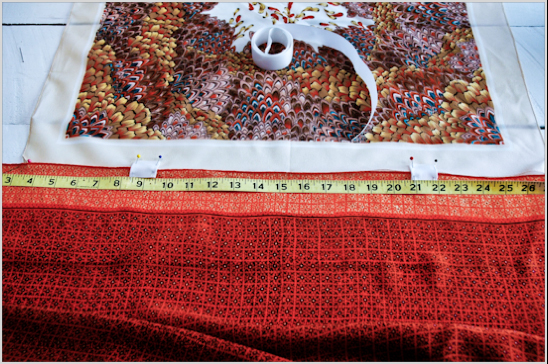
Lay your scarves end to end and measure the center. Pin the two pieces of 3” hem tape, 6 inches on either side of center. The area in the middle will be your neck opening.
And if you have a really big head or constantly sport a big hairdo, then widen the opening for heaven’s sake.


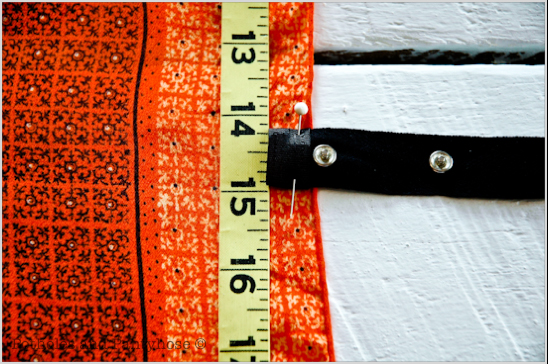
On what will be the sides of your scarf, measure 14 1/2” down. This measurement should be just above your belly button.
This will enhance the tiny part of your waist and make you look va-va-voom.
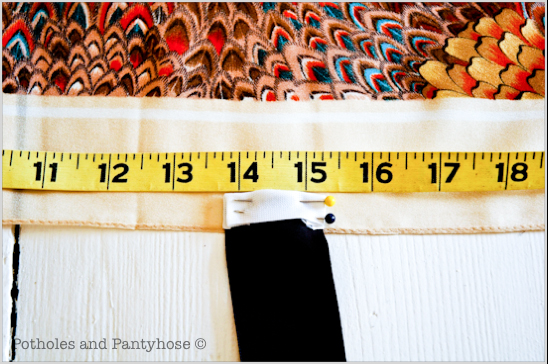
Using the 2” hem tape, pin both sections of the 18″ ribbon on the side of your ‘front scarf’ at the 14 1/2” mark.


Follow the same instructions if you are using snaps, pinning them onto the ‘back scarf.’ If using the 12″ ribbon and velcro, sew the (3) 2″ sections of velcro along the ribbon. Use the 2″ bias tape to secure the ribbon to the back scarf.


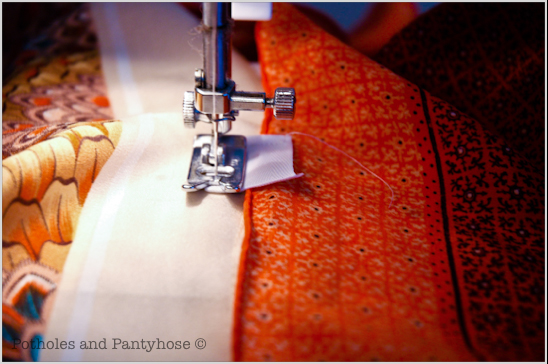
Sew everything you have pinned on with a straight stitch, making a box with the thread around the hem tape.
This ‘box’ protects the delicate nature of silk from tearing. And when you’ve eaten too much, you’ll be thankful for it.


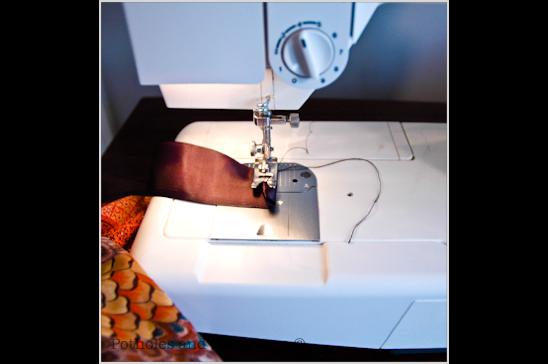
Sew the ends of the ribbon to prevent them from fraying–unless you like that worn look. Or, you can use a lighter to burn the ends which will also prevent fraying.


After slipping your shirt over your head, fasten the snaps or the velcro in the front around your stomach area, and tie it closed with the ribbon in the back.

It looks great paired with skinny jeans, a flowy skirt or shorts. I tend to wear bold, chunky jewelry with my scarf shirt, but I give you permission to accessorize at will.

Happy Sewing!

♥ ♥ ♥

Here are the links to my other LIVE TV appearances on Fox23’s Great Day Green Country:

Here are links to my Homemade Household Cleansers and Beauty Products:

And here are a few Homemade Food Items to easily replace store-bought items:

Thanks so much for stopping by and spending time with such a weirdo. Make sure you become a Facebook Fan or a Linky Follower to keep up to date with what this weirdo comes up with next. Have a great day!

Read more

Le Garden is in. And so are the bunnies.

Dear Bunnies of Oklahoma:

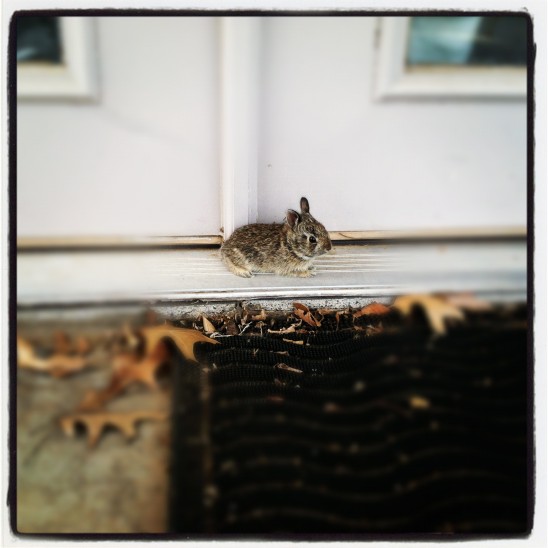
Right now, you are totally on my naughty list. True-you are really fuzzy and cute. True-you have adorable, tiny noses that spazz out over the simplest smell.


And, true-your jet black eyes make my heart melt.


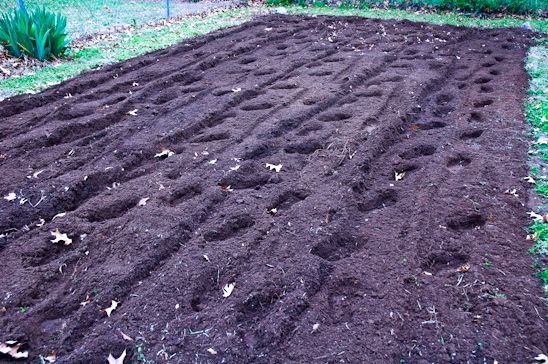
However, cute little bunnies-after I have tilled the soil…


…planted dainty little plants…


…why do you don ninja masks and incessantly choose to nibble on my plants in the darkness of the night?!


You kind’ve make me feel like this. And I don’t like feeling like this. Don’t make me get the rubberband gun. 

Sincerely-

A concerned gardening citizen

Read more