Tag Archive for: wood

Wooden Christmas Garland

Decorating for Christmas is something I look forward to all year-storing things away that I collect throughout the changing seasons-until I feel that first nippy bite in the air.
One of my neighbor’s had their visiting father-who I have come to adore-knock on my door this past spring. It was no surprise that he came to me with a stack of cedar chunks from a felled tree.
And to quote the father (with a severe southern drawl), “When I saw these, I just knew if anyone could do something with them, it’d be you.”
Apparently, my reputation precedes me….

And I hope I haven’t let him down or failed his expectations of just what I could “do with them”. For next to nothing, I have a unique garland made from reclaimed cedar wood that Anthropologie is probably jealous of…or at least, I’d like to think so.
I’ll be sharing the tutorial on how to make the cute little blue, brown & red trees next week.


Here’s what you’ll need to make your very own Wooden Christmas Garland:
Chunks ‘o Wood (mine were about 9″ in diameter)
Rope (I used 1/2 twisted nylon rope-blue hawk is a pretty good brand from Lowe’s)
Palm Sander and 80+ grit Sandpaper
Your favorite color paint/spray paint
Hammer & nails (not pictured)
Stencils
Blue Tape

Let’s get started!
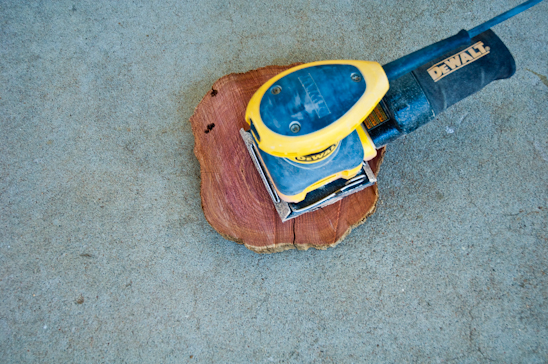
 

Lightly sand the wood, going with the grain if possible. I sanded mine just enough to not have burrs or splinters. I wanted my garland to be rustic.
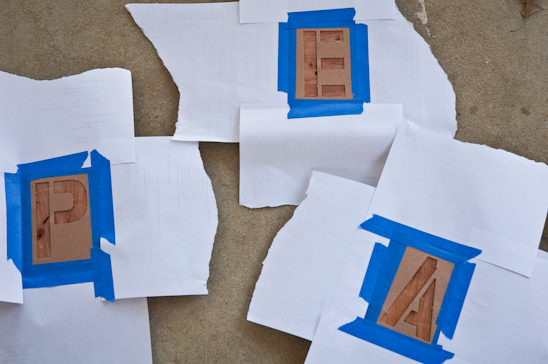
 

Choose your saying. I went with “Peace”, but considered “Boink”, “Poop”, and “Elephant”. I really didn’t have enough wood to do the latter and was outvoted on the first two by my visiting mother-in-law.

Tape down the stencils with blue tape, adding scrap paper if needed to protect the rest of the wood.


Spray away! I went with two coats, just to be safe.
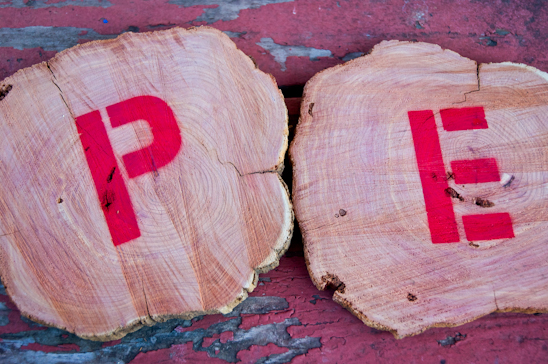
 

Remove the stencils. Stand back. Ooh and ahh until the neighbor gets curious. Then tell them to quit snooping, this is a top secret project.
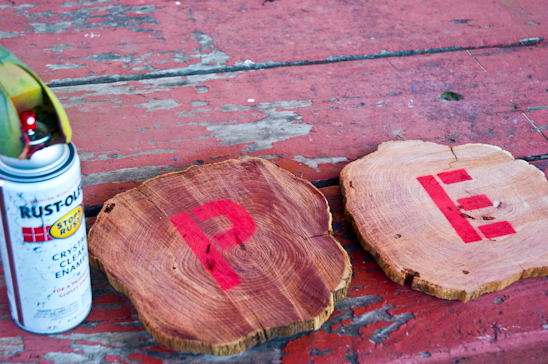
 

I gave the wood a light coating with a Crystal Clear Enamel, but you don’t have to. You could also add a layer of polyurethane instead. Either acts as a protectant and gives the wood a little sheen.
The “P” has been sprayed with it in this picture, but not the “E”.
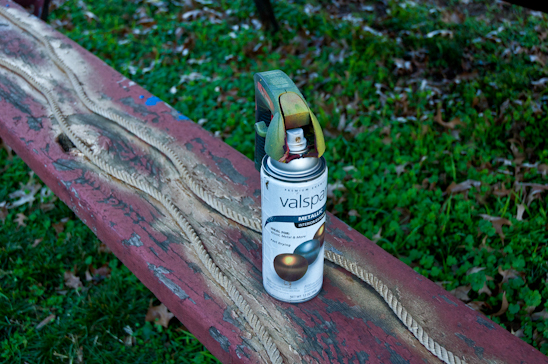
 

Spray paint your rope, if you so desire. I went with shiny, shiny gold. I like gold things-they’re kingly.


Once everything is dry, use your hammer and small nails to tack in the rope to the back of the wood. I used two nails per chunk of wood.


Hang your Wooden Christmas Garland where your little heart desires and enjoy.
Then call your neighbor to tell them you just finished your top secret project and you also have some warm cookies to share.
I bet they’ll be over in two shakes of a kitty’s tail.

Read more

The Difference Between Man & Wife and Windows

Biceps and I are organizers. The clothes in our closets are color coordinated. We face the labels out on our canned goods. We completely rinse every last crumb off of our dishes before putting them
in the dishwasher.
I would absolutely drive any other man crazy.

However, with all of that in common, we still have or freakish differences.
He loves the stage. I get sweaty palms, heart palpitations and loose all control of my appendages if I go near a stage.
I can also be quite careless from time to time.
I’ll fling my seatbelt behind me as I vacate the car, hopping out without looking below and usually step right into a puddle.
He situates things for five minutes before leaving the car. Mostly, he’s untangling my seatbelt. And not stepping into a puddle.
Biceps is careful, thoughtful and patient.
I am working on these attributes. Quickly.


Because of the reasons stated above, today became a landmark day for me. And for our marriage.
We have been scraping, glazing, caulking, and repairing our windows for the last several days.
Today, we started painting them. This is where it gets good.


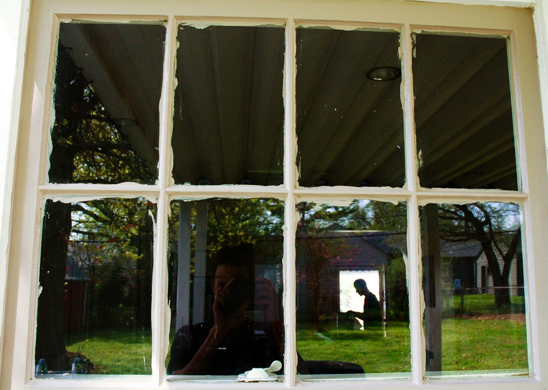
Guess who’s window this is.


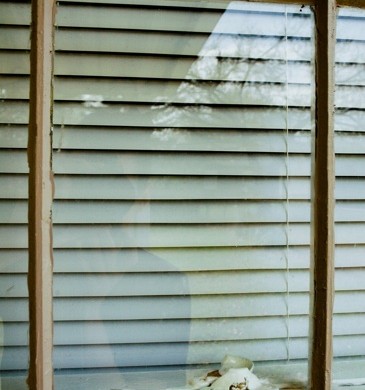
Now guess who’s this one was.


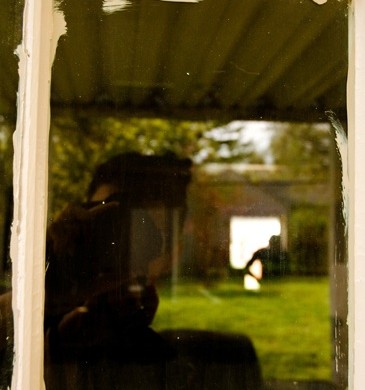
Window #1 again-this time a close up for some down and dirty comparison.


And Window #2 again-a close up for your scrutiny.
Who do think did what window?

Read more

A $10 Sewing Cabinet Makeover

I hunt for bargains.
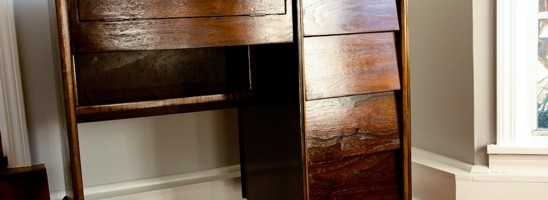
I got this little number at a Habitat for Humanity and fell in love immediately. This little guy needed a second chance at life and I’m just the girl to make it happen.

I love to sew and have always wanted a really functional sewing cabinet. This not only had drawers for scissors, tape, etc…but the two sides flipped out to give you some more working room. Bonus.
Here’s what you need below.


You will need sandpaper. I recommend the 120 grit (on the left) if you don’t have to cut through years of stain or paint.The 80 grit (on the right) is tougher and can cut through thicker stains or stubborn paint.


You will need a palm sander and extension cord.


Grab yourself a pair of gloves-save that manicure; polyurethane-I chose the fast drying clear gloss, three foamy brushes, a drop-cloth and a rag. You will also want to choose which color of stain you want, or you can go au natural. I chose a stain we had in our shed, which you will see later on.


You’ll need two microfiber cloths and steel wool, as well. I think that’s about it. Now on to the lesson!


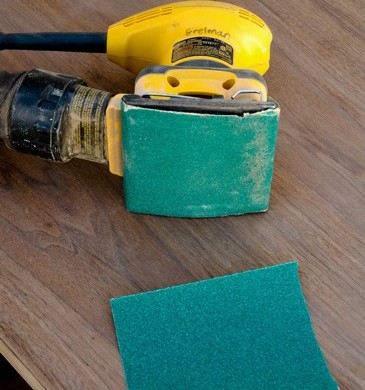
Take one of your sandpaper sheets and fold it in half.


Then fold the half in half, creasing the folds.


Tear the sandpaper down the creases making four squares.


Take one of these squares and attach it to your palm sander. Watch those fingers-I have been pinched one too many times….


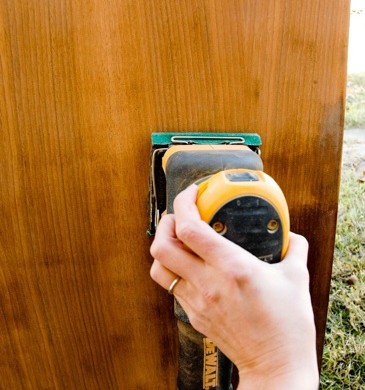
Sand in the direction of the woodgrain. You may have to go over the piece a couple of times. Use a square of sand paper to hand sand anything your palm sander cannot get to.


Once you have sanded the entire thing, vacuum every nook and cranny.


Then use a microfiber cloth to get any left behind bits o’ dust. Run it over the entire thing thoroughly. I recommend doing this two or three times.
Please ignore my weird looking hand. I blame it on my camera’s perspective.


Find an inconspicuous place on your piece of furniture-like the bottom of it or the backside and test out your stain samples. I chose the one at the far right. It’s called ebony. There is no ivory stain, I checked.
At this point, I would recommend bringing your item indoors and laying down a drop-cloth.


Using your foamy brush, apply a thin layer of stain in the direction of the woodgrain very slowly. Make sure you are checking for drips or pools of stain the whole time you are staining.


Use a rag to wipe off the excess stain. ‘Nuff said.


Then let the sucka dry following the manufacturer’s recommendation.


Time for the polyurethane, which I like to call the ‘OOH! moment’, cuz it’s pretty. Carefully open the poly can and stir in a clockwise direction. Do not pull up from the bottom like you normally do with paint. Stir the poly frequently during application. Dip a NEW foamy brush into your stirred, not shaken, poly and apply it while following the woodgrain once again. Let dry-mine took 4 hours to dry indoors, but follow the manufacturer’s recommendation.


Using a steel wool pad, slightly scuff the dried poly by following (yes, you guessed it!)-the woodgrain.


Take a clean microfiber cloth and wipe that thing down, in any direction you like this time.


Back to the poly for your second coat. Apply a thin layer following the woodgrain again. Let dry the recommended time. And then….


POW!
And ZAM!
And BOO-YEAH!


And then, mark this momentous occasion with a glass of red wine.
Or white. Your choice.

Read more