Tag Archive for: sewing

Sew Vintage Blank Note Cards

Biceps owned several vintage postcards P.R. (pre-Rebekah).
Neither of us knew what to do with them, and we revered them too much to actually use them as postcards.
But things are meant to be used in a practical way and not made to look at and clutter up my desk drawers.
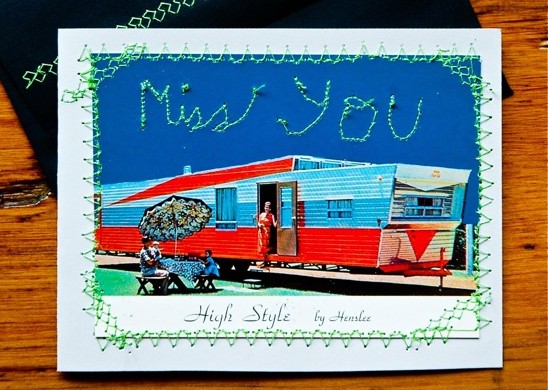
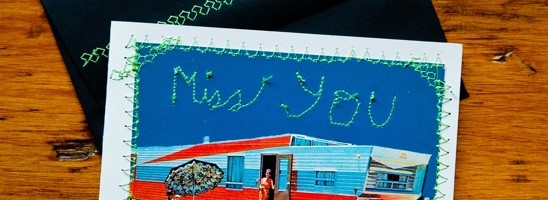
Stitching Bicep’s vintage postcards onto card stock seemed like the next logical step in my strange brain.
You can do this with old photos, as well. As long as they’re weird. That’s my only stipulation.


Here’s what you’ll need to make your very own ‘Sew Vintage Cards’:
Old, weird photos or postcards
Vibrant colored thread
Scissors
8.5 x 11 Card Stock or pre-made blank notecards
Sewing Machine
‘Jean Needle’ (100/16)
Envelopes 3.5” x 5”
Pen
Ruler


If you don’t have pre-made blank notecards on tap, use card stock and make your own.
Fold your card stock in half and draw a line down the middle using your pen and ruler. Cut your card stock in half, making sure it fits inside of your envelope.


Dust off your sewing machine, slap in your heavy duty ‘Jean Needle’ and choose your favorite decorative stitch.
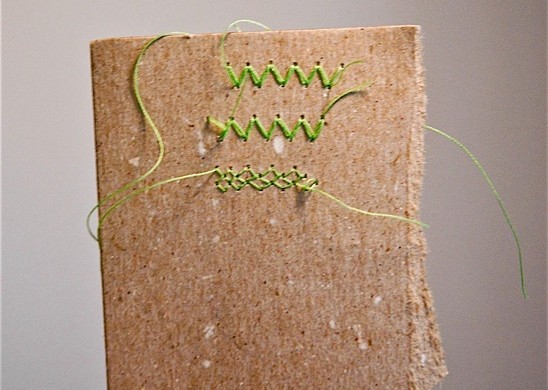

Test the look of several different types of stitches on a piece of cardboard, just to see what you are getting yourself into.
Once you’ve decided on a pattern you like, temporarily tape your photo/postcard to the card stock or your pre-made fancy note card with scotch tape.


Tack down two opposing sides of the photo/postcard with your preferred stitching method to prevent it from sliding around.


Sew around the entire perimeter of the photo/postcard, changing up the decorative stitch if you feel so inclined.
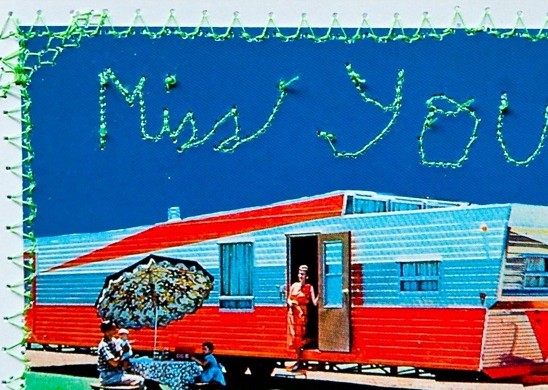

Using a straight stitch, take your time slowly stitching whatever crazy phrase comes to mind that compliments the picture. I thought that the phrase, ‘Miss You’ seemed appropriate.
Don’t get picky, get weird.
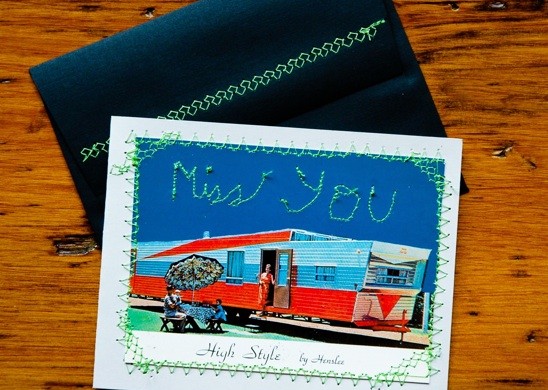

Decorate the flap of your envelope with a decorative stitch, as well.
Finally, choose someone you really love that deserves such a cool hand-crafted card. Sending them this piece of snail mail will surely impress them and make them have warm fuzzies.
If you need my address, just let me know….
Read more

The Making of a Bear Costume

What do several yards of faux fur, margaritas and sewing machines all have in common?
They are all needed to make a bear costume.
I wasn’t surprised when Biceps had this unusual need for his band’s video. Nor was I surprised that my brother would be wearing tighty-whiteys and extracting a fish from the river with his teeth in said video.

This is all very normal in the Greiman household.
(I haven’t even delved into the numerous amount of sock puppets I made for their first video. Another day, my dears…another day.)


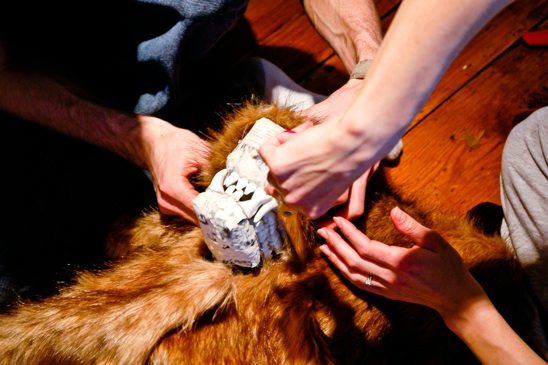
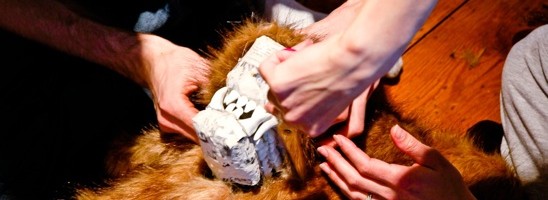
Baby brother made the head from chicken wire, plaster of paris and a hard hat. Yep, a hard hat.
We then covered it in a faux fur they found online. The fur really flew. Literally. It was all over my house.


Baby brother also made the nose and teeth from modeling clay, baking them in the oven.
He hand painted the nose a glossy black and yellowed the teeth to make them as realistic as possible.
Cowboy did not like this bear head one bit.


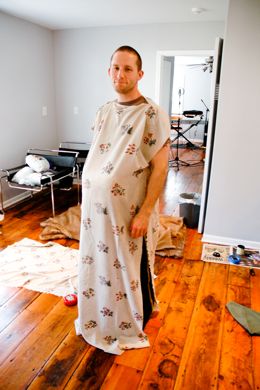
Sister-in-law and I cut up an old sheet to simulate the fur, padding Biceps’ body in the appropriate places to try and make him look more bear-like.
He was thrilled with this procedure, as you can tell. I think he was just trying to get into character.


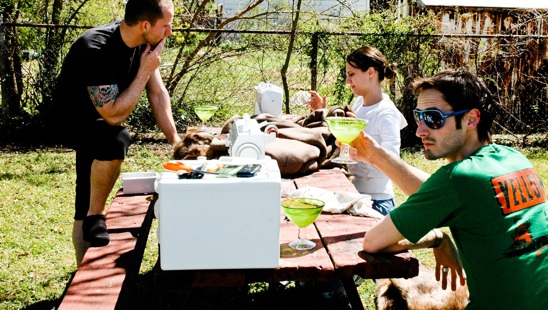
The boys made margaritas while Sis and I began sewing. Have you ever tried shoving 2” thick fur through a sewing machine?
It’s fun.


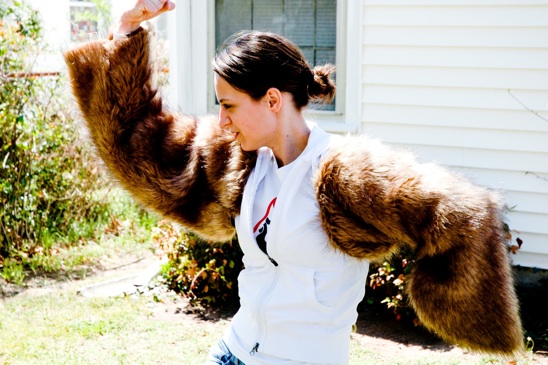
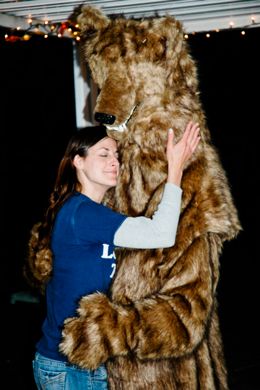
Sis got really into being a bear, modeling the arms for all of us with many bear-type dance moves such as this one.
I believe this dance is called, ‘Showing your bear biceps to the other bears.’


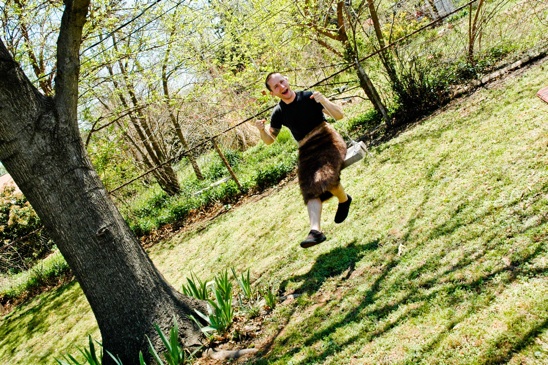
Biceps is wearing one of the bear legs as a skirt. Boy, am I going to be in big trouble for this.


We used an old man onesy (jumpsuit) underneath the costume to attach the stuffing to. Biceps is inside the costume, sweating profusely, wearing the jumpsuit covered in stuffing and underneath the 2” thick fur.
No wonder bears are grouchy.


By the end of the night, no animals or humans were harmed in the making of this bear costume. We still needed to add eyes and claws…but we decided to end on a high note and go to bed.

If you would like to see the bear costume in action, here’s the final video:
Man Vs. Man Video, Bruder
Please don’t judge our weirdness….

Read more

Va-Va-Voom Vintage Tablecloth Dress

Grandma Greiman sent me away from her farm with a trailer full of treasures.
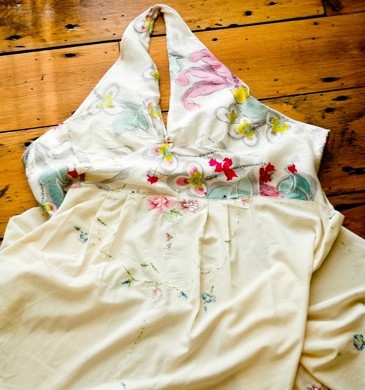
This old tablecloth was barely holding on to its original embroidered flowers and I couldn’t bear to throw it out or tear it up into scraps.
So, why not throw in a scarf for good measure and make a dress?

Scarves have become one of my favorite fabric pieces to re-invent.
They are the perfect material for molding into free-flowing sassy pieces. And boy am I into the sass. You have no idea.


I created my own pattern for this dress by trial and error. (My pattern was made for me, and I am a size two. If you would like to increase the size, a general rule is to add 1/4” all the way around per size increase.)

To Make this Dress, you’ll need:
Four Pattern Pieces (Front Piece #1, Front Piece #2, Back Piece, Middle Piece)
One Large Silk Scarf
Cotton backing fabric the same size as the scarf
Round Tablecloth (mine was 66” in diameter)
20” Zipper
Straight Pins
Scissors
Seam Ripper (If your expertise is anything like mine)
Thread to Match
Sewing Machine

Fold your scarf in half and lay your pattern on top of it. Cut out two ‘back pieces’, two ‘front pieces’ and one middle piece.

Repeat this procedure with the cotton backing fabric.


With the right side of your fabric down, pin the pleats in your two front pieces and iron them flat.
Then pin the two front pieces to your middle piece and sew.
Make sure you sew the neck pieces together as well.


Pin & sew your two ‘back’ pieces to what you had just sewn together.


We are going to repeat this process with your scarf. But since I am a visual learner, I will go ahead and do it all over again for you. With the right side of your scarf fabric down, pin your pleats in the ‘front’ pieces first and iron them flat.
Now, pin your two ‘front’ pieces to your ‘middle’ piece and sew.
Make sure you sew the neck pieces together as well.


Pin & sew your two ‘back’ pieces to what you had just sewn together.
This seems all too familiar….


With right sides of your material together, pin your scarf to your cotton backing material. Sew all of your outside seams together, leaving the bottom open. We will now call this the ‘Top Piece’.


Fold your round tablecloth in half and place it on top of the right side of the material to your Top Piece.
Find the center of your folded tablecloth and pin it to the center of the bottom of your ‘Top Piece’.
Working from the center out, pin the folded tablecloth around the entirety of your top piece. Sew the Top and Bottom pieces together.
I added pleats to my tablecloth ‘Bottom Piece’, just in case I partake of a single scoop of peppermint ice cream in a waffle cone…but you do what you want.


Next comes the zipper. My favorite part. Notice my text is oozing with sarcasm.
I have never liked putting in zippers. I don’t know why…I just don’t.
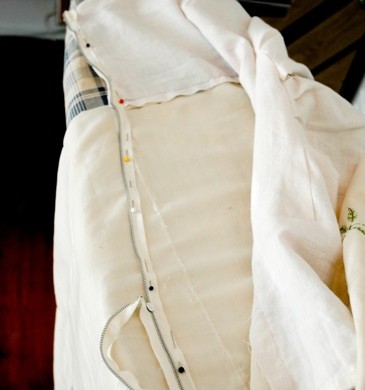
Anywho…fold the right side of your fabric over a quarter of an inch on your Top Piece and pin your zipper on the inside of the material.
Do NOT fold over your material on your Bottom Piece. Pin the zipper directly to the material, leaving the excess to do as it pleases.
Give your Booty some room to breath by fanning the zipper away from the waist until you reach the end of the zipper on the Bottom Piece. (Mine needed an extra 2” from waist to end of zipper.)
Sew your zipper into place on both sides.


Here is the finished VA-VA-VOOM Vintage Tablecloth Dress.
Mine and the dress’ backside is below.


I can’t wait to wear this little piece out on the town! Now, to convince Biceps we need a night out on the town…..

Read more

Sassy ‘Dress Shirt’

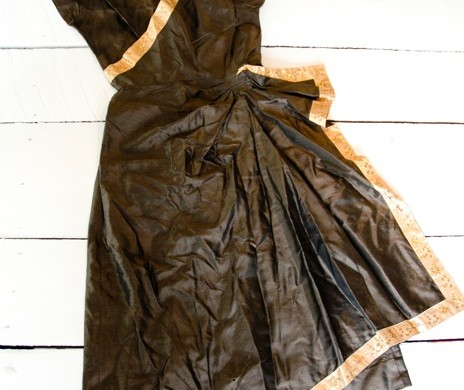
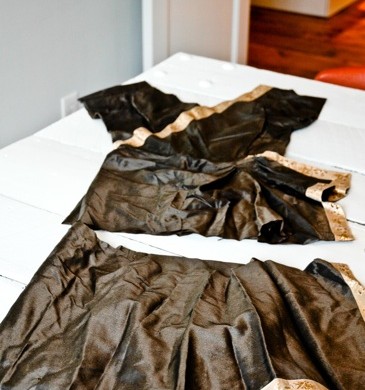
Typically the vintage dresses I come across have been ripped, stained or eaten by evil moths. Instead of parting with the abused garment, I hide the problem areas with a little creativity and turn it into a sassy
one-of-a-kind shirt.

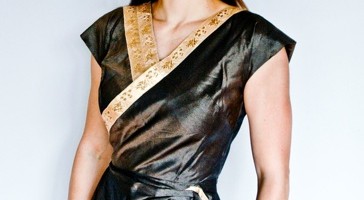
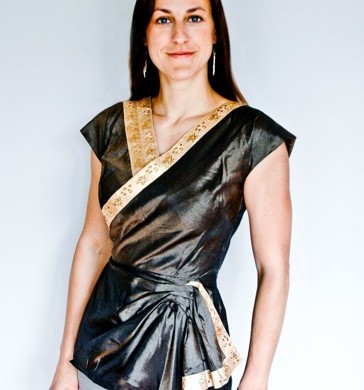
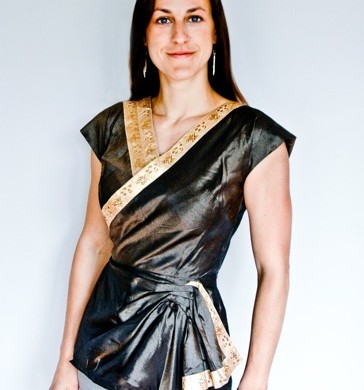
This is what my finished product looked like, but each ‘Sassy Dress Shirt’ will be unique! Read on to learn how to make your very own ‘Sassy Dress Shirt’.


What you will need:
An old dress
Seam Ripper
Iron & Ironing Board
Straight Pins
Sewing Machine
Ribbon to match the dress (if desired to cover holes, etc)


Assess how long you would like your ‘shirt’ to be and cut the excess off, leaving about two inches for hemming. I don’t subscribe to the midriff look from the late 90‘s, so I hem my ‘shirt’ to fall a couple inches below my hip bone.


Turn your ‘shirt’ inside out and measure your hem all the way around, pressing and pinning it as you go. Sew your new hem with a blind hem stitch or whatever you normally fancy when you hem something up.


If you have ribbon or embellishments that match your new ‘shirt’, now is the time to hide those stains or moth holes. No one will be the wiser! In the past, I’ve made little fabric flowers out of the left over material to cover the problem areas.


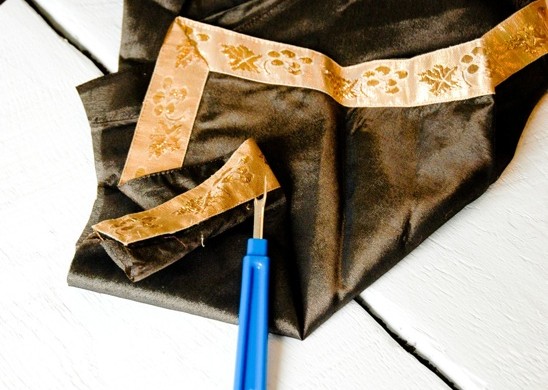
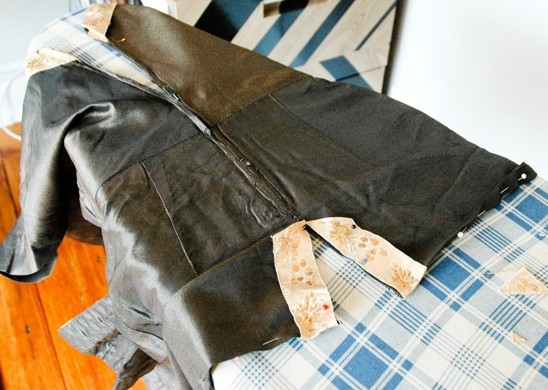
For this shirt, I removed the ribbon that was once around the bottom hem of my dress to cover over a stain on the front, following the neckline.


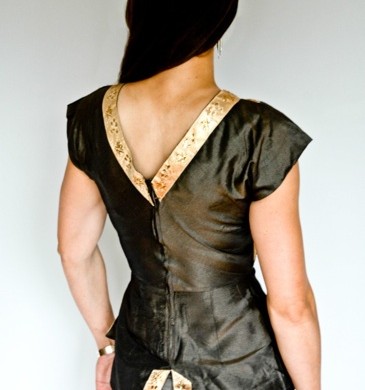
I opened the seam where the zipper stopped on the backside and followed that opening with more ribbon. This allowed me a little more booty shakin’ room.
Sew all of your ribbon and your embellishments in place.


Here’s my backside… of the shirt. What were you thinking I meant? Scroll down to see the front again.


Ta-Dah! I love wearing this cute little number out on the town. Let me know if you try making your own Sassy Dress Shirt. I would love to see how yours turns out!

Read more