Archive for category: Recipes

Tasty, Healthy Pizza Alternative

Truth be told, I love pizza. It’s one of my favorite indulgences. But, as Father Time marches on, I have come to realize I am not 22 anymore. Indulging in even one slice of pizza can equal 400 calories or more.

I have to watch what I eat, when I eat it and how much of it I’m consuming. And, that usually means no more than one indulgence a month. I was pretty bummed about giving up pizza altogether, so I needed an alternative.
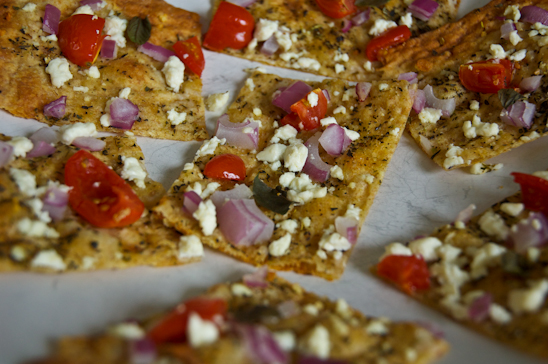


Enter my salvation from a pizza-free diet: Lavash Bread. This recipe is so easy that it’s done in a matter of minutes. There is no pan required, no dough to let rise and the tasty results are a little over 100 calories for the entire thing-depending on how much feta cheese you require.

Hallelujah.
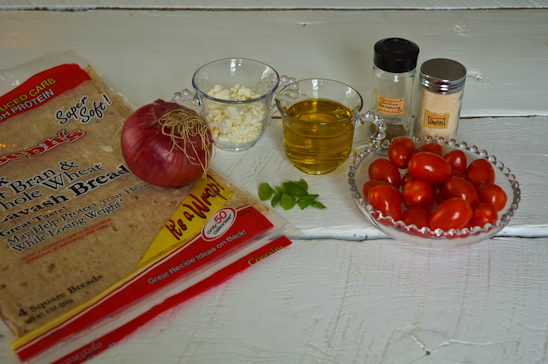


Here’s all the you’ll need to make your very own Tasty, Healthy Lavash Pizza:

Lavash Bread-I prefer Jospeh’s (they come 4 to a pack for about $2)
1 TBS Extra Virgin Olive Oil
1/4 tsp Garlic Salt
1/4 tsp Italian Seasoning
1/8 C Red Onion
6 Cherry or 3 Grape Tomatoes
1-2 TBS Feta Cheese
6 Medium Leaves of Fresh Basil

Preheat the oven to 425.
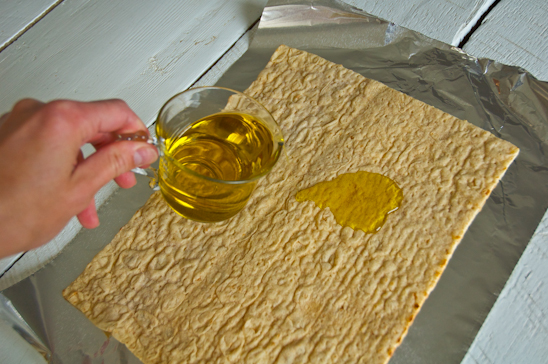


Tear off a large enough square of aluminum foil to place the lavash bread on. Pour about a Tablespoon of Extra Virgin Olive Oil (EVOO) in the center of the bread.
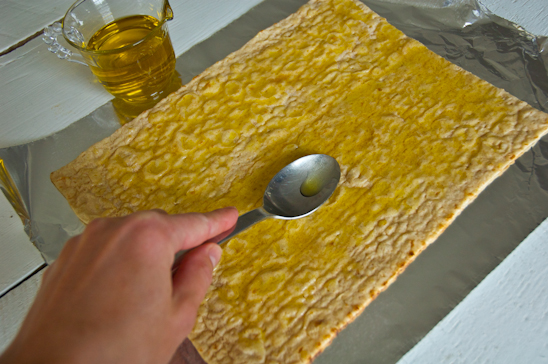


Using the back of a spoon, spread the EVOO out into a thin layer, covering the entire piece of lavash bread.
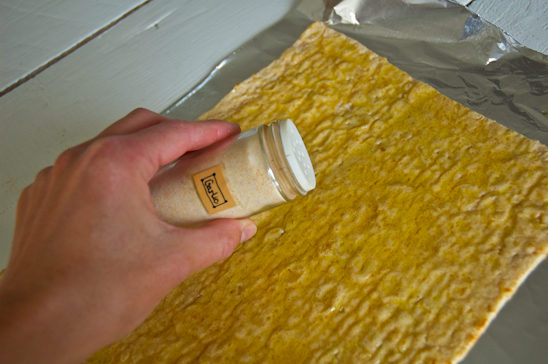


Sprinkle the entire piece of lavash bread with Garlic Salt.
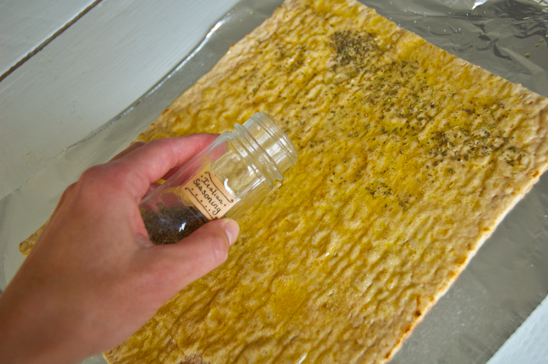


Next, sprinkle the entire piece of lavash bread with Italian Seasoning.
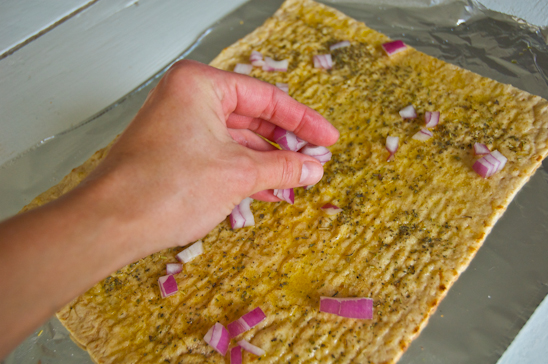


Chop up about a handful (about 1/8 Cup) of red onions and distribute them around the bread.
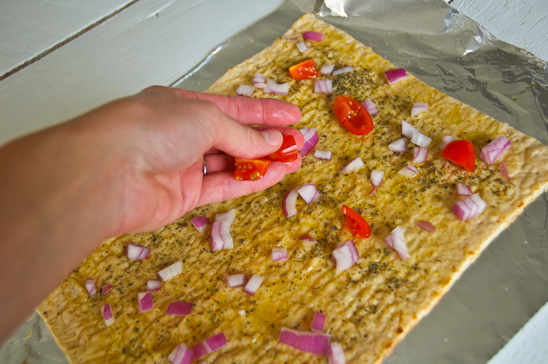


Quarter the Grape Tomatoes or halve the cherry tomatoes and place them evenly around the lavash bread.
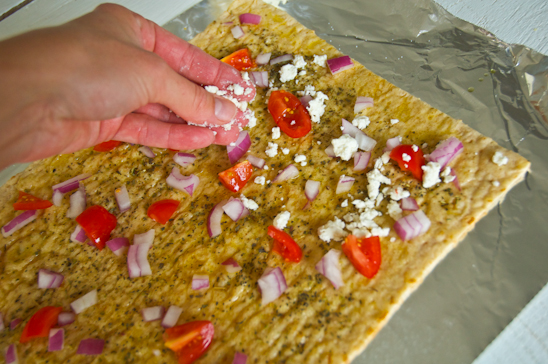


Add about 1-2 TBS of crumbled feta cheese. Place the lavash bread with aluminum foil underneath on the middle wire rack in your preheated oven.

Cook for 5-6 minutes or until the edges are turning slightly brown.
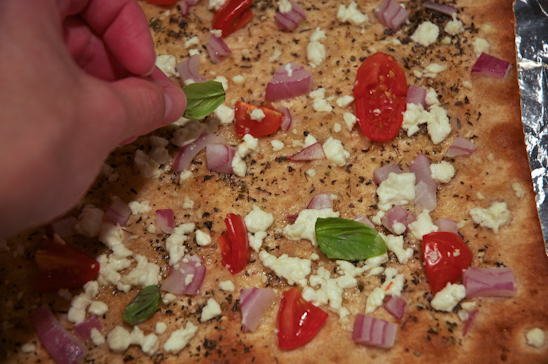


Add the fresh basil leaves and return to the oven for 1 more minute.
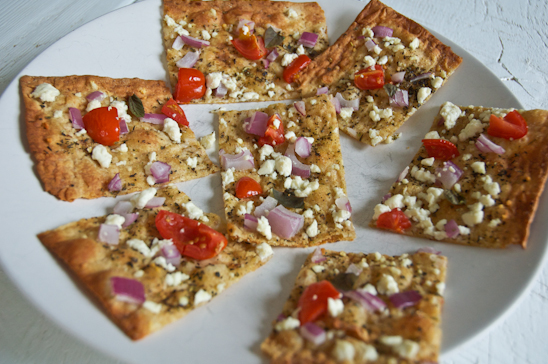


Slice up into manageable squares and enjoy. So simple, so inexpensive, so healthy and sooooo tasty.


Tasty, Healthy Pizza Alternative
Author: 
Recipe type: Main Dish
Cuisine: Italian
Prep time: 
Cook time: 
Total time: 
Serves: 1-2
 
Choose a healthier alternative when it comes to pizza. This recipe creates a main dish that's a little over 100 calories and you can feel as if you've indulged in your favorite pizza.
Ingredients
  • Lavash Bread-I prefer Jospeh's (they come 4 to a pack for about $2)
  • 1 TBS Extra Virgin Olive Oil
  • ¼ tsp Garlic Salt
  • ¼ tsp Italian Seasoning
  • ⅛ C Red Onion, chopped
  • 6 Halved Cherry or 3 Quartered Grape Tomatoes
  • 1-2 TBS Feta Cheese
  • 6 Medium Leaves of Fresh Basil, halved
Instructions
  1. Preheat oven to 425.
  2. Place the lavash bread on a large square of aluminum foil.
  3. Spread the 1 TBS of Extra Virgin Olive Oil evenly on the lavash bread using the back of a spoon.
  4. Sprinkle the bread evenly with garlic salt and italian seasoning
  5. Add the chopped onions and tomatoes.
  6. Next, sprinkle with the feta cheese.
  7. Place in oven for 5-6 minutes or until the edges have turned slightly brown.
  8. Remove from oven and add the basil.
  9. Return to oven for 1 more minute.


If these parties are up, I link to them! (Here’s my complete Linky Party Page):
Monday: Crafts Keep Me Sane, The Better Baker, Skip to My Lou, DIY Showoff, Say Not, Sumo’s Sweet Stuff, Etcetorize, Sew Chatty, Brassy Apple, Flour Me With Love, Creating my Way, Mad in Crafts, Our Delightful Home, Sew Can Do, It’s So Very Cheri, Craft O Maniac, Polly Want a Crafter, Tuesday: Craft Edition, Inspiration Board , New Nostalgia , Lettered Life , Coastal Charm, Tip Junkie , Ladybug Blessings, Hope Studios , Todays Creative Blog, Wednesday: Someday Crafts , Day2DayJoys, Jillify It , Junk in the Trunk, We are that Family , Frugally Sustainable, Sew Much Ado, Fine Craft Guild , The Thrifty Home, My Girlish Whims , Quick, Easy, Cheap & Healthy, Trendy Treehouse, Thursday: Somewhat Simple, No Minimalist Here , A Glimpse Inside, The Mommy Club, The 36th Avenue, Cheap Chic Home, Beyond the Picket Fence, Fireflies and Jellybeans , House of Hepworths , The Shabby Chic Cottage, Friday: My Repurposed LifeIt’s a HodgePodge LifeThe Shabby NestJust Wingin’ ItOne Artsy MommaFrench Country CottageFinding Fabulous, Passionately Artistic, Petals and Picots, Simply Designing, Little Becky Homecky, My Romantic HomeBacon Time, Simply Living, Saturday: Polkadot Pretties, Tatertots and Jello, Create and Inspire, Be Different, Act Normal, Craft Envy, Funky Junk Interiors, Petites Passion, Sunday: Under the Table, Natural Mothers, Mopping the Floor
Read more

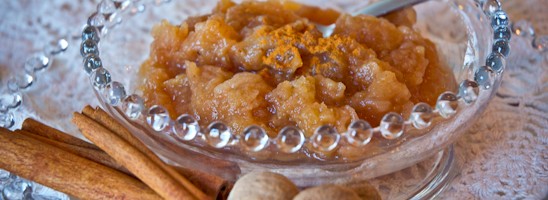
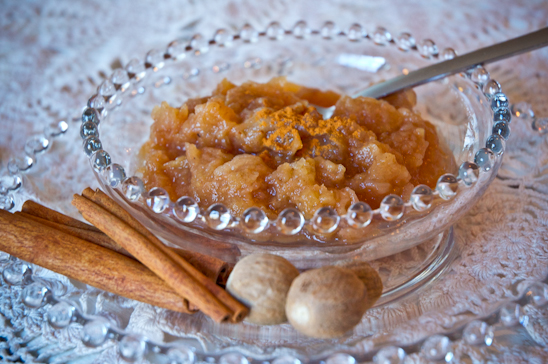
No Fuss, No Sugar Applesauce

It’s getting colder-both inside and outside of my home. Before my little toes hit the barn wood floor in my bedroom, I locate my robe and house shoes, while still underneath my comforter. (Things change in the middle of the night when you own two naughty kitties.)

I love this time of year-hot tea is a must while watching the leaves changing. And of course, heartier meals are on my dinner table, along with desserts filled with spices-like my Skinny, Ginger Puff Cookies.


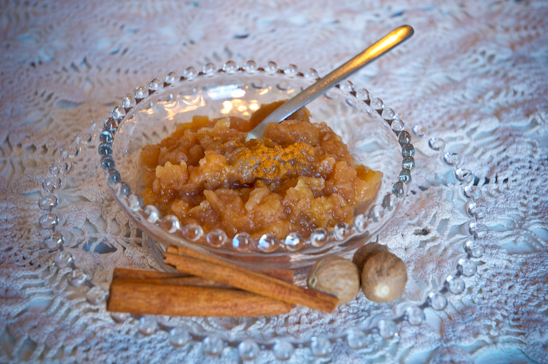
One of my favorite things to make this time of year is a No Fuss, No Sugar Applesauce. With a few ingredients and a crockpot, I have chunky, spicy, yummy applesauce without any fuss. Have it as a dessert or as a side dish. Get crazy. Do what you want!

Biceps would like to try it warm over ice cream. We’ll see about that-kind’ve defeats the purpose….


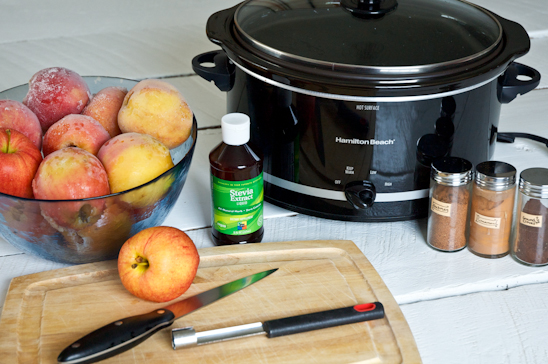
Here’s all that you’ll need to make your No Fuss, No Sugar Applesauce (printable recipe at the bottom):

10-13 Apples (I had Gala’s on hand in the freezer)
1 tsp liquid Stevia or to taste (you can add more later)
1 tsp Cinnamon
1/4 tsp Nutmeg
1/8 tsp Ground Cloves
1 1/2-2 Cups Water

Crockpot


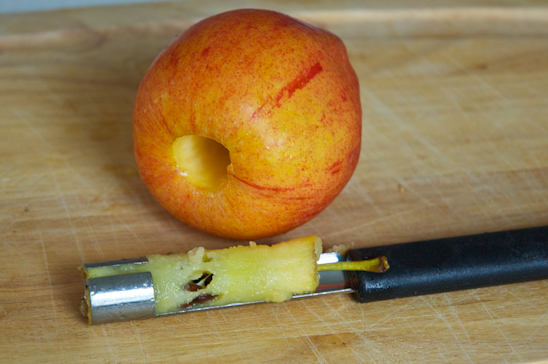
After thoroughly washing the apples, core the center.


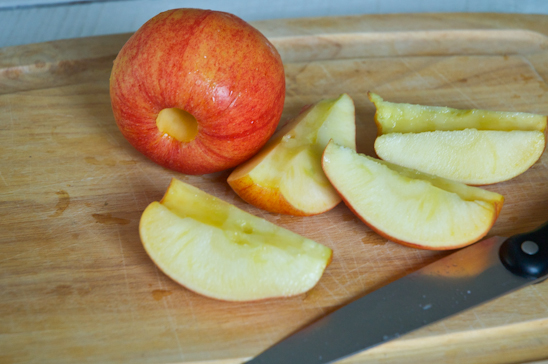
Then cut each apple into quarters.


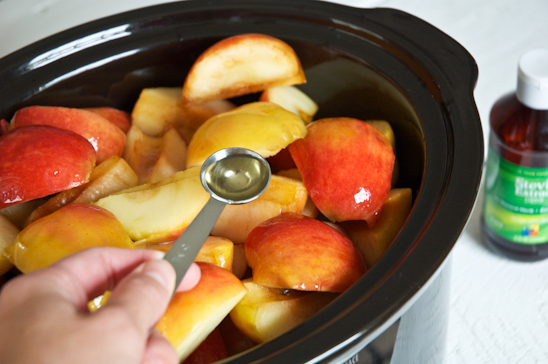
Throw all of your apples in the crockpot, and add 1 tsp of liquid Stevia.


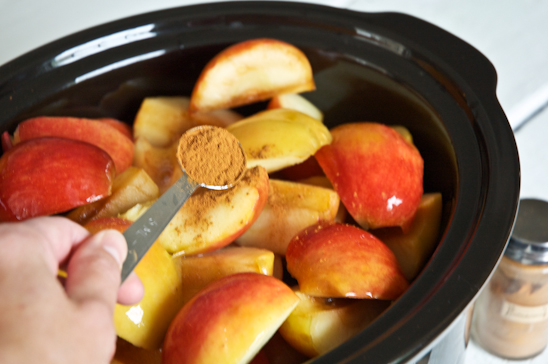
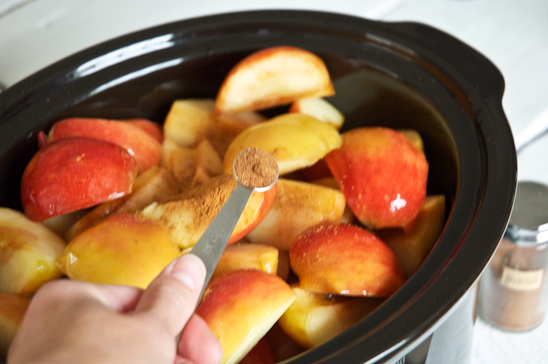
While adding the 1 tsp of Cinnamon to the crockpot with one hand, try taking a picture of it with the other hand, so that your picture looks like this. Nice and shaky.


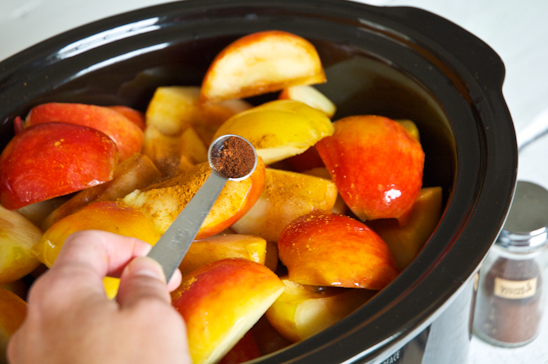
Next, add the 1/4 tsp Nutmeg.


Now, add the yummy 1/8 tsp of Ground Cloves.


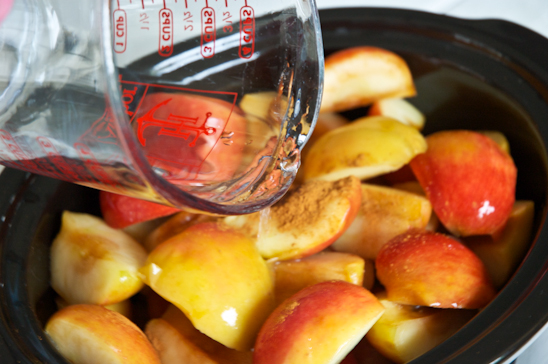
Pour 1 1/2-2 Cups of water into the crockpot. You’ll need enough water so that the crockpot is half full of water. It doesn’t need to cover all of the apples.


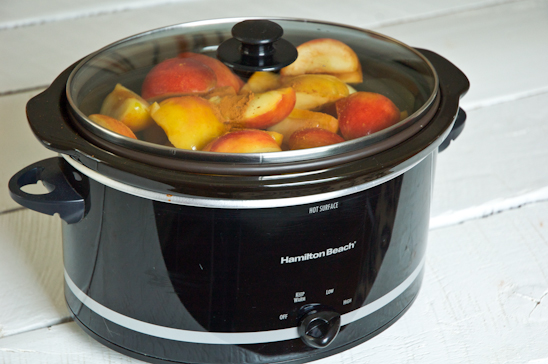
Put the lid on the crockpot and turnn on “Hi” for 5-6 hours, or on “Low” for 9-10 hrs.

After a few hours of allowing the apples to cook, I use a hand potato masher and squish the apples every hour or so. Add more water if necessary.


The applesauce is finished when it’s still a bit chunky but has the consistency of, well, applesauce. Serve warm or cold. You can freeze half for later or eat it all in one sitting. (Although, I will warn you that since the peels are on these apples, you can over-apple. If you know what I mean.)

This No Fuss, No Sugar Applesauce is so tasty that you’ll feel like you’re indulging each time you eat it-you can even trick the wee ones into eating their daily dose of fruit.

I hope you enjoy this spicy No Fuss, No Sugar Applesauce as much as we do. And boy howdy, do we ever enjoy it.


5.0 from 1 reviews
No Fuss, No Sugar Applesauce
Author: 
Recipe type: Side Dish
Prep time: 
Cook time: 
Total time: 
Serves: 20
 
Make a No Fuss, No Sugar Applesauce simply by using your crockpot and a few spices.
Ingredients
  • 10-13 Apples (I had Gala's on hand in the freezer)
  • 1 tsp liquid Stevia or to taste (you can add more later)
  • 1 tsp Cinnamon
  • ¼ tsp Nutmeg
  • ⅛ tsp Ground Cloves
  • 1½-2 Cups Water
  • Crockpot
Instructions
  1. Wash, core and quarter each apple. (Leave the peels on.)
  2. Add the apples to the crockpot.
  3. Add the spices.
  4. Pour the water over the top until crockpot is half full of water.
  5. Turn the crockpot to "Hi" for 5-6 hrs, or on "Low" for 9-10 hrs.
  6. Use a hand potato masher after the apples have cooked for several hours to mush them up a bit. Do this every hour or so.
  7. Serve warm or cold.


Read more

Ginger “Puff” Cookies-Skinny Version

It is 33 degrees outside as I write this, sitting on the back porch at 6 am. It’s still dark and my coffee is close at hand. I love this change in the weather-it means all things nutmeg and Christmas and Thanksgiving and decorating and making presents and more coffee and hot tea and….


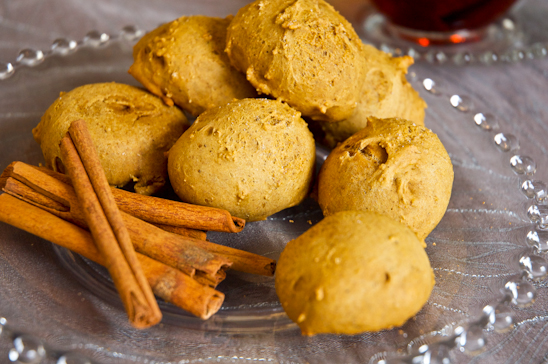
Tasty, Skinny Ginger “Puff” Cookies-which I make without sugar, shortening and a ton of calories.

(I love the original Ginger Snap type Cookies, don’t get me wrong. But with ingredients like 1 1/2 Cups of Shortening and 1 Cup of Sugar…I wanted to find a healthy alternative that would satisfy my ginger cookie loving ways.)


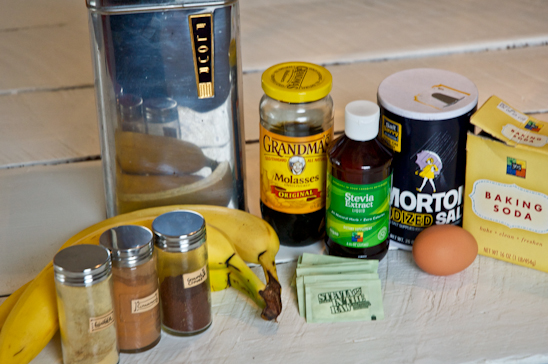
Here’s all that you’ll need to make your own Ginger “Puff” Cookies (printable recipe at the bottom):

2 1/4 C Flour, plus 3-4 TBS
2 tsp Ground Ginger
1 tsp Baking Soda
3/4 tsp Cinnamon
1/2 tsp Ground Cloves
1/8 tsp Salt
3/4 C Ripe Bananas
1 tsp liquid Stevia
1 egg
1/4 C Molasses
2 Powdered Packets of Stevia to Sprinkle the puffy tops (not necessary, but nice)

Preheat the oven to 350. Makes 40-45 cookies.


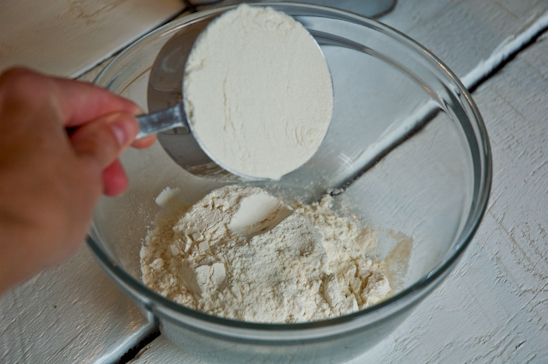
In a medium mixing bowl, measure out the 2 1/4 Cup of Flour.


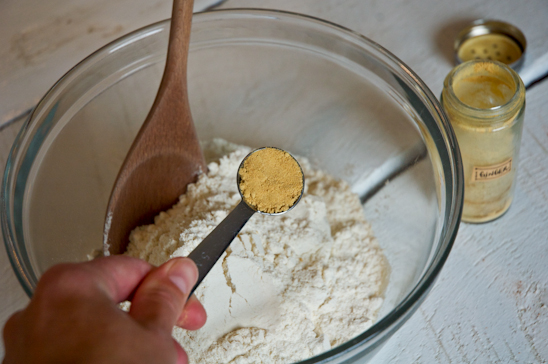
Enjoy the ginger scent for a moment, then add the 2 tsp Ground Ginger.


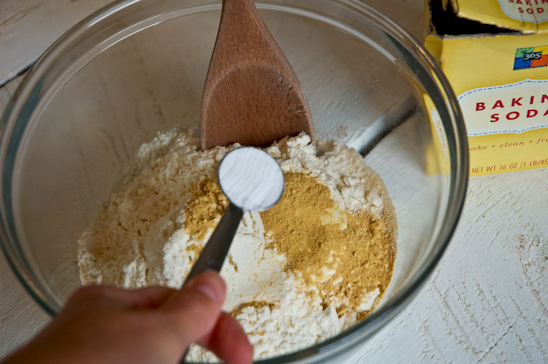
Next, add the 1 tsp Baking Soda.


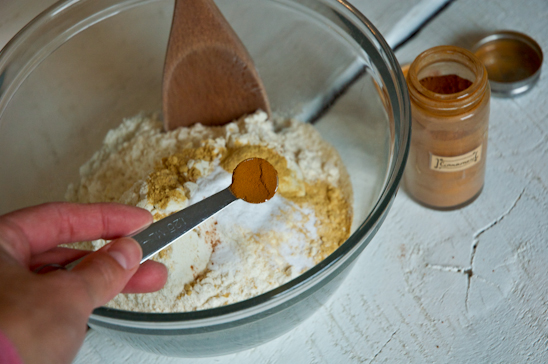
Add the 3/4 tsp of Cinnamon.


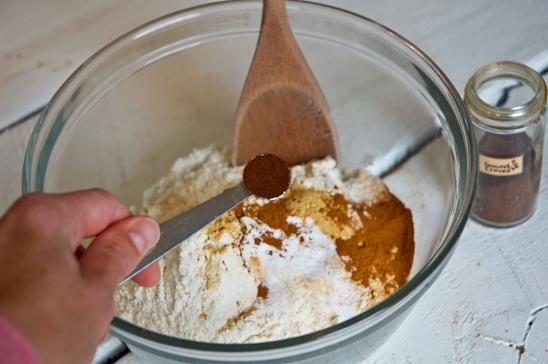
Inhale, then add the 1/2 tsp of Ground Cloves. Yum.


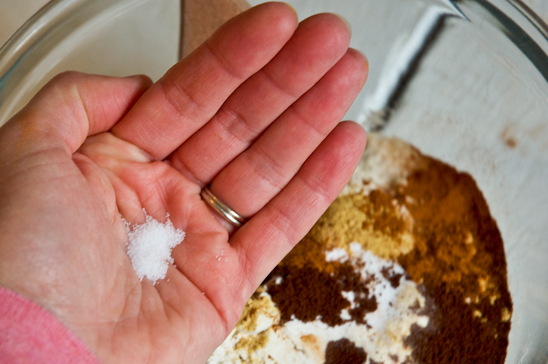
Finally, add the 1/8 tsp Salt.


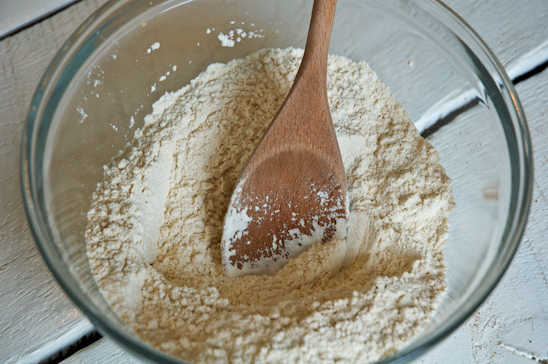
Thoroughly mix the dry ingredients together.


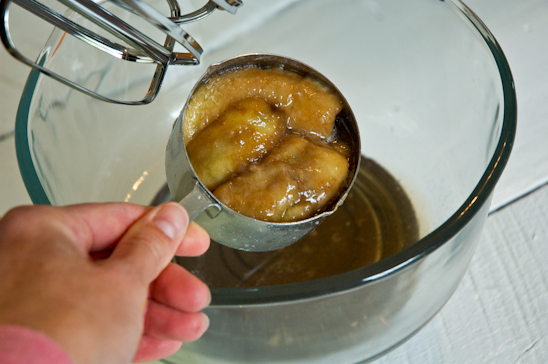
In a large bowl, add the 3/4 C Bananas.


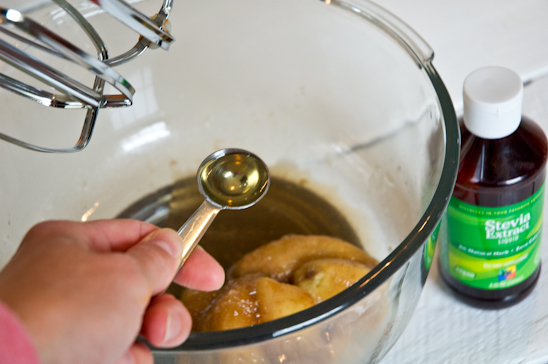
Add the 1 tsp liquid Stevia.


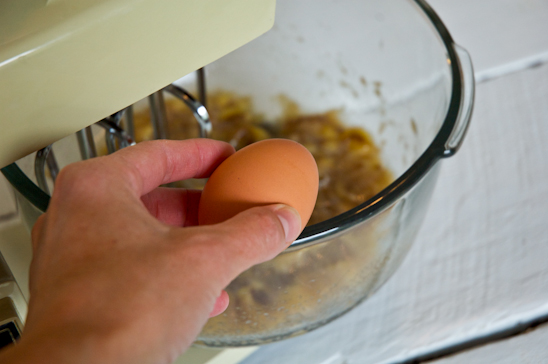
Crack yer egg into the bowl.


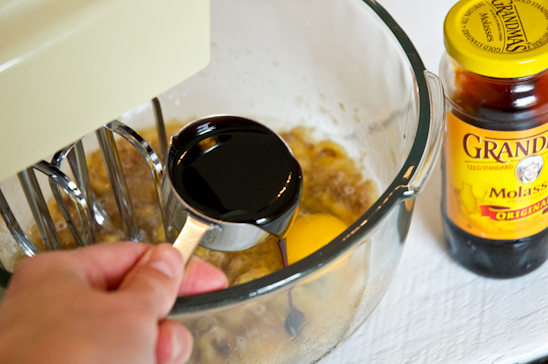
Lastly, add the 1/4 C of molasses.


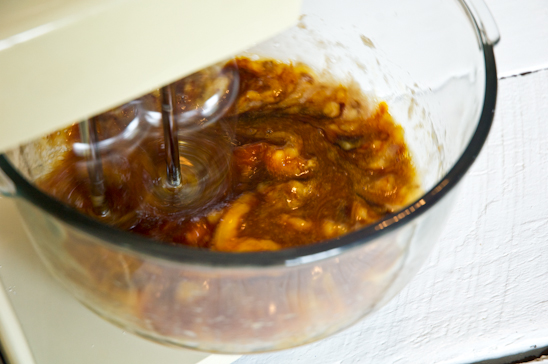
Blend on a low speed until mixed-about a minute.


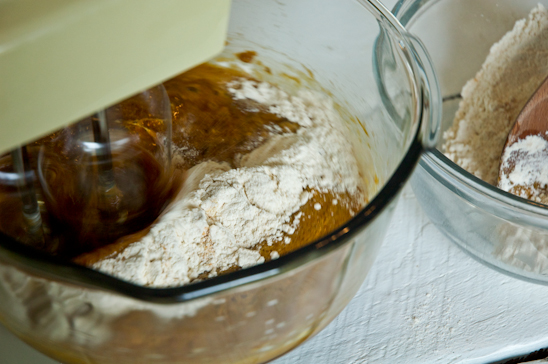
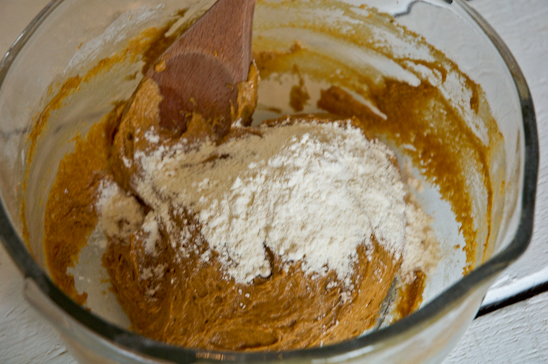
Slowly, add the dry ingredients to the wet, increasing the mixing speed if needed. The batter will become very thick and very sticky.


If the mixer starts to bog down, add the rest of the flour mixture by hand. Then, add the 3-4 TSB of the remaining flour until the batter is very thick.


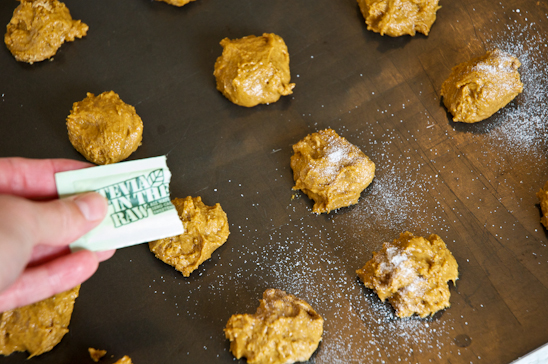
Spoon 1″ round cookie puffs onto an ungreased cookie sheet, leaving about 1-2″ in between each puff.


Sprinkle the tops of the cookies with the powdered Stevia, if desired. This makes them a little sweeter-and my hubby, the sweet tooth, desired the extra sweetness.


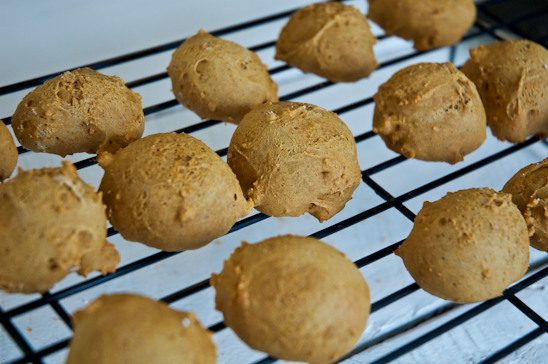
Bake 8-9 minutes or until the cookies are puffy and browned on the bottom. Cool on the pan on a wire rack for one minute.


Transfer the cookies to a wire rack to finish cooling.


Enjoy these Tasty, Skinny Ginger “Puff” with a hot cup of tea and without the guilt!

5.0 from 2 reviews
Ginger "Puff" Cookies-Skinny Version
Author: 
Recipe type: Dessert
Prep time: 
Cook time: 
Total time: 
Serves: 40-45 cookies
 
Enjoy ginger cookies without the guilt-no sugar, no shortening and low calorie. Perfect for a cold winter day!
Ingredients
  • Dry Ingredients:
  • 2¼ C Flour, plus 3-4 TBS
  • 2 tsp Ground Ginger
  • 1 tsp Baking Soda
  • ¾ tsp Cinnamon
  • ½ tsp Ground CLoves
  • ⅛ tsp Salt
  • Wet Ingredients:
  • ¾ C Ripe Bananas
  • 1 tsp liquid Stevia
  • 1 egg
  • ¼ C Molasses
  • Top With:
  • 2 Powdered Packets of Stevia to Sprinkle the puffy tops (not necessary, but nice)
Instructions
  1. Preheat the oven to 350.
  2. Add all dry ingredients in a medium mixing bowl and mix thoroughly.
  3. Add all wet ingredients in a large mixing bowl and blend thoroughly.
  4. Slowly add the dry ingredients to the wet, until the batter becomes too thick.
  5. Add the rest of the dry ingredients, mixing by hand.
  6. Add the 3-4 TBS of flour.
  7. Spoon onto ungreased cookie sheet and sprinkle with powdered Stevia.
  8. Bake for 8-9 minutes.
  9. Cool on pan on wire rack for 1 minute.
  10. Transfer puffs to wire rack and cool completely.


If these parties are up, I link to them! (Here’s my complete Linky Party Page):
Monday: Crafts Keep Me Sane, The Better Baker, Skip to My Lou, DIY Showoff, Say Not, Sumo’s Sweet Stuff, Etcetorize, Sew Chatty, Brassy Apple, Flour Me With Love, Creating my Way, Mad in Crafts, Our Delightful Home, Sew Can Do, It’s So Very Cheri, Craft O Maniac, Polly Want a Crafter, Tuesday: Craft Edition, Inspiration Board , New Nostalgia , Lettered Life , Coastal Charm, Tip Junkie , Ladybug Blessings, Hope Studios , Todays Creative Blog, Wednesday: Someday Crafts , Day2DayJoys, Jillify It , Junk in the Trunk, We are that Family , Frugally Sustainable, Sew Much Ado, Fine Craft Guild , The Thrifty Home, My Girlish Whims , Quick, Easy, Cheap & Healthy, Trendy Treehouse, Thursday: Somewhat Simple, No Minimalist Here , A Glimpse Inside, The Mommy Club, The 36th Avenue, Cheap Chic Home, Beyond the Picket Fence, Fireflies and Jellybeans , House of Hepworths , The Shabby Chic Cottage, Friday: My Repurposed LifeIt’s a HodgePodge LifeThe Shabby NestJust Wingin’ ItOne Artsy MommaFrench Country CottageFinding Fabulous, Passionately Artistic, Petals and Picots, Simply Designing, Little Becky Homecky, My Romantic HomeBacon Time, Simply Living, Saturday: Polkadot Pretties, Tatertots and Jello, Create and Inspire, Be Different, Act Normal, Craft Envy, Funky Junk Interiors, Petites Passion, Sunday: Under the Table, Natural Mothers, Mopping the Floor
Read more

Tasty, Homemade Peppermint Toothpaste

I am obsessive compulsive about my teeth. I will brush after coffee while I’m still at Starbucks. I will finish a meal out with a quick trip to the bathroom just to get my brush on. I blame my OCD behavior on good old fashioned self-imposed guilt knowing just how much my parents scrimped and saved so that I could have braces. I also blame my German teacher in high school, whose breath-God bless her heart-smelled constantly of coffee and lifesaver candies.

Therefore, I am determined to never offend someone with my breath or destroy the investment Mom and Dad spent a fortune on.


In the past, I’ve been alright spending $4 on a tube of toothpaste. Not anymore-those frivolous days have ended. I’ve finally found the love (of toothpaste) of a lifetime. It’s freakin’ cheap, it tastes great, and it keeps my pearly whites pearly.

It’s everything I hoped a toothpaste would be.


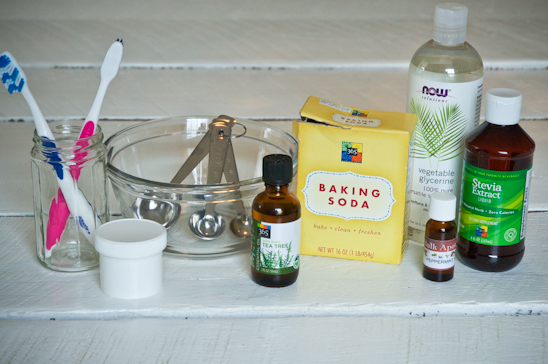
Here’s all that you’ll need to make your very own Peppermint Toothpaste:
4 TBS+ Baking Soda (depending on how thick you like your toothpaste)
2 TBS Vegetable Glycerin
1 1/2 tsp Stevia Extract
1/2 tsp Hydrogen Peroxide (3.5% or less)
1/4 tsp Peppermint Oil
5 drops Tea Tree Oil
Opaque/Dark Container


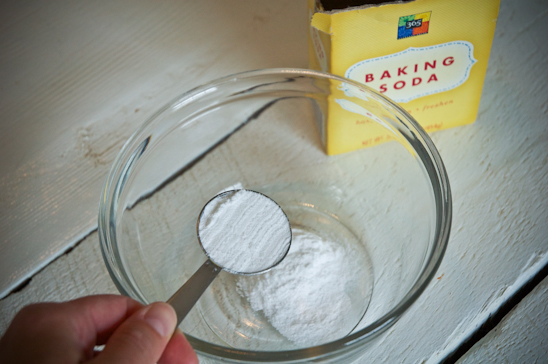
In a mixing bowl, measure out 4 TBS of Baking Soda. Baking Soda whitens your teeth and lightly scrubs away the gunk.


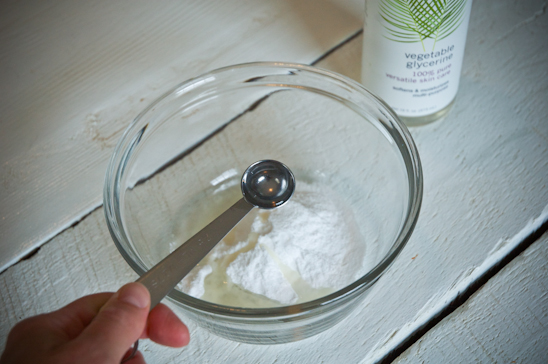
Add to this the 2 TBS of Vegetable Glycerin. The Glycerin creates a smooth, non-gritty toothpaste. You can leave this out if you desire, but the toothpaste will be a bit more cakey.


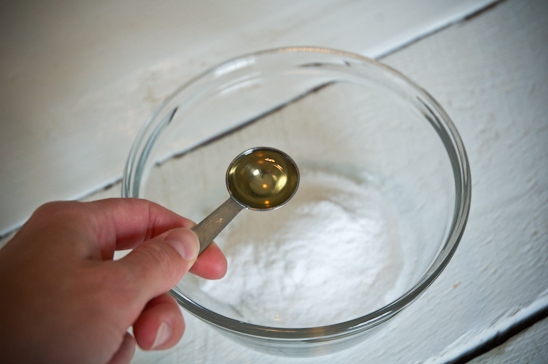
To this, add the 1 1/2 tsp Stevia Extract. The Stevia adds a little sweetness to the toothpaste. You can add more or less dependent upon your sweet tooth needs (ironic…).


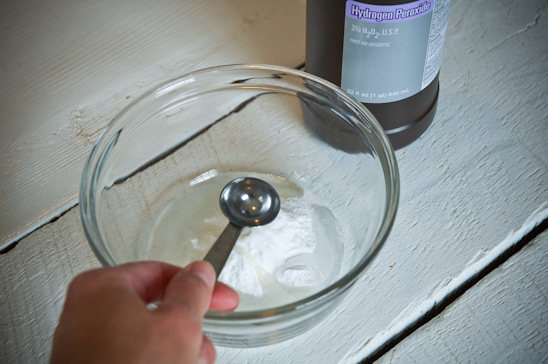
Add the 1/2 tsp Hydrogen Peroxide. Hydrogen Peroxide will whiten teeth, clean gums, and disinfect the mouth.


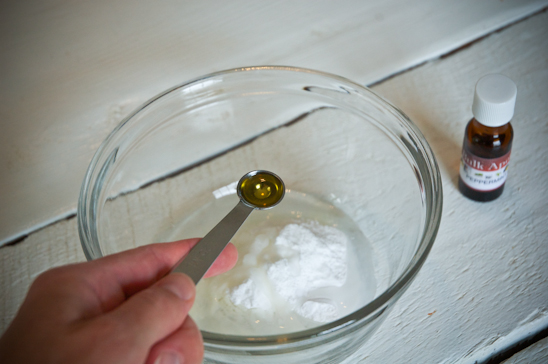
Next, add the 1/4 tsp Peppermint Oil-which gives the toothpaste a kick and lovely flavor. You can replace this oil with cinnamon or something you prefer more.


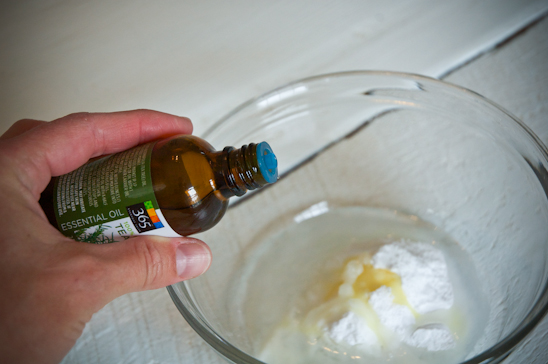
Lastly, add 5 drops of Tea Tree Oil. The Tea Tree Oil is an anti-fungal, anti-bacterial and anti-all nasty things that can be found in your mouth. (Yick).


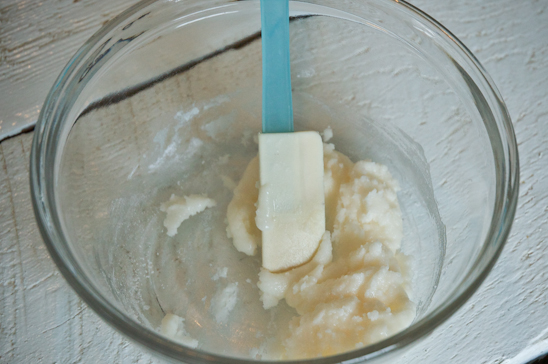
Mix everything together using a spatula. Add more Baking Soda if the consistency isn’t thick enough.


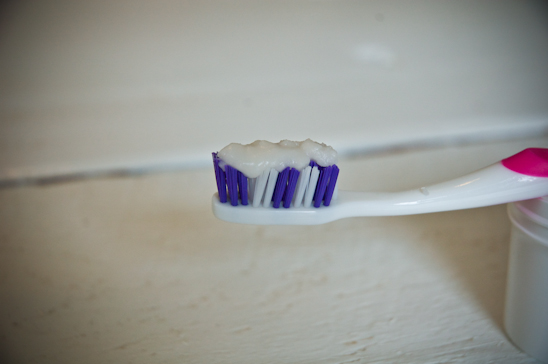
Test a little out, adding more peppermint if you like super spicy, more Stevia if you want it sweeter.


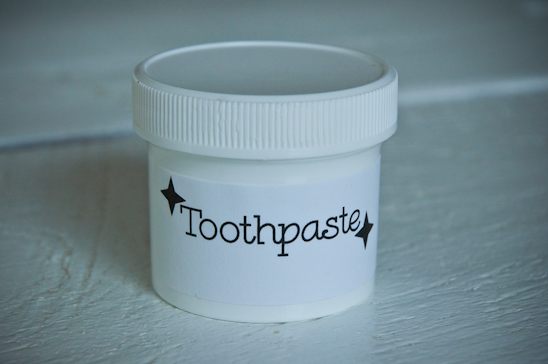
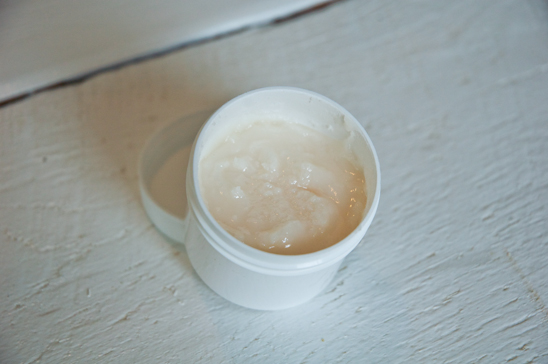
Store the toothpaste in a dark or opaque container. I re-used a burn cream container for my paste.


Enjoy your very own homemade toothpaste while knowing you rule. With very little time or money spent, you now have a pearly whites polisher without all the chemicals and pocketbook guilt!


Tasty, Homemade Peppermint Toothpaste
Author: 
Recipe type: Homemade Beauty Products
Prep time: 
Total time: 
 
In the past, I've been alright spending $4 on a tube of toothpaste. Not anymore-those frivolous days have ended. I've finally found the love (of toothpaste) of a lifetime. It's freakin' cheap, it tastes great, and it keeps my pearly whites pearly.
Ingredients
  • 4 TBS+ Baking Soda (depending on how thick you like your toothpaste)
  • 2 TBS Vegetable Glycerin
  • 1½ tsp Stevia Extract
  • ½ tsp Hydrogen Peroxide (3.5% or less)
  • ¼ tsp Peppermint Oil
  • 5 drops Tea Tree Oil
  • Opaque/Dark Container
Instructions
  1. In a mixing bowl, combine and measure the 4 TBS of Baking Soda, 2 TBS Vegetable Glycerin, 1½ tsp Stevia Extract, ½ tsp Hydrogen Peroxide, ¼ tsp Peppermint Oil and 5 drops Tea Tree Oil.
  2. Store in an airtight, opaque or dark container.

•   •   •   •   •   •   •   •   •   •   •   •   •   •

I hope you have enjoyed these recipes! It may seem overwhelming at first to rid your home of toxins and store-bought everything. And maybe you don’t want to make these products, but would like the benefits of non-toxic products in your home without going broke. I have found some simple solutions to replace the things that I cannot make/don’t want to make myself by purchasing them from a non-toxic green company online. Without directly endorsing them, if you are interested in knowing more,  Feel free to email me with questions.

Here are links to my other Homemade Household Cleansers and Beauty Products:

Homemade Beauty Products
Simple, Organic Lip Balm
Homemade Peppermint Mouthwash

Easy Laundry Soap
Homemade Laundry Softener
DIY Stain Stick


DIY Brass Cleaner
Organic Vegetable/Produce Cleaner
Homemade Household Cleaners

And here are a few Homemade Food Items to easily replace store-bought items:

Simple, Tasty Granola
Easy Crockpot Yogurt
Simple, Homemade Butter
Cooking and Freezing Beans, avoiding BPA
Homemade Hummus
Garden Fresh Salsa

If these parties are up, I link to them! (Here’s my complete Linky Party Page):
Monday: Crafts Keep Me Sane, The Better Baker, Skip to My Lou, DIY Showoff, Say Not, Sumo’s Sweet Stuff, Etcetorize, Sew Chatty, Brassy Apple, Flour Me With Love, Creating my Way, Mad in Crafts, Our Delightful Home, Sew Can Do, It’s So Very Cheri, Craft O Maniac, Polly Want a Crafter, Tuesday: Craft Edition, Inspiration Board , New Nostalgia , Lettered Life , Coastal Charm, Tip Junkie , Ladybug Blessings, Hope Studios , Todays Creative Blog, Wednesday: Someday Crafts , Day2DayJoys, Jillify It , Junk in the Trunk, We are that Family , Frugally Sustainable, Sew Much Ado, Fine Craft Guild , The Thrifty Home, My Girlish Whims , Quick, Easy, Cheap & Healthy, Trendy Treehouse, Thursday: Somewhat Simple, No Minimalist Here , A Glimpse Inside, The Mommy Club, The 36th Avenue, Cheap Chic Home, Beyond the Picket Fence, Fireflies and Jellybeans , House of Hepworths , The Shabby Chic Cottage, Friday: My Repurposed LifeIt’s a HodgePodge LifeThe Shabby NestJust Wingin’ ItOne Artsy MommaFrench Country CottageFinding Fabulous, Passionately Artistic, Petals and Picots, Simply Designing, Little Becky Homecky, My Romantic HomeBacon Time, Simply Living, Saturday: Polkadot Pretties, Tatertots and Jello, Create and Inspire, Be Different, Act Normal, Craft Envy, Funky Junk Interiors, Petites Passion, Sunday: Under the Table, Natural Mothers, Mopping the Floor
Read more