Archive for category: Sewing

Retro Christmas Tree Skirt

I cherish Christmas.
It’s my absolute favorite time of the year. I anxiously await a reasonable time to launch into new crafty Christmas ideas, as soon as the first leaf begins to turn. This year I made it to the second week of October before I pulled out the decorations.
Ridiculous-I know. Fun-definitely.

This tree skirt was made out of scraps of felt fabric, an hour of my time and a bit of vintage inspiration.


Here’s what you’ll need to make your own Retro Tree Skirt:
2 Christmasy colors of scrap felt (I had red & green on hand)
1 circle piece of felt-about 2’-3’ in diameter (I used black)
Hot glue gun or ‘Heat n Bond’
Scissors
Ric-rac
Card Stock with your desired image drawn & cut out


Pin the cut out images to the chosen Christmasy felt. Cut out 4-6 of each image, depending upon how they are distributed around the skirt.


I cut out four felt deer for my tree skirt. And named them (from left to right: Template Deer “Ed”, Prancer, Dancer, Blitzen & Rudoplh).
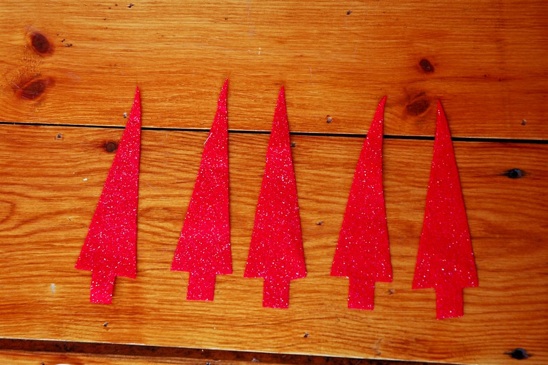

And, I cut out five sparkly felt Christmas trees for my tree skirt and named them, too (from left to right: Gerry, Edna, Harry, Bob & Alice). But, I ended up only using four of them, however.
‘Alice’ was very upset.


Cut out a 2’-3’ in diameter tree skirt base. Then, cut a slit from one corner of the circle to the center, so that it can wrap around the tree. Using either a hot glue gun or the ‘Heat n Bond’, distribute the images around the tree skirt however looks best.


I added red noses to the deer and a bit of ric-rac around their necks for that extra vintage feel.
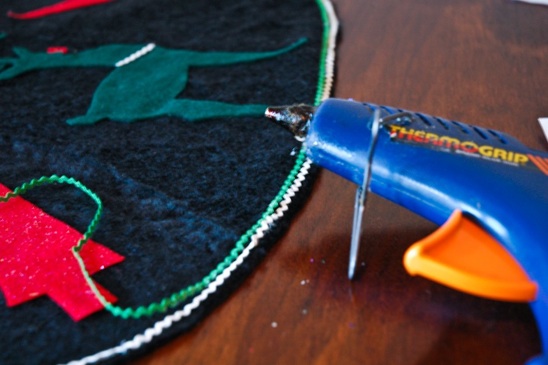

I hot glued two different colors of ric-rac around the edge of the tree skirt for some Christmasy pizzazz
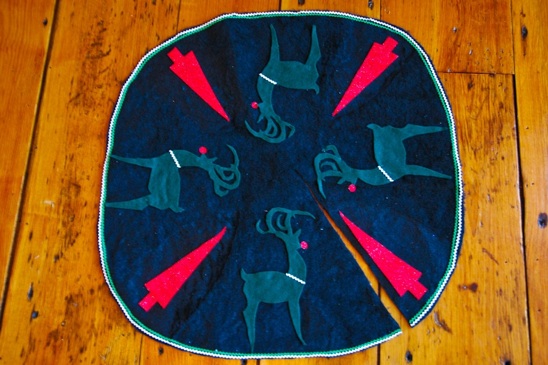

And Tah-Dah! A one-of-a-kind, vintage-inspired tree skirt.
The deer were happy, the trees were happy, my wallet was happy…Now, all I need is the tree.
Read more

A Bird in the Headband….

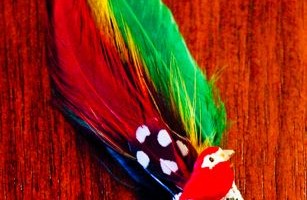
The whipping fall wind brought about the need for a hair taming device. I dug around my sewing scraps and found a piece of lace that happened to be long enough to wrap around my noggin’. I liked the simplicity of the lace, but decided to add a touch of cute factor with feathers and a mini bird. In five minutes, I had a simple solution to the crazy hair-all-over-the-place problem.
If you don’t like the feathers and bird look, the options for the headband are endless:
replace the feathers with fabric or scrap ribbon and fray the ends, replace the bird with a button or a jewel…Get creative, get crazy!


Here’s what you’ll need to make your very own Feather and Lace Headband (or a similar version):
Piece of lace, ribbon or material long enough to fit around your noggin’
Two rubberbands
Feathers, scrap ribbon
Mini birds (found in the hobby section), jewels, buttons
Hot glue gun and glue sticks
Thread to match your lace and a needle or a sewing machine


While your bird is watching (see upper right corner of photo), intertwine your two rubberbands as pictured above.


Loop each end of the lace around one side of the rubberband, sewing the loop closed.


Group together the feathers, frayed ribbon or fabric and cut a piece of lace to ‘corral’ the objects. Wrap the lace around the entire bottom of the ‘corralled’ objects and hot glue it together.


Add a bird, button or jewel to the top of the ‘corralled’ feathers.


Hot glue the ‘corralled’ object where it suits you on your lace headband. I chose the right side of the headband, halfway between my ear and the crown of my head.


I’ve also been known to wear this like a hippie would, and it looks just as cute-at least to me, it does. You may not agree and that is quite alright. I know that I am weird. But, if you are also weird…then….
All hail birds of a feather!

Read more

Blue Blazin’ Bag

I have an addiction named ‘coffee’.
I have a problem named ‘clumsiness’.
Eventually, my favorite beverage and my butterfingers collide, causing devastation to my beloved apparel. After many such occurrences, I salvage the usable material to give it a second life.

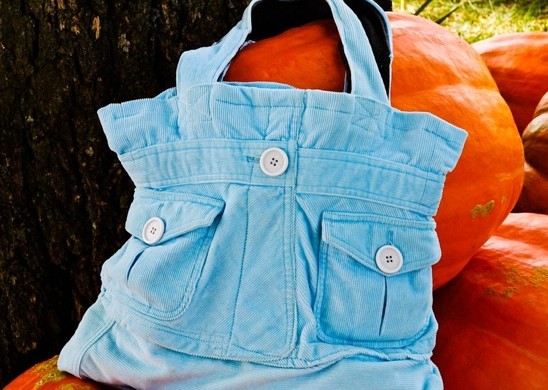
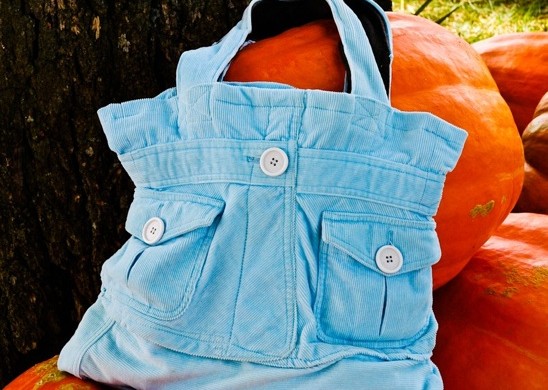
I made a lovely bag out of a coffee-stained corduroy blazer; using a moth-eaten sweater for the lining. There are several steps involved to making this, but overall it was pretty dang easy.
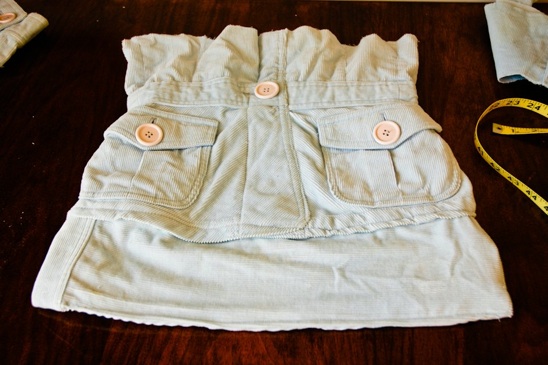
The two outside pockets hold my most important essentials-my cell phone in one, gum and chapstick in the other. The bag is big enough to fit my computer and my other what-not’s, as well.


Here’s what you’ll need to make your very own Blazin’ Bag:
A (coffee stained) blazer
A (moth eaten) sweater about the same width as your blazer
Thread to match
Seam ripper
Tape Measure
Straight Pins
Scissors
Iron & Ironing board
Sewing Machine with heavy duty needle


First, cut the sleeves and the collar from your blazer.


Next, cut open your sleeves.


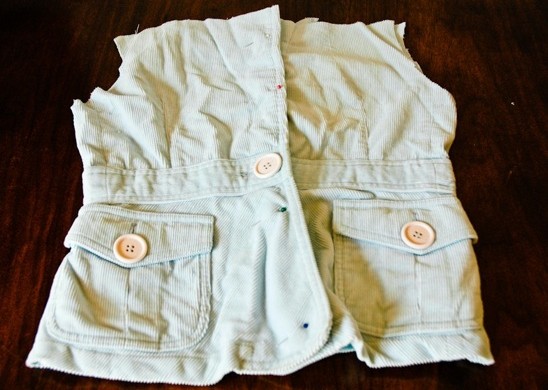
Sew the opening of your blazer closed (down the front of the original blazer). Take a moment to sip a cup of coffee…but be careful. No spilling allowed.


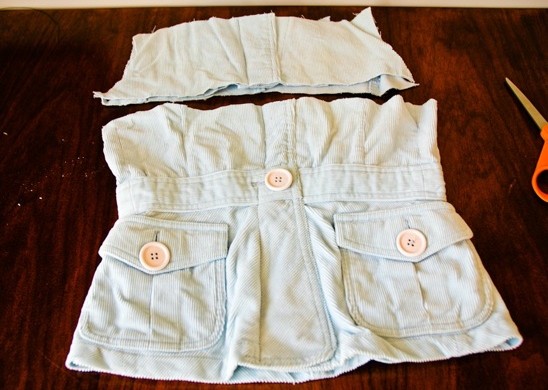
Cut the top of the blazer off, right where the sleeves would have been sewn onto the rest of the jacket.


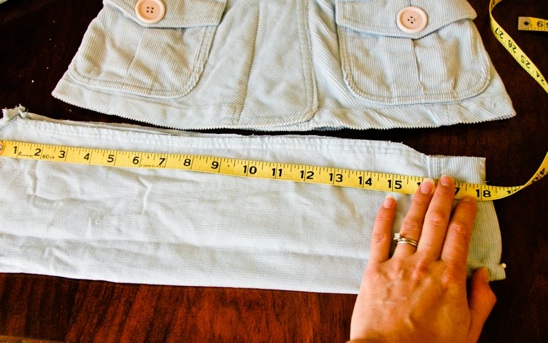
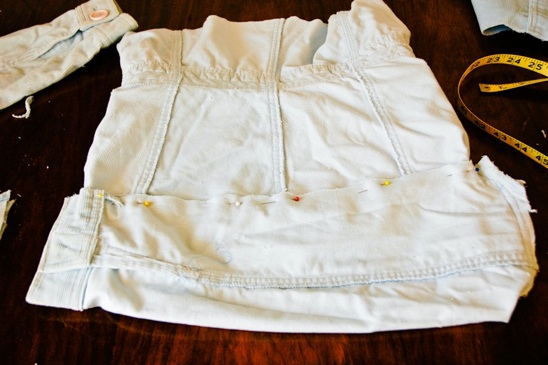
Measure the width of the bottom of the blazer. My blazer was 17” wide at the bottom. Measure the same amount from the cut opened sleeve, plus one more inch for seam allowance on either side. The sleeve will add additional inches to the length of your bag. You don’t have to add the sleeve if you feel the body of your bag is large enough, as is.


Turn both the sleeve and the blazer inside out. Pin one side of the sleeve to the front of the blazer and the other side of the sleeve to the back of the blazer. Sew the sleeve to the bottom of the blazer. Sew the ends of the sleeve closed and attach them to the side of your blazer.


This is what the bag looks like at this point, right side out, if you didn’t accidentally sew the bottom of your bag closed.


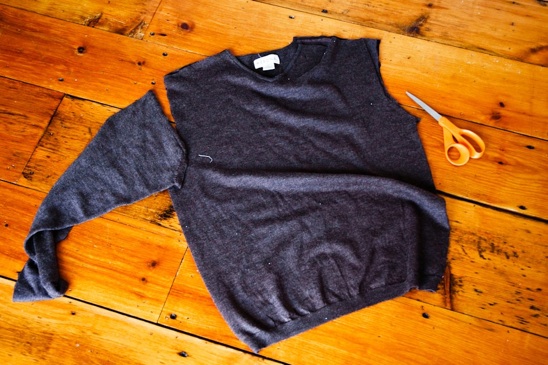
Cut the sleeves and any ribbing along the bottom of the sweater and then turn it inside out. Also, turn your blazer bag inside out. My sweater was about the same width as my blazer bag. If your sweater is much larger, sew a seam and remove any excess. The sweater will be the lining to your bag.


With wrong sides together, pin the sweater to the top of the blazer bag, and sew together the two about a 1/4” down from the top.


Turn your bag right side out and fold the blazer inside the bag one inch from the top-iron flat.


Sew a seam 1/4” down from the top of the bag around the entire opening of the bag.


Turn the bag inside out, and sew the bottom of your sweater closed, leaving a 4” wide opening. Pull the bag back through the 4″ opening. Fold the opening under and sew closed once the bag is right side out.


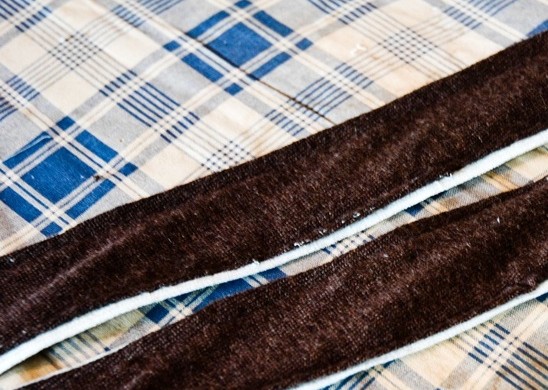
With the leftover parts from the blazer and the sweater, piece together two 2 1/2” wide strips that are 2’ long. Iron a 1/4” seam allowance on each side. These will be the straps to your bag.


Pin the sweater to the blazer, wrong sides together. Sew the two together from the right side.


Decide where you would like the straps to be on your bag. Fold under the unfinished ends of the straps and sew them to the inside of your bag, using the ‘x’ formation for added strength.


Now, take your blazer bag out on the town-show it a good time and fill it with paraphernalia from your local pumpkin farm.
Or not. Your choice.

Read more

Blooming Flower Headband

Using a few pieces of scrappy vintage material and green floral wire, I made a bendable flower hair piece that will bend to the shape of whatever my little heart desires. And, as an alternative I can wrap this around a pony tail or even around my neck as a choker.
So many options, so few opportunities to leave my house to show them off….


Here’s what you’ll need to make your own Blooming Flower Headband:
Two to three different colors of scrap fabric (I used a yellow and a blue)
Green fabric for leaves (if desired)
Thread to Match
A fun button
1/4” Ribbon or thin piece of hemmed fabric (30”+ long-this will be the tie that the flower is attached to)
Light duty floral wire
Wire cutters
Scissors
Straight Pins


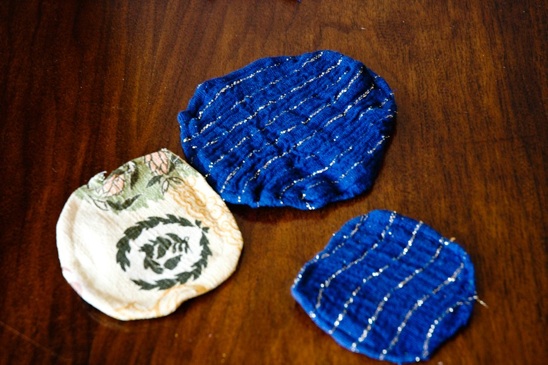
Cut two identical circles from the material of your choice, each measuring: 4”, 6” and 8”.
I used the blue material for my 4” and 8” circles. I used the yellow material for my 6” circles (pretend the one in the center is yellow).


Sew the identical circles together, wrong sides together and leaving a small opening.


Turn each of your circles right side out, using the small opening.


For each circle, cut floral wire three inches larger than the diameter of the circle.


Feed the floral wire inside each of the circles, molding it to be on the outermost edge of the circle. Twist the ends together and cut off any excess.


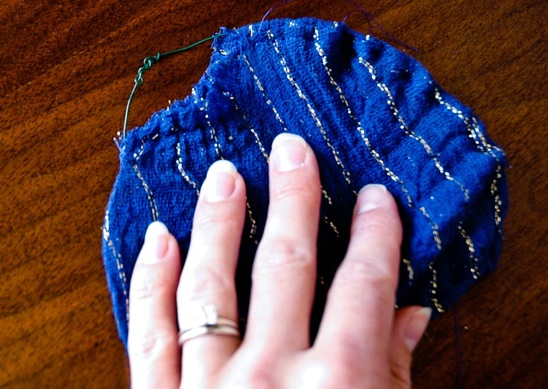
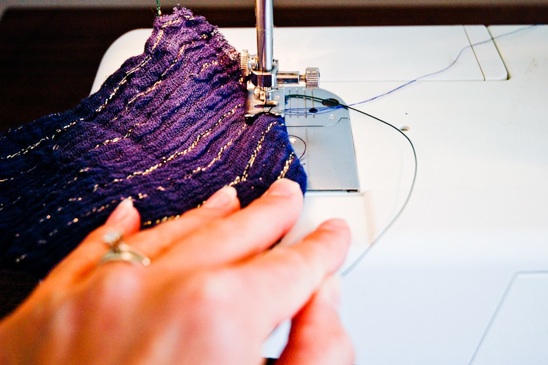
Sew a seam to encase the floral wire about a 1/4” from the edge of the circle. Turn under the fabric on the small opening and seam close the circle.


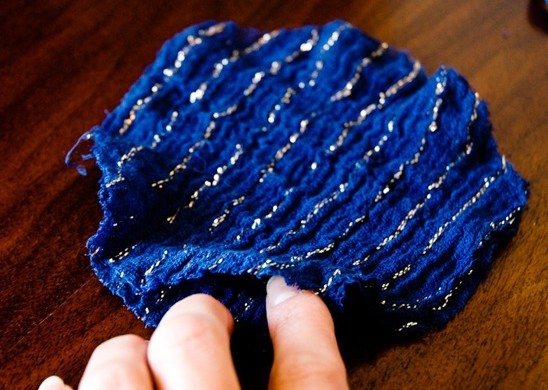
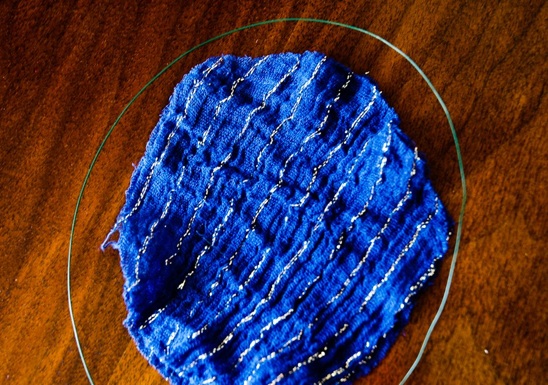
You should have three bendable circles at this point. They’re so cute.


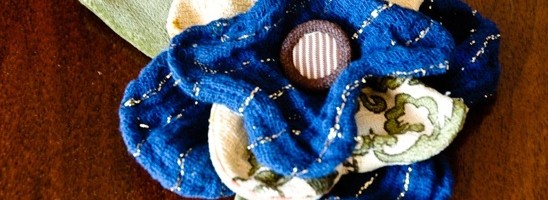
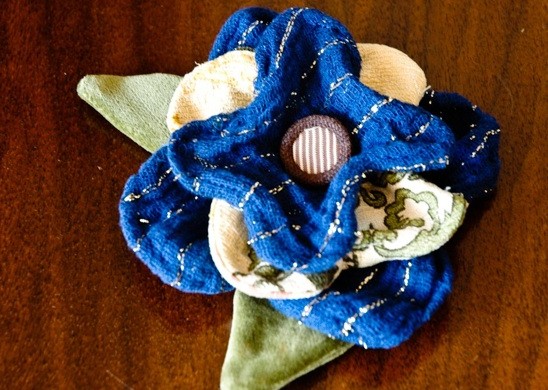
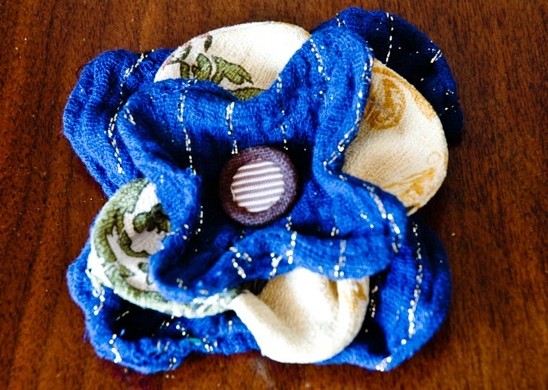
I bent my circles to have four ‘petals’, which looked the best to me. (But do what you think looks good-I know you will). I added a button to the center of my flower by sewing from the bottom up.


Cut out four sets of matching 2”-3” long ‘leaves’ if you like that ‘earthy look’. I know I do.


Sew each leaf together, right sides together, leaving an opening at the bottom of the leaf. Turn the leaf right side out and sew closed the opening.


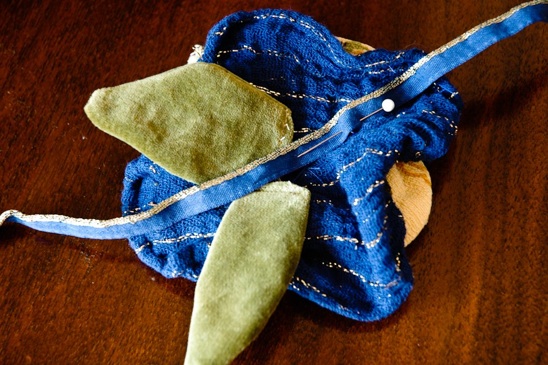
Hand stitch the leaves where your little heart desires on the bottom of the ‘flower’.
I tacked down the top ‘petals’ to the bottom, just to keep the flower from shifting around.


Lastly, hand stitch the 1/4” ribbon or thin hemmed material to your flower.
I placed the flower on my head and determined where I wanted it to land on the ribbon. Then I hand stitched it in place on the ribbon.


Lastly, tie that sucker on your head, your pony tail or around your neck and strut about the neighborhood until someone tells you how cute your blooming flower headband is.
Or not…


You could just do what I did in this picture and wear it around the house with pajama bottoms and flip flops. Either way, you have a cute Blooming Flower Headband.
And all is right in the world.

Read more