Archive for category: Arts & Crap

Sawdust and Diamonds Jewelry Giveaway!

Have you started your Christmas shopping yet? How about I give you a little jumpstart with a free jewelry giveaway from Sawdust and Diamonds?


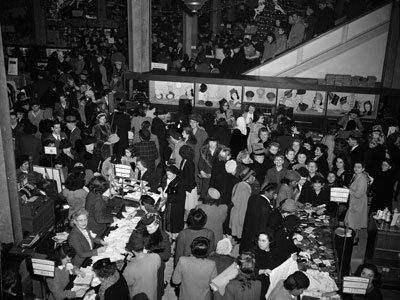
Crowded Shpping
I’m not a fan of shopping in crowded stores, black Fridays or enduring yet another terrible rendition of “Baby it’s cold outside”. I opt for picking up items here and there throughout the year, making presents myself, or relying on local artists for their one-of-a-kind gifts.


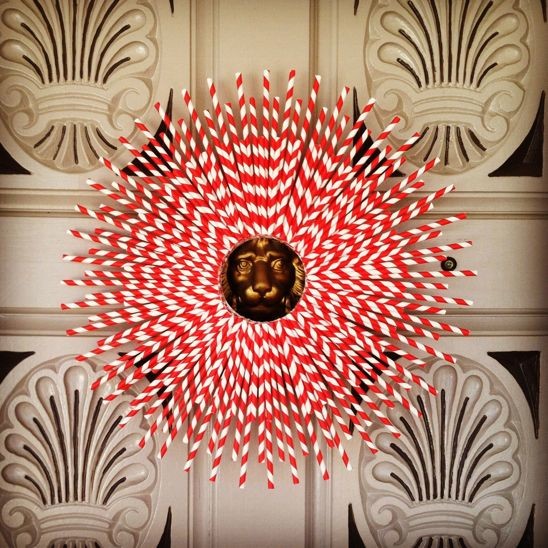
Xmas Wreath
Just recently, I was invited to teach a home economics class at a private school. While showing the girls how to make this homemade Christmas wreath, I chatted with the teacher-Rachel.

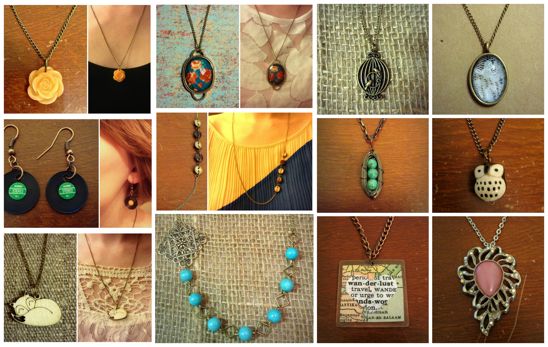
With her own two sweet hands, Rachel creates one-of-kind jewelry pieces and sells them on her website, “Sawdust and Diamonds“.


Rachel's Website
Her jewelry is seriously cute stuff. She had me at the owl necklace alone. I knew I must order several of these pieces for the ladies in my life. And nothing on her site was over $18. You can’t beat that with a candy cane.

I started to think, if I like her creations so much-wouldn’t my readers also?


Feather Necklace
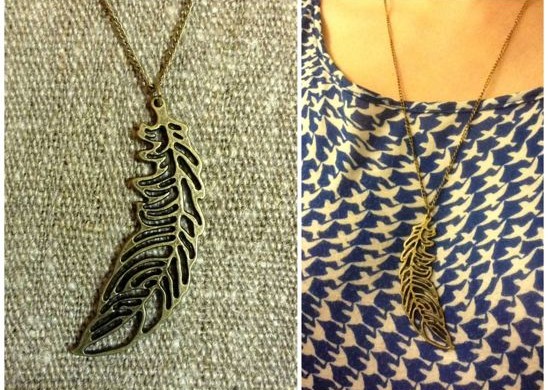
So, throughout this crazy shopping weekend, I am hosting a giveaway. One lucky reader will win their choice of any jewelry piece on her site, “Sawdust and Diamonds“. How awesome is that?

I mean, is there anything better than supporting a local artist, winning a free piece of jewelry and checking one more person off that Christmas list? I would say there is not. GOOD LUCK!

Here’s how to enter:
a Rafflecopter giveaway

Get to know the artist, Rachel Watson:

I’m a California girl living in Oklahoma with my sweet husband, Dan. I love reading, writing, painting, people-watching, singing, eating, and creating things. Creating is how I unwind. I teach high school kids all day and grade papers all evening. Getting out my beads, wire and tools is my reward at the end of the day. A couple years ago I started making my own jewelry for myself and my friends. When enough people approached me about buying it (one day I sold the necklace off my neck!), I decided to start a little online store. It has been such a blessing to create things that people enjoy and to be able to afford my crafting habit. It’s also been a way for me to raise support for my friends who are adopting or are doing missions work overseas. I use whatever I can find to make jewelry: retro pins, dictionaries, magazines, lace, buttons, charms, etc. Every sale I make is exciting to me, and allows me to keep on creating! The most important thing about me, and the reason I have joy and hope no matter what happens, can be summed up in the words of this well-known hymn:
“I once was lost, but now I’m found, was blind, but now I see.” (Rom. 5:8). Crafting is my hobby, but Jesus in my everything. 
Read more

The Beginning of Change-Budget Living & Dining Room

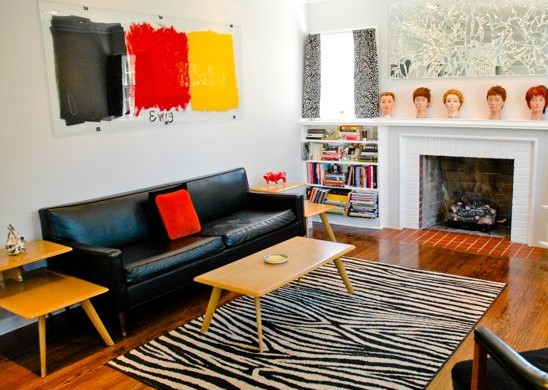
For years, I have been toiling over what to do with our living and dining room. I’ve gone to you all, my dear readers, in months gone by with my initial thoughts and asked for your opinions. I’ve badgered friends and cats with this subject over and over.


Living Room
Because frankly, this room was boring. Clean? Yes. Minimalistic? Yes. But, B-O-R-I-N-G? Double yes.

And although I felt ready to pull the trigger, there were many objections for change:
1. Financially I can’t in good conscience spend money redoing something we just did 5 years ago.
2. If Biceps had his way, this room would have had center seating (black), gray walls and little else. He wanted to go for the art museum feeling.
3. I hate taping and caulking.
4. I hate cutting in trim.
5. I hate cleaning out brushes and roller.
6. I’m pregnant and flat out didn’t want to.


Living Room
I decided to finally quit talking about changing the living room and the dining room and just get this thing done. Using many of these items above as inspiration, the trigger was pulled–while Biceps was at the station and couldn’t stop me. Heh heh.


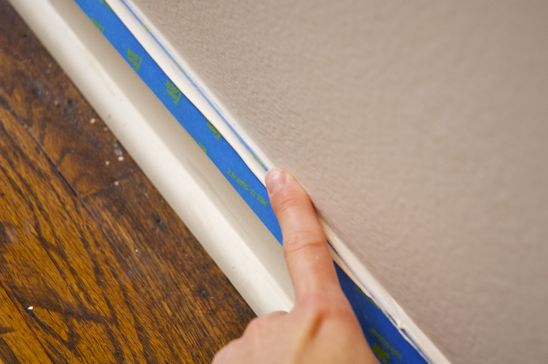
Taping:Caulking
I started by assessing the initial costs:
1. Paint $60
2. Blue Painters Tape, Painters Caulk, tray liners $25
3. Trim for picture frame molding $36

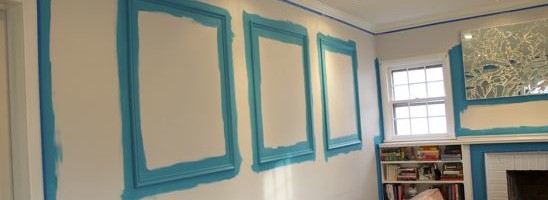
After buying my necessities, I rolled up my sleeves and got to work. First, I pulled everything into the center of the room and started taping and caulking like a son of a gun. (I will share the reason behind this process in detail this week).


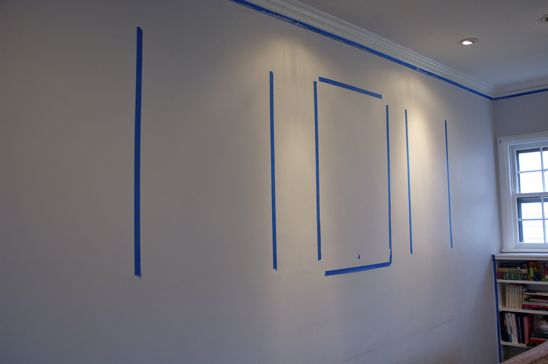
PicFrameTaped
I waited for Biceps to determine the size of  the picture frame moldings. It was a long process, which enriched our marriage. (I will also show you in detail how to install your own picture frame molding this week).


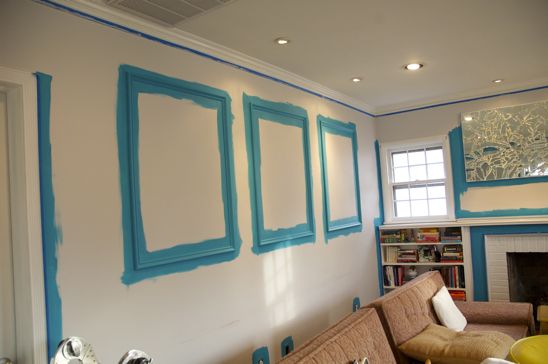
TrimCut in
While Biceps was back at the station, I opened my can of paint and panicked a little. Was it really that blue? After a short stint of talking myself off the ledge, I grabbed my favorite Purdy brush and got to work cutting in the trim.

And didn’t stop for 2 days. The living and dining room is now a lovely shade of “exotic sea” blue, which Biceps and I both love (thankfully).

Don’t worry, I will show you the finished product after hanging all my lovely art work. That is another process that is enriching our marriage.

But–I’m dying to know–what do you think so far?


Read more

Cozy Sweater Pillows

As you know, I like to re-invent things around my home, offering a fresh look to a room with little to no cost. Sometimes I tackle huge projects-like building a table, destroying a mirror, or making my own spinning composter.

However, some days I like to make a nice hot cup of Cinnamon Apple tea and stay indoors. This is one of those days.
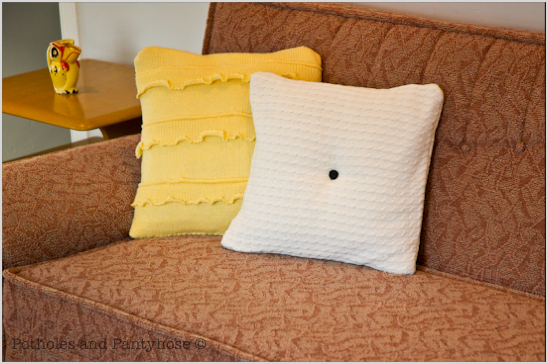

I love pillows on my sofas, but hate paying $20 for something that cats will eventually destroy-or I’ll spill coffee on. What’s a girl to do?

Combine thrift store pillows with my ill-fitting and ugly sweaters. That’s what!
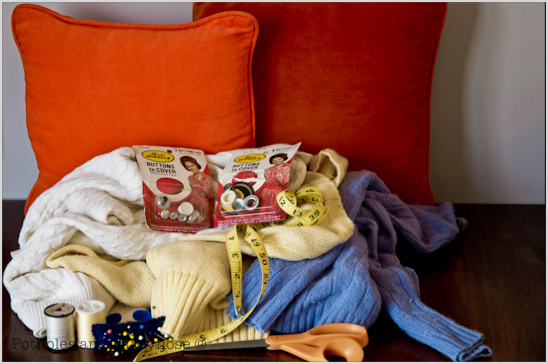


Here’s what you’ll need to make your own Cutesy Sweater Pillows:

Old Pillows or stuffing
Old Sweaters
Backing material-I used an old canvas laundry bag
Tape Measure
Scissors
Straight Pins
Thread and Bobbin to Match
Button covers (if desired)
Invisible Thread (not pictured here, due to its invisibility)
Sewing Machine
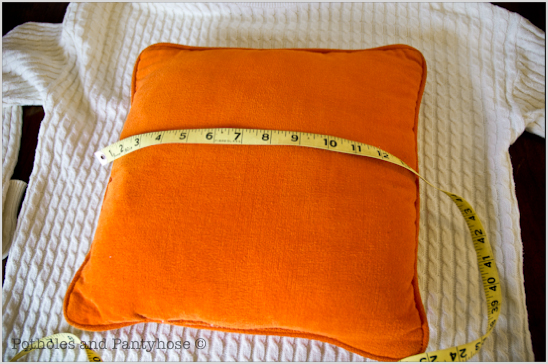


Start by measuring the width & height of the pillow. If you are using stuffing, determine how big you want the pillow.
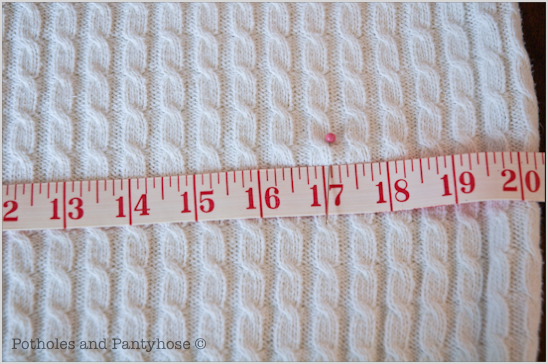


Measure on the sweater the width & height of the pillow and add 3 inches for seam allowance.
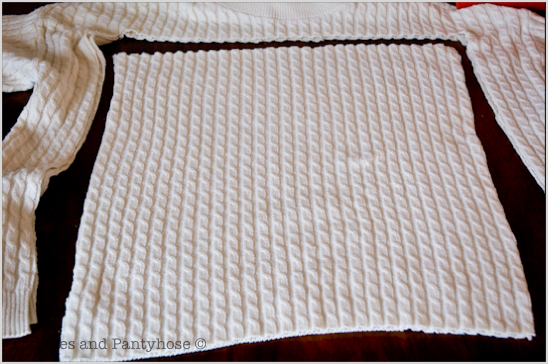


For example, my pillow was 14″ x 14″. I cut out two 17″ squares of sweater material.
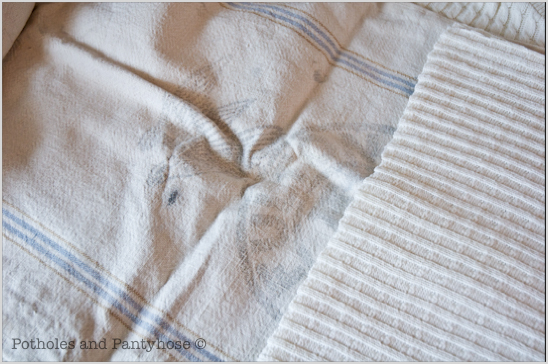


Fold the backing material in half, measure and cut out the same sized square as the sweater.
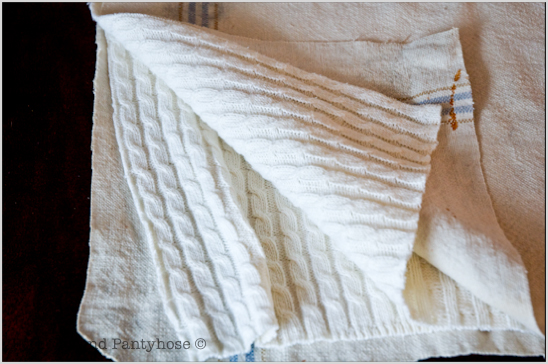
Sandwich the sweater material (right sides facing in) with the backing material. Pin all four layers of material together.
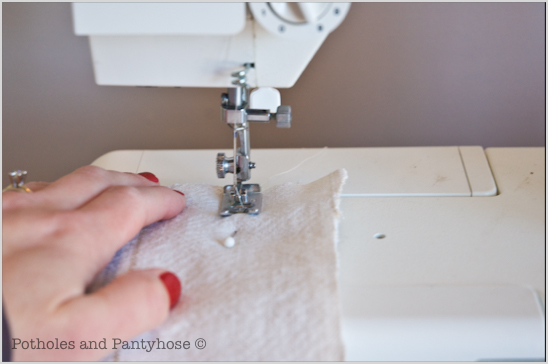


With a 1 1/2 seam, sew the four pieces of material together on 3 sides only-leaving one side open for the pillow (or stuffing).

Cut off the excess seam, snip the four corners and turn the material right side out.
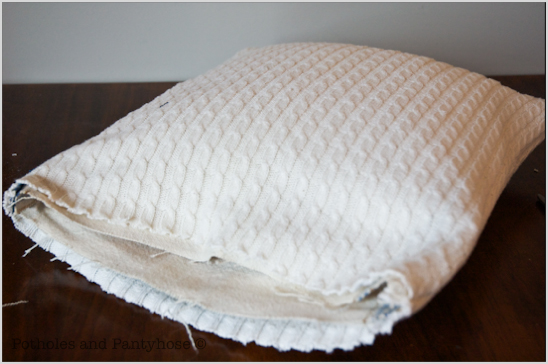


Stuff the pillow inside of its new home-or add stuffing.
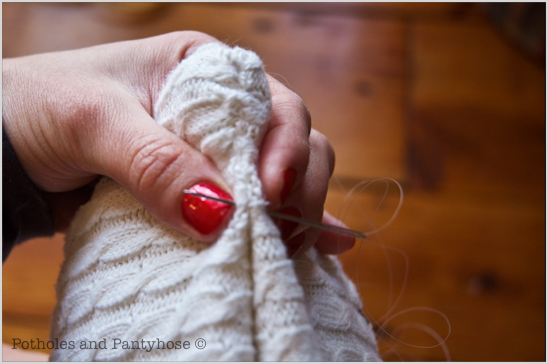


Using invisible thread and a stout needle, sew the opening closed.
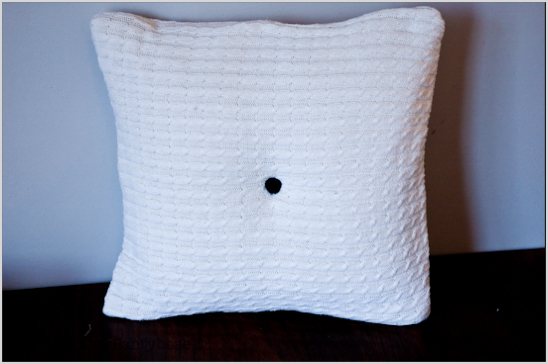


If desired, make a button for the center of the pillow, following the instructions on the button maker box. Sew the button(s) on with more invisible thread, going all the way through the pillow and pulling the thread tight. This will make the button dimple into the pillow.
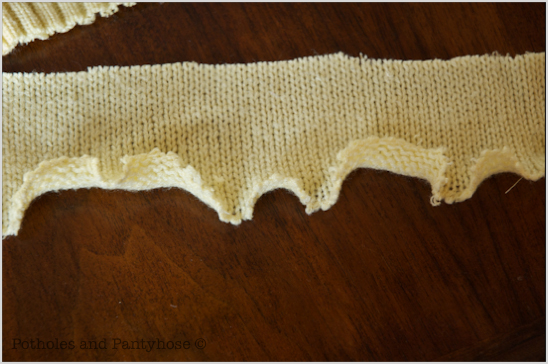


For ruffles on the pillow, cut 3-4″ wide strips from the sweater, making them 2″ longer than the squares of sweater material and backing.

Follow all of the above instructions, except instead of sewing all 4 pieces of material together at once:
Sew one side of the backing to the wrong side of the sweater material-leaving two separate pieces total.
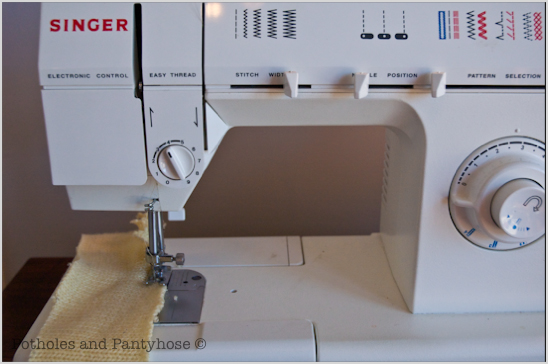


Sew the edges of one side of the potential ruffle using a zig zag stitch.
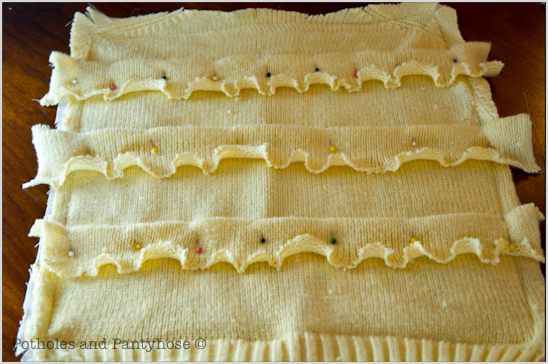


Fold over 1/4″ of the unsewn side of the ruffle, pinning and evenly spacing each ruffle on the right side of the sweater material.
Sew the tops of the ruffles in place.
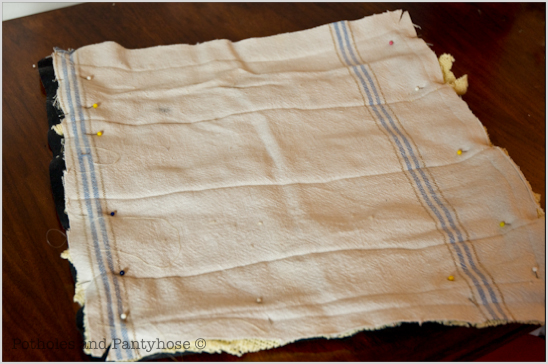


With right sides of the sweater facing in (backing material on the outside), sew the two separate pieces together on all 3 sides with the same 1 1/2 seam, leaving an opening for the pillow or stuffing.

Cut the excess seam off, snip the corners and turn the material right side out.
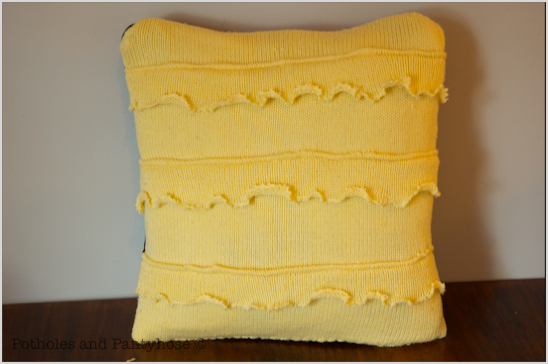


Slide the pillow inside of the material or use the stuffing to fill the pillow out. Use invisible thread once again to sew up the opening.
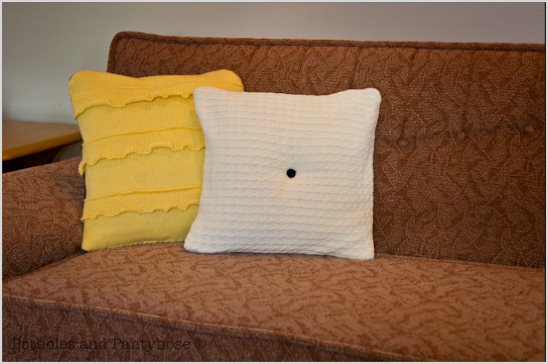
Throw them on your fancy pink couch, brew some more tea and take a nice nap.
 

Read more

What do you Fall for?

Good morning! First things first, I must talk about the pink elephant in the white room. I have not been posting as frequently-as I’m sure you’ve noticed. Without going into too much detail, I’ve needed a little reprieve.
But, that reprieve has been had and now it’s time to get back to business. The crisp fall air is upon us and I feel invigorated to sew, cook, create, build and ramble on about the things of God that I’m learning.

Can you handle all the weirdness that is Rebekah? Please scroll down before you answer that.
Green Beans-Kayle & Rebekah
Probably not. But that’s why we have the buffer of the internet between my weirdness and your purity, dear reader.

Anywho, it’s fall time. A time of harvest, hot coffee and fun wintery-type projects. What are your favorite fall things to do?


Fall Lane
At the top of my fall list is leaf watching. I could stare at, walk through, collect and photograph the changing leaves from now until eternity. And since I’ve already cleared it with God that there will be seasons in heaven, this love affair will not end.


Scarf & mittens
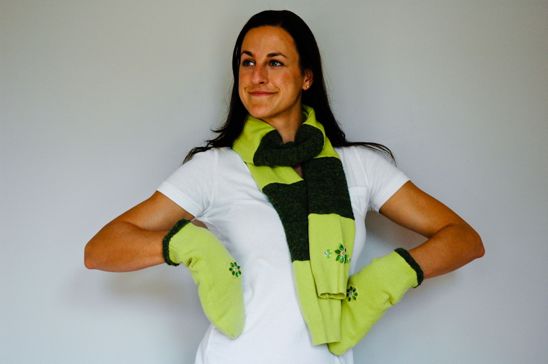
Another one of my favorite things to prepare for the cold, fall weather is to make mittens out of old sweaters. I can never seem to find the cuteness factor when shopping for store-made mittens. Plus, store-bought are either too small, too scratchy or don’t match my winter coat. I came up with my own solution and made a pair of mittens and a matching scarf from two old sweaters.

Problem solved, mate.


Corn Maize
Like a child, I cannot get enough of a good Maize Maze. The swishing stalks against a pale blue sky takes me back home to Kansas, to wheat fields, to harvest festivals. Plus, a good Maize Maze is always accompanied by horsey rides, apple cider and other fall accoutrements.

What more could you ask for?


Pumpkin Patch
Maybe a pumpkin patch? Yes, please. Pumpkin patches are to fall as snow is to Christmas. The grocery store cardboard bins full of pumpkins should be shunned other than for last minute pumpkiny needs, such as decorating your porch when unannounced guests come to visit.

Otherwise, I implore you to drive at least 45 minutes to a pumpkin patch, labor over which has the perfect stem-to-body ratio and finally choose your pumpkin-already knowing which side you will be carving a face into.

Please, for all pumpkins everywhere, do the right thing.


Ginger Puff Cookies

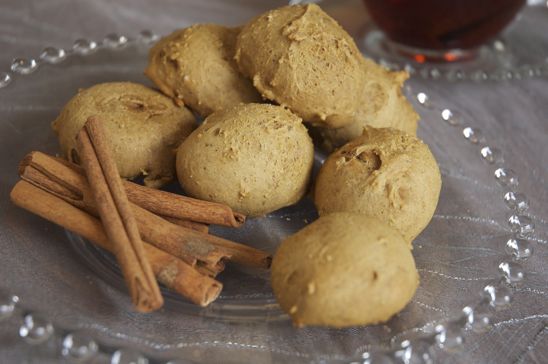
Finally, nothing says fall like all things cinnamony, nutgmegy and spicey. I love to kick off fall by cooking a huge batch of Ginger Snap Cookies, sharing it with the neighbors and nibbling on a few of my own. This pictured version above is a skinny version I created, called “Ginger Puff Cookies“, for those of you watching the waistline.

I also think fall should be accompanied by homemade No Fuss, No Sugar Applesauce, Beautiful Banana Bread andEasy Chili.

What are your favorite fall things to create, bake, sew or enjoy? I’d love to know, dear readers-for you are my inspiration to keep writing and creating things!


Read more