Author Archive for:Rebekah

Detroit: The #1 City to Leave

When the murder rate dropped 14% in 2008, the mayoral hopeful Stanley Christmas said, “I don’t mean to be sarcastic, but there just isn’t anyone left to kill.”
Yet in a small way….
Detroit, you have redeemed yourself.
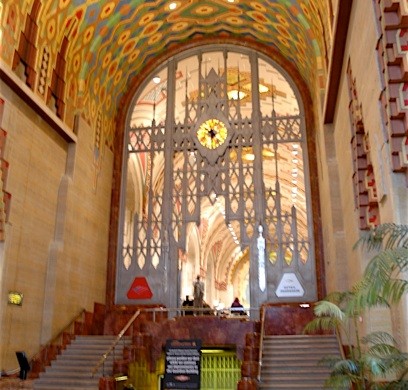
This is the Guardian Building in a very vacant downtown Detroit. Amidst the boarded up windows, the abandoned buildings, and the enormous amount of poverty, we came upon this little gem. One word: Spectacular.


I thought I might get into trouble for taking pictures inside this building, so I shot from the hip. Tee hee. Subsequently, I did not get into trouble. The security guards just shook their heads and pointed to things I had missed taking photos of.
Secretly, I think they were happy to see ‘tourists’ in their town.


The lobby in the Guardian building was decorated from top to bottom with murals, tiles, mosaics and other pretty things. They just don’t make ‘em like this anymore.
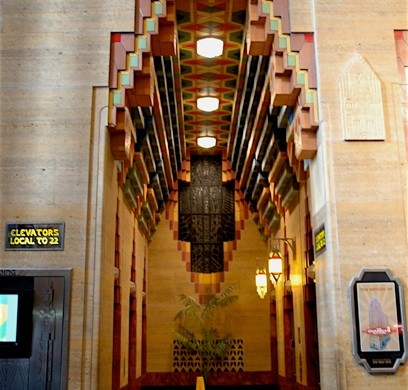

As I took this picture, I imagined Audrey Hepburn wearing a fancy hat and matching gloves, waiting for the elevator. A handsome man exits the elevator, taking notice of her. Of course, he sweeps her off her feet by saying something really snazzy, while a cigarette is perched on his bottom lip.
She swoons into his arms.
They kiss on the top floor of the Guardian Building just as the sun is setting. Audrey says really cute stuff, he laughs, etc.

Disregard the yellow caution cone in the center…
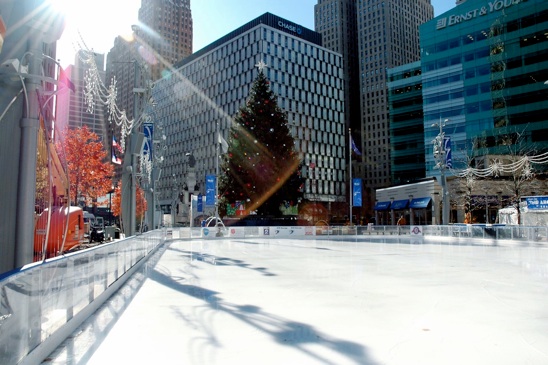

We left the Guardian Building and turned the corner to find this ice rink under construction.
Audrey sprang back into my mind; her new love sailing around on the ice with her. Her cheeks are a bright pink, his smile is big, and it begins to snow gently.
Then a not-so-nice man in very, very, very short blue running shorts broke through my daydream and said the rink wasn’t ready and to move away from the barricade, please. And just why was he wearing running shorts in the middle of winter in Detroit while on an ice rink? Who knows.
I hung my head, moved away from the ice rink and sighed. Reality is so harsh. But, reality also allows one to enjoy a nice steak dinner on the house at the Hard Rock Cafe while watching the band perform. Maybe reality isn’t harsh all the time.

Good job, Detroit. Way to bring it. But, I could have done without the man in blue running shorts.

Read more

Oh, How I love Thee Mr. Remodel…

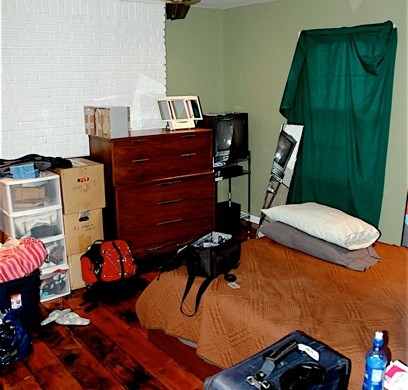
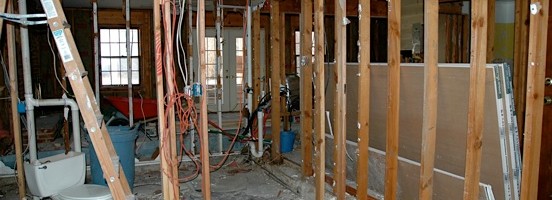
Has your master bedroom ever looked like this?

The sad thing is, it took us a year and a half to get to this point.


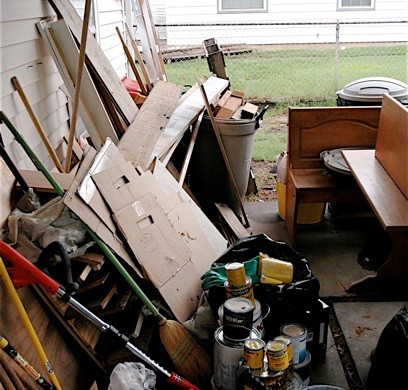
Has your ‘breakfast nook’ ever looked like this?


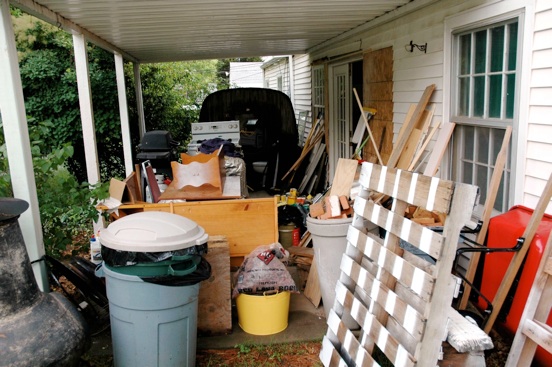
Or your back porch ever have this problem?


Want another look from a different angle?


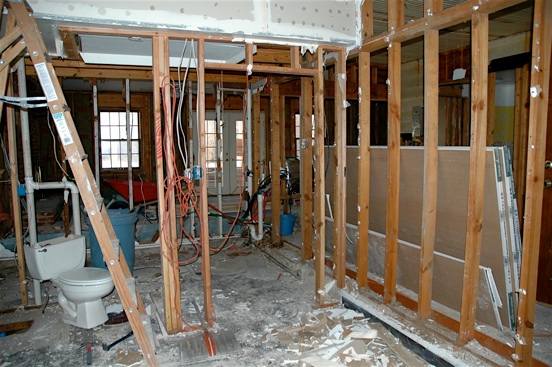
Have you had any part of your house torn down to the studs with your toilet sitting in the living room and you have to repeat these words to yourself every time you wake up,
“We made the right decision in buying this house.”?


Be happy! You have a friend in me! That is, if you want to be friends. I know what it means to have sheetrock dust in your lungs, “Great Stuff”, stuck to your fingers and the smell of mineral spirits constantly in the air. Hold your head up high.
You are a remodeler.
And someday, I promise you, YOU will be done.
Even though I am not.

Read more

Lighting Effects to Enhance a Photo

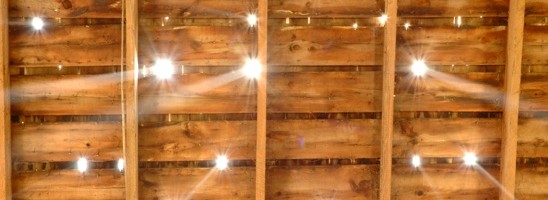
This picture was shot the summer we tore down the barn on the Greiman farm.(If you want to know more about that, check out Current Remodel.)
It makes me think heaven is peaking through the holes in the roof of the haymow.

I liked the shot, but it needed a little pizzazz, a little boost.
Presently, I am using Adobe Photoshop CS-the orginal version, since my computer crashed. I have to use what Hubby has on his computer. The program is pretty similar to the newer versions, but not totally up to date.

First things first when using Photoshop:
Always make a background copy of your image. Always. Do this before you do any adjusting and you will not harm your original picture.

You can make a copy by:
On the lower right hand side of the program, you will see a box with the tabs labeled ‘layer’, ‘channels’ and ‘paths’.
Under the tab ‘layer’, you will see your image as a tiny thumbnail labeled ‘background’ with an eyeball to the left of it and a padlock to the right of it.
Place your cursor on the tiny thumbnail and drag it down towards the bottom, landing it on the icon that looks like a tiny page with a dog-eared corner. This icon is labeled ‘create a new layer’ if you allow your cursor to just rest on it.

Now that we’ve made a copy, we can make our adjustments without hurting the original image forever.
Make sure there is a tiny paintbrush to the right of your background copy. The paintbrush means you are making adjustments to the copy and not the original.


Next, I used some lighting effects. The overall shot had a very even light, and I thought it would create some visual interest to vary the point of light a little bit.

Under ‘Filter’ in the top menu bar, highlight the word ‘Render’ and then move your cursor over to highlight and click on ‘Lighting Effects’.
I chose the ‘default’ style at the top. I then chose the ‘light type’ as ‘omni’ and increased the diameter of the circle until just the four corners were on the outside of the circle. Make sure the ‘light type’ box has been checked to be in the ‘on’ position. I moved the ‘intensity’ up to a level of 23.
Under ‘properties’ I left the ‘gloss’ at 0, moved the ‘material’ to a level of 69, the exposure to a level of 4, and the ambience to a level of 13.

Notice how the center of the picture is now lighter, leaving the corners a little darker?


I wanted to adjust the contrast a little to
make the details in the wood stand out.

Under ‘Image’ in the top menu bar, highlight the word ‘Adjustments’ and then move your cursor over to highlight and click on ‘Brightness and Contrast’.
I left the ‘brightness’ at a level of 0 (because it was already plenty bright), but adjusted the ‘contrast’ to +12.

The wood now pops a little more.


Next, I ‘sharpened’ the photo.

Under ‘Filter’ in the top menu bar, highlight the word ‘Sharpen’ and then move your cursor over to highlight and click on ‘Sharpen’.

The light beams are a little more focused now and the wood is more crisp looking.


Lastly, I increased the shadows and the highlights a tiny bit to bring out the depth of the photo.

Under ‘Image’ in the top menu bar, highlight the word ‘Adjustment’ and then move your cursor over to highlight and click on ‘Shadows and Highlights’.
I increased the ‘shadow’ to 15 and the ‘highlight’ to 12.

The dark parts of the photo are a little darker, the bright parts of the photo are a little brighter.

Above is the final version of my barn picture.
And below is the original so you can compare.

Read more