Gold Clay Deer Antlers
I have no desire to stand out in the freezing cold, toting a rifle and not talking for hours in order to ‘hunt’ deer.
But, I really wanted a pair of deer antlers for my office.
I don’t know why. I don’t wear plaid or own a gun rack. (But, to be fair, I did make a coat rack from deer hooves…)
If you aren’t into the whole ‘antler’ thing, you can use this same tutorial and make what you do fancy such as a cute bird, a turtle, or you child’s hand impression.
Get crazy. Get creative.

Circumventing the whole ‘fun’ hunting experience, I decided to make my own deer antlers from clay that you can bake in the oven.
I believe Bambi is happy with my decision, which makes me happy.
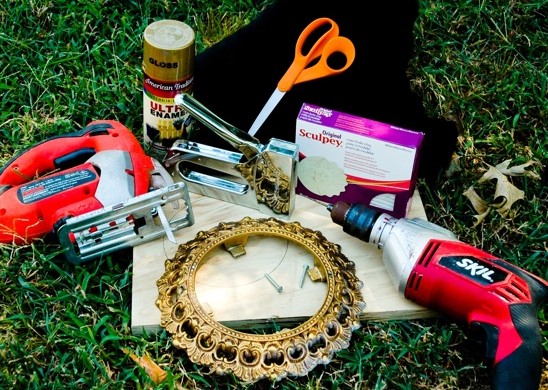
What you’ll need to make your own set of antlers, or anything else you fancy:
Oven Bake Clay
Picture Frame
Gold (or your preference) spray paint
Scissors & ruler
Fabric (I used faux black fur with a short nap)
Scrap Plywood
Hot Glue Gun
Staple gun & staples
(2)Screws
Drill with a drill bit the same size as your screws
Jig Saw

Trace the inside of your frame onto your scrap plywood.
My fancy ‘frame’ is actually a light cover that I picked up at Habitat for Humanity for $1. Boo yeah.

Using your jig saw with a wood blade, cut out your traced image.
Before covering your piece of plywood with your fabric, make sure that it fits into your frame first. Cut or sand off any necessary edges.

Find the center of your piece of plywood and measure an equal distance from the center to the right and left if you are doing antlers.
If not, you are on your own to decide where you would like your creation to screw into the plywood.
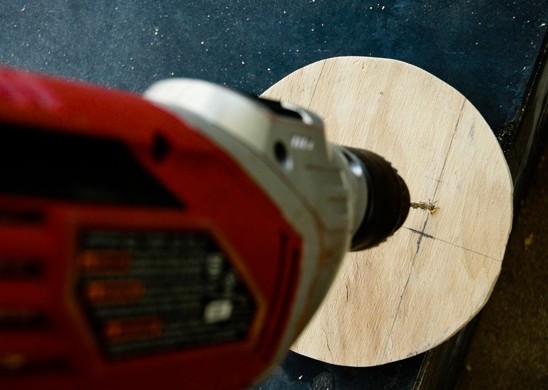
Pre-drill holes into your plywood that will receive your screws.
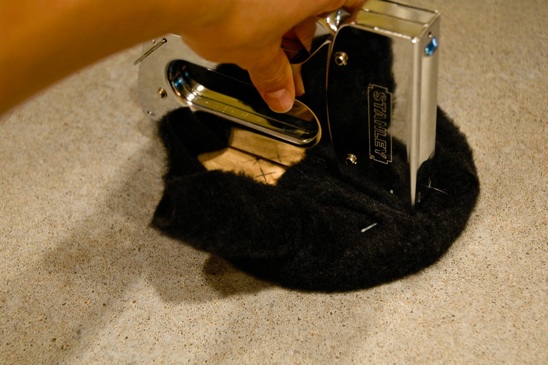
Cut out enough fabric that will wrap around the edges of your plywood. Use your staple gun to attach the fabric to your plywood.
Hammer those staples down if they get ornery and try to stick up.
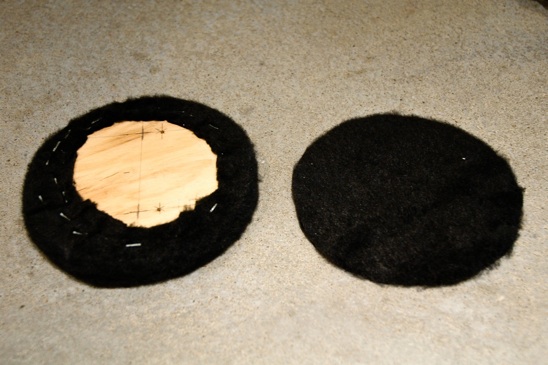
Cut away the excess material from your piece of plywood. Cut out a second piece of fabric that will cover the back of the plywood, attaching it with a hot glue gun.
I recommend before you cover your plywood completely with fabric, flip over your plywood to the front and stick a couple of nails through the fabric, into the pre-drilled holes.
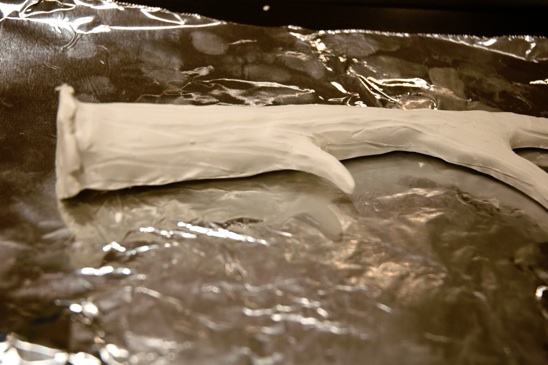
Time to make your fun creation from the oven bake clay!
I used a knife, a chopstick and my little mittens to shape out some cute antlers.
Again, get crazy and get creative. It’s my mantra today.
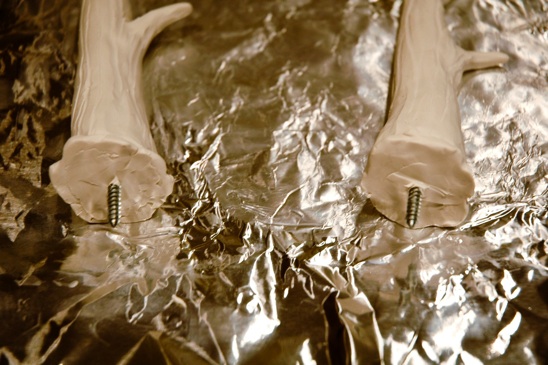
Stick your screws into the bottom or the backside of you creation. Make sure the clay is completely surrounding the screw and there is no play.
Bake your creation according to the manufacturer’s instructions.
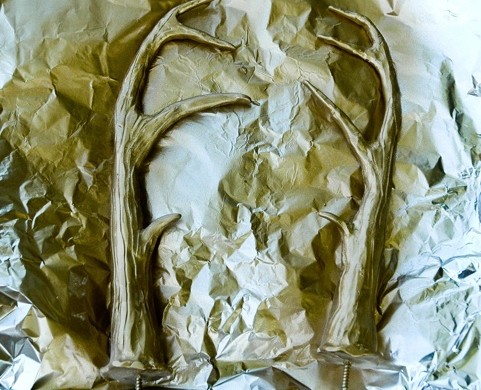
Spray your creation with your choice of spray paint with several light coats to avoid drips.

Gently hand tighten your creation into the plywood. I got a little crazy and broke the screws free from my antlers as I was tightening them in.
But, I fixed it with super glue. It held the screws in much better and it didn’t bat an eye at my apparently enormous muscles….

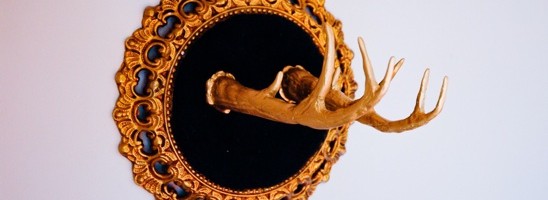
I love the antlers, but I could also see a cute, gold bird in the center of this frame too. Or an apple. Or a butterfly.
And I do have some leftover clay and a glass of red wine…hm….


Leave a Reply
Want to join the discussion?Feel free to contribute!