Hue, Saturation and Lens Flare
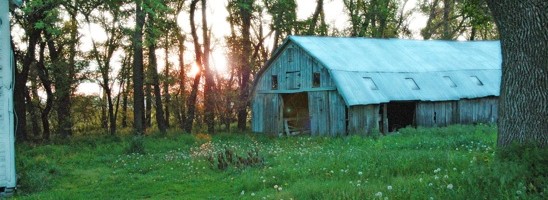
Serenity oozed out of this photo. It is peaceful, allowing me to reminisce about the farm.
However, I wanted to spruce it up a little.

After making a copy, I wanted to add a little Diffuse Glow.
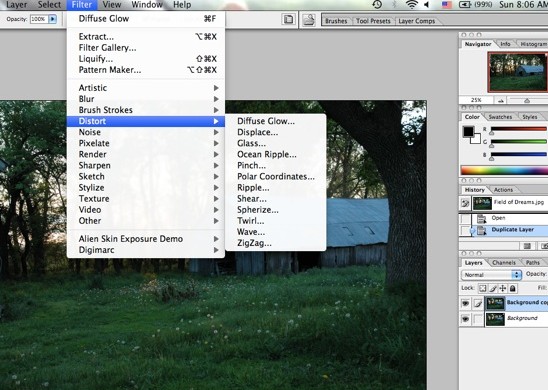
Under the Filter Tab, I scrolled down to Distort and then over to Diffuse Glow. I adjusted the amount of graininess to 4%, glow to 7% and clear amount to 12%.
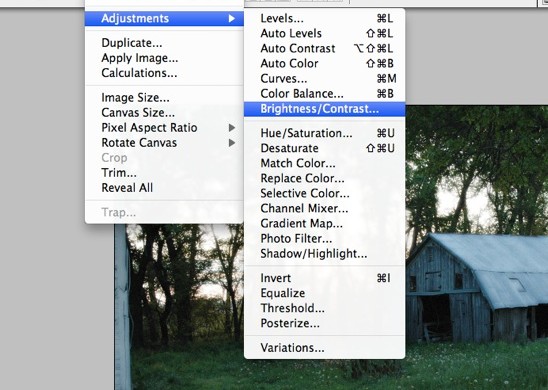
I clicked on the Image tab and scrolled down to Adjustments, then over to Brightness/Contrast.

I used the sliders to increase both the Brightness and the Contrast.

I wanted the grass to pop a little more. Clicking on the Image tab again, I scrolled down to Adjustments and then over to Hue/Saturation.
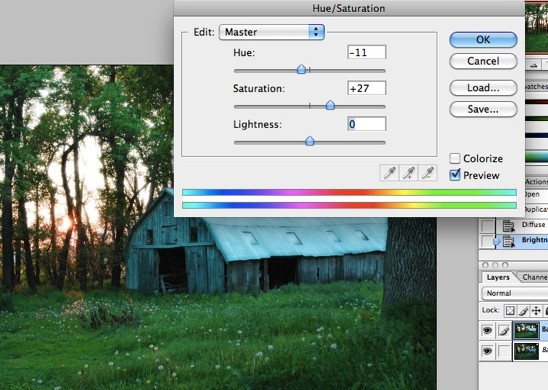
I used the sliders to increase the saturation and decrease the hue. This brought out a depth in the green grass that made me happy. I smiled from ear to ear, that’s how happy I was.
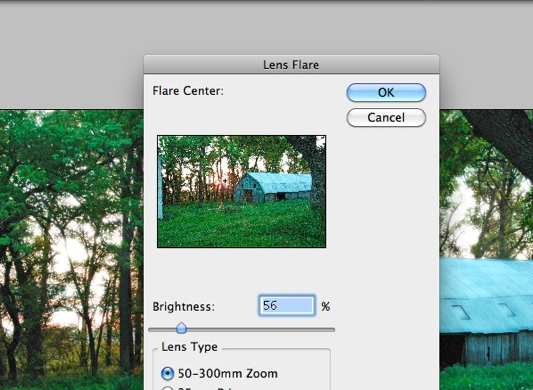
I wanted the photo to have a little something special, however.
Opening the Filter tab, I scrolled down to Render and then over to Lens Flare.
I tried all of the different ‘Lens Types’, choosing to go with the 50-300 mm Zoom. I chose a brightness of 56% which wouldn’t allow the Lens Flare to overpower the photo.

Here’s the final photo all spruced up. And below is what I started with.


Leave a Reply
Want to join the discussion?Feel free to contribute!